8 Steps to Prepare Your Yard for Artificial Turf
Learning how to prepare a yard for artificial turf requires understanding that the foundation determines longevity. Natural grass leaves behind compacted soil, thatch layers, and root systems that create uneven substrates. Artificial turf demands a stable, well-drained base that mimics the engineering precision of athletic field construction. The process involves removing organic matter, amending drainage capacity, and establishing grade consistency to prevent pooling and premature wear.
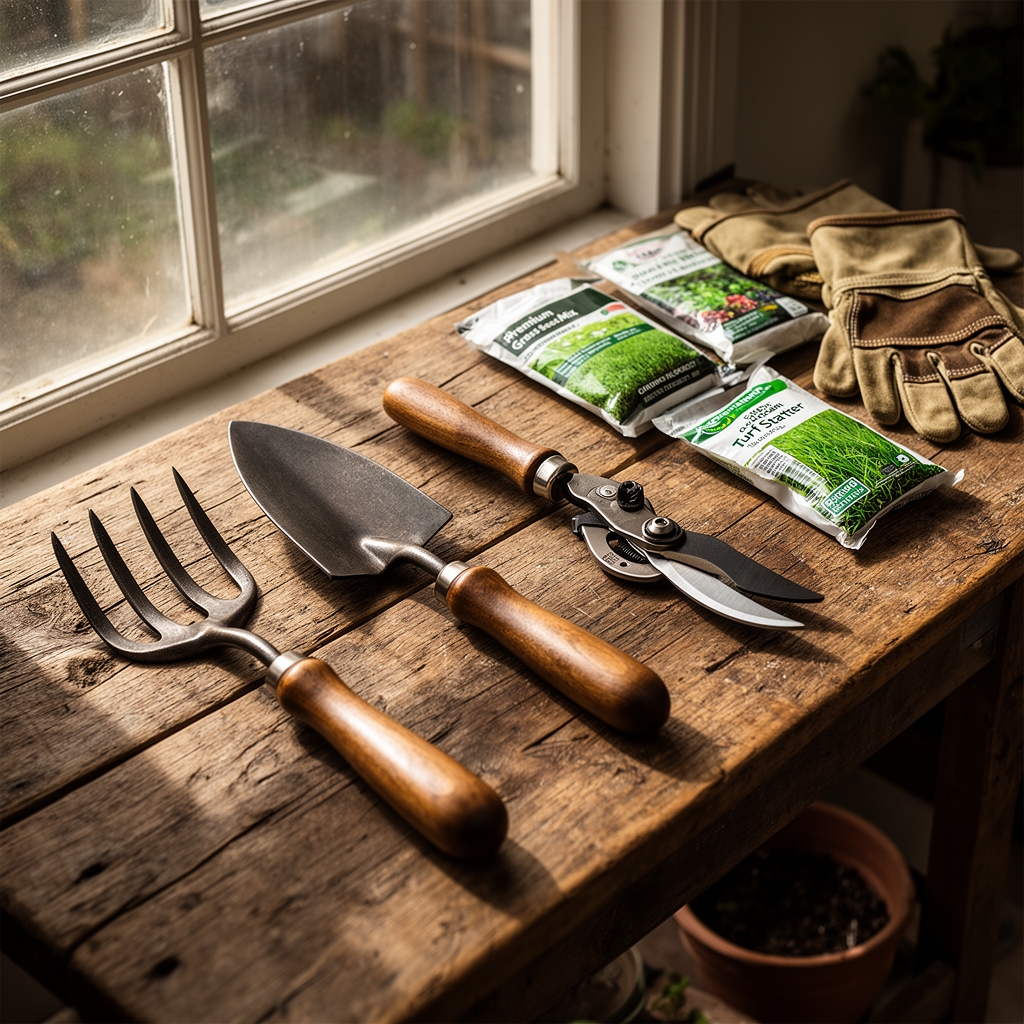
Materials
Soil testing kits measure pH, cation exchange capacity, and nutrient retention. Target pH ranges between 6.5 and 7.0 for optimal microbial activity during decomposition of remaining organic matter. Class II road base aggregate (3/4-inch minus crushed rock) provides structural stability with angular particles that interlock under compaction.
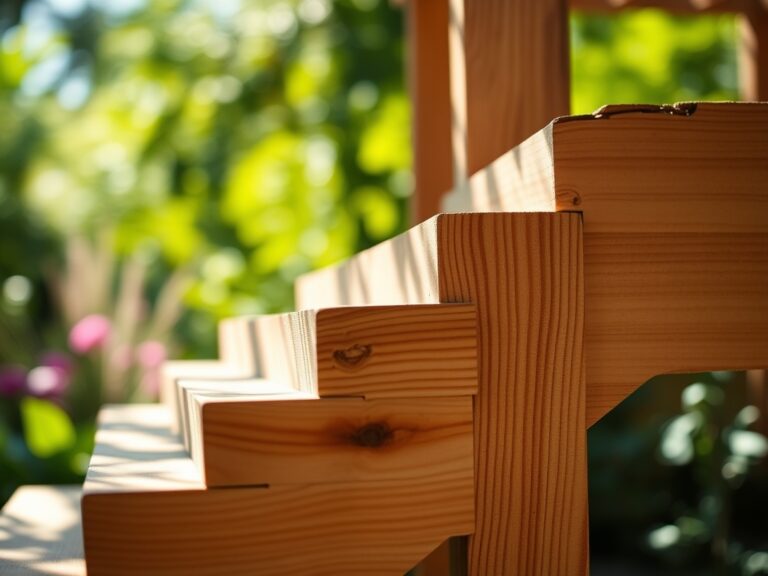
Decomposed granite or crushed miscanthus at 1/4-inch diameter serves as the leveling layer. Geotextile fabric (4-ounce nonwoven polypropylene) separates native soil from aggregate base, preventing contamination through capillary action. Landscape edging in 6-inch galvanized steel or recycled composite maintains perimeter definition.
Plate compactors rated at 5,000 pounds per square foot achieve 95% compaction density. Hand tampers work for areas under 100 square feet. Laser levels or builder's levels ensure grade precision within 1/8 inch over 10 feet. Sod cutters with hydrostatic drives remove existing turf to consistent 2-inch depths.
For projects requiring drainage enhancement, perforated PVC pipe (4-inch diameter, Schedule 40) installed in trenches filled with pea gravel directs water away from the installation zone. No NPK amendments are necessary since artificial turf requires no nutrient cycling.
Timing
Hardiness zones influence soil workability rather than planting windows. In zones 3-6, schedule installation between late May and September when soil moisture stabilizes after spring thaw. Frost heaving disrupts base compaction, making fall installations risky in northern climates.
Zones 7-9 offer year-round installation windows, though summer months above 95°F soften adhesives and complicate seaming. Zone 10 requires morning-only work schedules during June through August to prevent heat stress on installers and material degradation.
Soil moisture content between 12% and 18% allows proper compaction without aggregate migration. Test by squeezing a handful of base material. It should hold shape briefly, then crumble. Excessive moisture creates a pumping effect under the plate compactor, while overly dry conditions prevent particle binding.
Phases
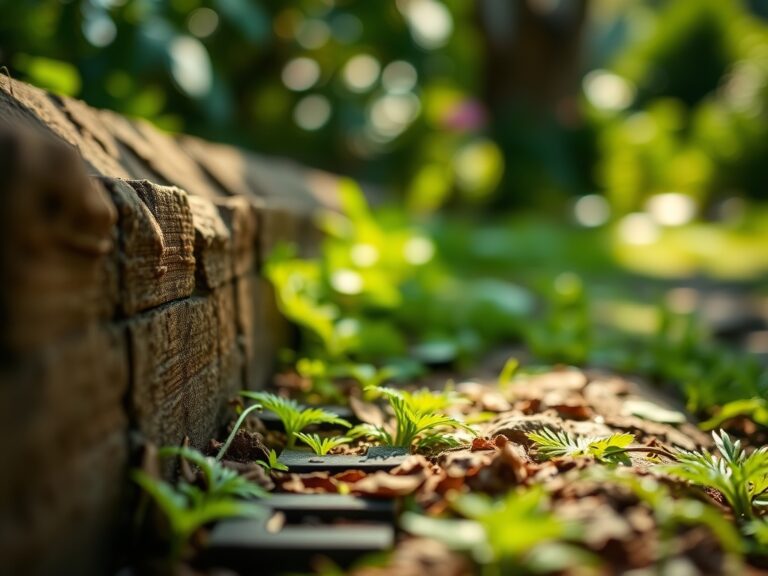
Removal Phase: Cut existing turf with a sod cutter set to 2-inch depth. Remove all organic matter including roots, thatch, and decomposing vegetation. Organic decomposition creates voids that lead to surface subsidence. Excavate an additional 3-4 inches below finished grade to accommodate base layers.
Pro-Tip: Spray the area with Bacillus thuringiensis israelensis solution at 0.5 ounces per gallon to eliminate soil-dwelling insect larvae before base installation. This prevents future pest migration through drainage layers.
Base Installation Phase: Install geotextile fabric with 6-inch overlaps at seams. Spread class II road base in 2-inch lifts. Compact each lift with a plate compactor, making four passes in perpendicular directions. Achieve 95% relative compaction as measured by a nuclear density gauge or sand cone test.
Add the leveling layer at 1-inch depth after final base compaction. Rake to grade, checking elevation every 3 feet with a laser level. The surface should slope 1-2% away from structures for drainage.
Pro-Tip: Mist each aggregate lift with water at 0.25 gallons per square yard before compaction. This activates fines within the crusher dust component, creating a cement-like matrix that resists erosion.
Installation Phase: Roll out turf panels perpendicular to primary sight lines. Trim edges with a utility knife, leaving 1/4-inch gaps at hardscape transitions for thermal expansion. Seam panels using 6-inch seaming tape and two-part polyurethane adhesive applied at 0.5 ounces per linear foot.
Infill with silica sand (20-40 mesh size) at 2-3 pounds per square foot for ballast. Brush against the grain with a power broom to achieve 90-degree blade orientation.
Pro-Tip: Install backing strips of 12-inch-wide turf remnants beneath seams before adhesive application. This doubles shear strength and prevents separation under lateral stress.
Troubleshooting
Symptom: Surface wrinkles or waves appear after installation.
Solution: Insufficient compaction or inadequate acclimation time. Turf requires 24-72 hours at installation site temperature before stretching. Re-tension affected areas by pulling toward edges and re-securing perimeter nails.
Symptom: Pooling water collects in low spots.
Solution: Grade inconsistencies exceed tolerance. Remove turf sections, add leveling aggregate, re-compact to specification, and verify with a 10-foot straightedge and level. Drainage rate should exceed 20 inches per hour.
Symptom: Odor develops during warm weather.
Solution: Organic matter remained in base layers. Lift affected sections, excavate to expose contamination, flush with enzyme cleaner (protease and lipase blend at 2 ounces per gallon), allow 48-hour drying period, then reinstall.
Symptom: Turf fibers flatten and lose memory.
Solution: Inadequate infill depth or wrong particle size. Add coarse silica sand to achieve 2/3 blade coverage. Brush monthly with a stiff broom to redistribute infill and restore blade angle.
Symptom: Edges lift or curl.
Solution: Thermal expansion against rigid barriers. Install expansion joints at hardscape interfaces using flexible polyurethane caulk. Secure perimeter with 6-inch galvanized nails every 4 inches.
Maintenance
Apply 0.5 inches of water per week during periods above 85°F to control surface temperature and prevent infill degradation. Rinse high-traffic zones monthly with a garden hose to remove particulate buildup.
Brush against the grain quarterly using a power broom with synthetic bristles. This redistributes infill and maintains blade orientation at 85-90 degrees from backing. Remove leaf litter within 48 hours to prevent tannin staining.
Apply antimicrobial treatment (quaternary ammonium compound at 1:256 dilution) every six months in areas with pet use. Address spills immediately with enzymatic cleaners rated for synthetic surfaces.
Inspect seams annually for separation. Re-glue any gaps exceeding 1/4 inch using landscape adhesive. Check infill depth yearly; replenish to maintain 2-pound-per-square-foot density.
FAQ
How deep should base layers be for artificial turf?
Excavate 3-4 inches below finished grade. Install 3 inches of compacted class II road base plus 1 inch of leveling aggregate.
Can I install artificial turf directly over existing grass?
No. Decomposing organic matter creates voids and unstable substrate. Complete removal to mineral soil is mandatory.
What compaction percentage does the base require?
Achieve 95% relative compaction measured by Proctor test standards. Under-compaction leads to settling and surface failure.
How long does proper yard preparation take?
Plan 2-3 days for 500 square feet: one day for removal and excavation, one day for base installation and compaction, one day for final grading and turf installation.
Is drainage improvement necessary for all installations?
Test native soil percolation. If water remains after 24 hours in a 12-inch test hole, install perforated drain lines in 4-inch gravel beds sloped at 2% minimum.