7 Easy Steps to Prepare a Tool Organization Book
The sharp scent of wet humus and the snap of high turgor pressure in a healthy stem define a productive landscape. When you learn how to prepare a garden for a tool organization book, you are documenting a functional ecosystem. Efficiency in the field depends on the spatial relationship between the rhizosphere and the storage shed. A disorganized garden leads to mechanical failure and delayed planting windows. You must establish a baseline of order to ensure your photographic documentation reflects professional standards.
Materials:
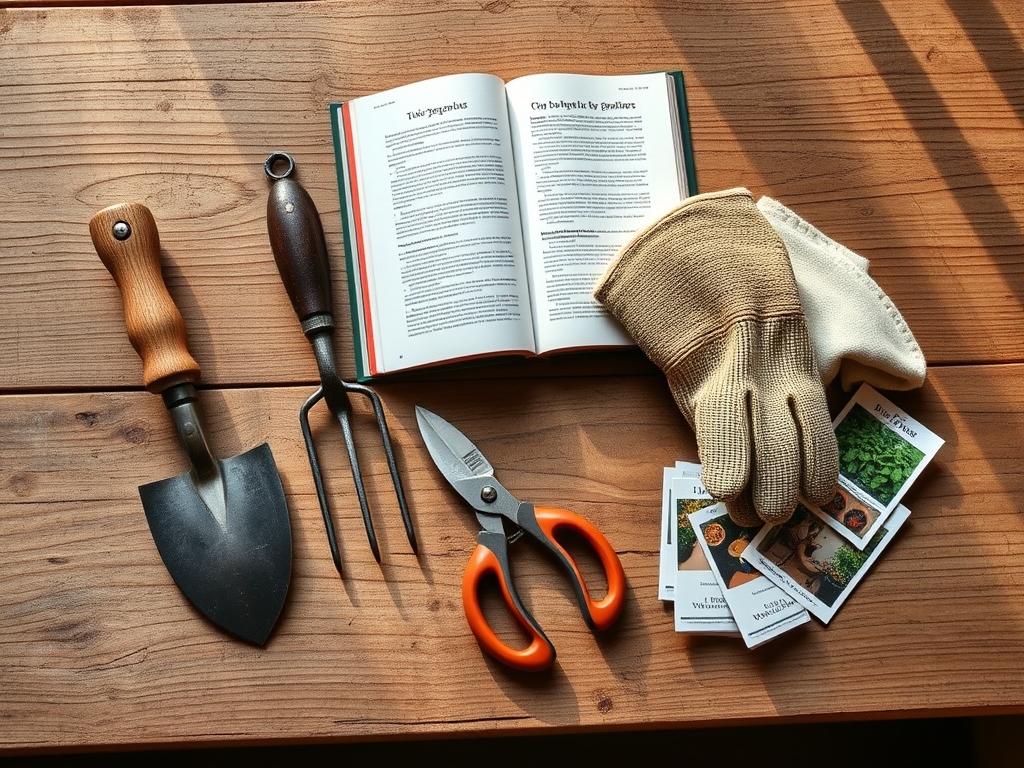
Success starts with a **friable loam** substrate. This soil texture consists of roughly 40 percent sand, 40 percent silt, and 20 percent clay. This balance ensures a high Cation Exchange Capacity (CEC), allowing the soil to hold essential nutrients like ammonium and potassium. For a garden featured in a technical manual, maintain a **soil pH between 6.2 and 6.8**.
You will need specific amendments to stabilize the site for photography and long term health. Utilize a balanced 10-10-10 NPK ratio for general maintenance; however, if you are focusing on root development for the book, shift to a 5-10-5 ratio to prioritize phosphorus. Stock your staging area with coarse perlite to improve aeration and high quality compost to increase the organic matter percentage to at least 5 percent.
Timing:
Timing is dictated by your USDA Hardiness Zone. In Zones 5 through 7, the primary window for garden preparation opens 2 to 3 weeks after the last predicted frost date. You must synchronize your tool organization book with the biological clock of your specimens. The transition from the vegetative stage to the reproductive stage changes the visual density of the garden.
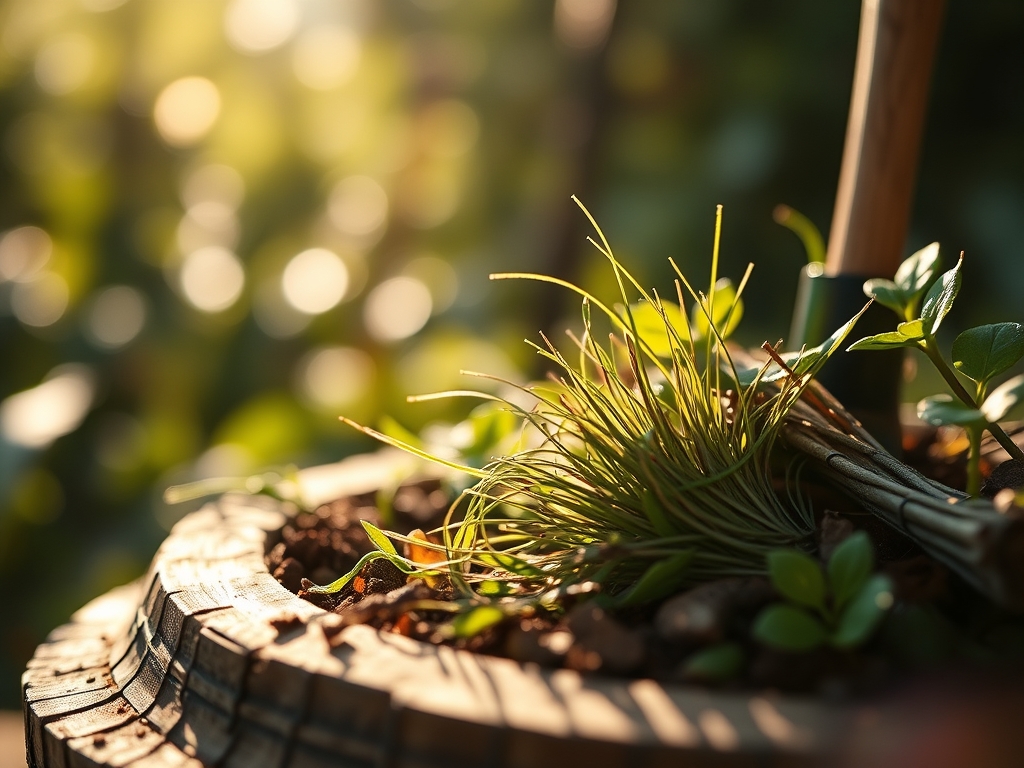
For optimal photographic clarity, prepare your garden during the late vegetative phase when foliage is at peak density but before senescence begins. Monitor the photoperiod; most temperate plants require at least 14 hours of daylight to maintain maximum chlorophyll production. If you document tools during a period of water stress or dormant cycles, the resulting imagery will reflect poor horticultural standards.
Phases:

Sowing and Site Leveling
Clear all detritus from the soil surface to expose the mineral layer. Use a steel rake to create a level seedbed. Ensure the soil temperature is at least 65 degrees Fahrenheit for thermophilic species. This prevents seed rot and ensures uniform germination rates across the plot.
Pro-Tip: Proper site leveling prevents water pooling. This avoids anaerobic conditions in the soil that kill beneficial aerobic bacteria and trigger root rot.
Transplanting and Spacing
When moving plants into the frame for your book, maintain precise spacing based on the mature width of the species. Dig holes twice as wide as the root ball to encourage lateral root expansion. Ensure the crown of the plant sits exactly at the soil line to prevent stem canker.
Pro-Tip: Use a mycorrhizal inoculant during transplanting. This symbiotic relationship between fungi and roots increases the surface area for nutrient uptake by up to 1,000 percent.
Establishing the Layout
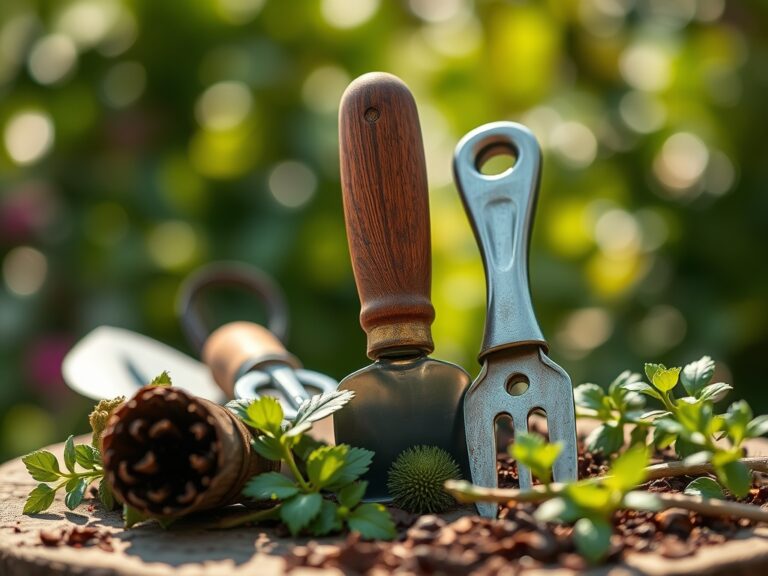
Define your paths and tool stations. Use a hori-hori knife to edge the beds cleanly. This creates a high contrast line between the turf and the cultivated soil. Group tools by their physiological application: pruning tools near woody perennials and weeding tools near annual beds.
Pro-Tip: Prune leggy growth to stimulate auxin suppression. Removing the apical meristem encourages lateral branching, creating a fuller, more photogenic plant profile for your organization guide.
The Clinic:
Physiological disorders can ruin the professional appearance of your garden. Use this diagnostic guide to rectify issues before finalizing your tool organization book.
- Symptom: Interveinal chlorosis on young leaves.
Solution: This indicates an Iron deficiency, often caused by high pH. Lower the pH using elemental sulfur to a range of 6.0 to 6.5.
- Symptom: Necrotic leaf margins on older foliage.
Solution: This is a sign of Potassium deficiency. Apply a high K fertilizer like sulfate of potash at a rate of 1 pound per 100 square feet.
- Symptom: Blossom end rot on fruit.
Solution: This is a Calcium transport issue. Ensure consistent soil moisture levels to allow the plant to move calcium through the xylem.
- Symptom: Stunted growth with purple tinting.
Solution: Phosphorus deficiency. Check soil temperatures; if the soil is below 55 degrees Fahrenheit, phosphorus becomes chemically unavailable to the roots.
Fix-It: For general Nitrogen chlorosis (yellowing of the entire leaf), apply a quick release nitrate fertilizer. Maintain a Nitrogen level of 25 to 50 ppm in the soil for active growth phases.
Maintenance:
A professional garden requires rigorous calibration. Provide exactly 1.5 inches of water per week delivered at the drip line. Avoid overhead irrigation to minimize the risk of fungal pathogens on the leaf surface. Use a soil moisture meter daily to ensure the substrate remains between 20 and 40 percent volumetric water content.
Keep your bypass pruners sharp and sterilized with 70 percent isopropyl alcohol between every cut. This prevents the mechanical spread of pathogens. When organizing the shed for your book, hang tools in a way that prevents metal to metal contact, which can lead to corrosion. Apply a thin layer of mineral oil to all carbon steel blades after each use to prevent oxidation.
The Yield:
If your tool organization book includes edible crops, harvest timing is critical for nutrient density. Harvest leafy greens in the early morning when turgor pressure is at its peak. This prevents wilting and ensures the leaves remain crisp for the camera.
Use a sharp hori-hori knife for root crops to avoid bruising the epidermis. Post harvest, immediately move produce to a shaded, cool environment. For woody herbs, cut stems at a 45 degree angle to maximize water uptake if they are being displayed in a vase for the book. This technique keeps the xylem open and functioning.
FAQ:
What is the best soil for a tool organization book garden?
A friable loam with a pH of 6.2 to 6.8 is ideal. It provides the necessary structural stability for staging tools and the nutrient density required for healthy, photogenic plant growth.
How do I prevent tool rust in the garden?
Clean all soil from metal surfaces using a stiff brush. Apply a light coating of mineral oil to the blades. Store tools in a dry, ventilated area with at least 50 percent humidity to prevent wooden handle shrinkage.
When should I take photos for my organization book?
Shoot during the golden hour, either shortly after sunrise or before sunset. This timing avoids harsh shadows on your tools and highlights the cellular detail and texture of the foliage.
How much water do the plants need during preparation?
Apply 1.5 inches of water per week. Use a rain gauge to track precipitation. Ensure the water reaches a depth of 6 inches to encourage deep root systems and prevent salt buildup in the upper soil profile.