8 Simple Steps to Create a Rock Garden
Crushing a handful of damp, friable loam reveals the structural integrity of your site; the gritty texture signifies high drainage capacity while the earthy scent of geosmin indicates active microbial life. Successful execution of the steps to create a rock garden requires an understanding of geomorphology and plant physiology. You are not merely placing stones; you are engineering a microclimate where drainage dictates survival. Every crevice becomes a specialized niche for high-alpine species requiring precise moisture regulation.
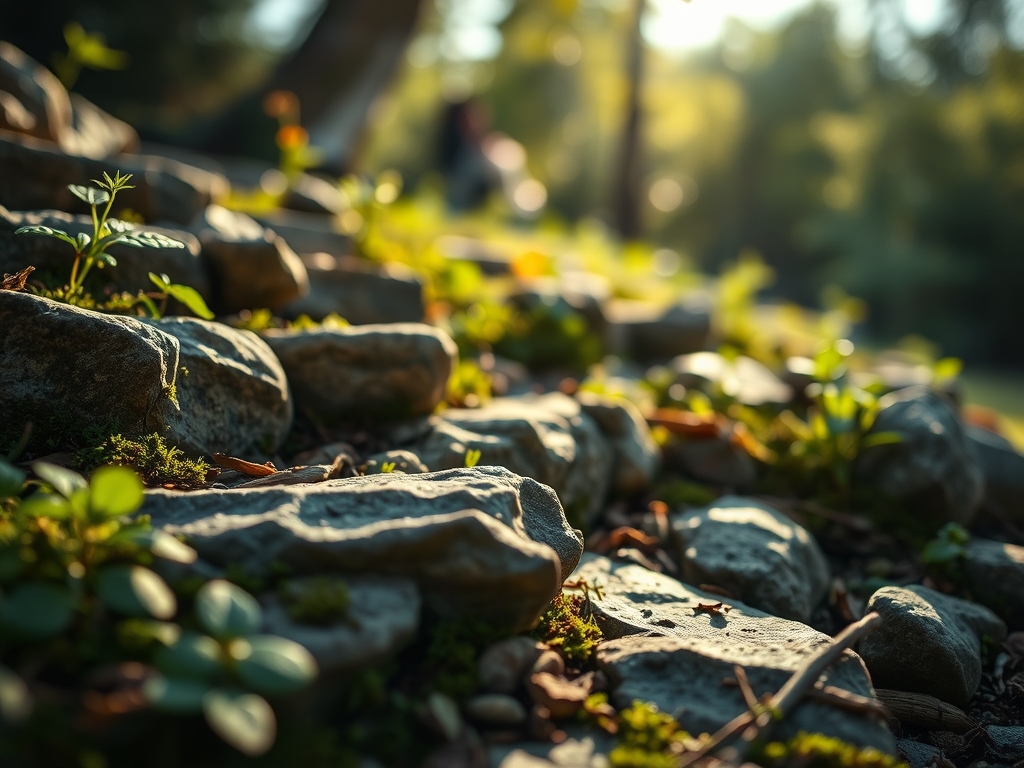
Rock gardens serve as high-drainage ecosystems designed to mimic mountain scree slopes. This environment demands a departure from standard garden beds. You must manage the Cation Exchange Capacity (CEC) of the soil to ensure nutrients remain available despite frequent leaching. A rock garden is a permanent architectural installation. It relies on the interplay between thermal mass from boulders and the rapid transpiration rates of specialized flora. By following these steps to create a rock garden, you convert a static slope into a dynamic biological filter that manages runoff and supports biodiversity.
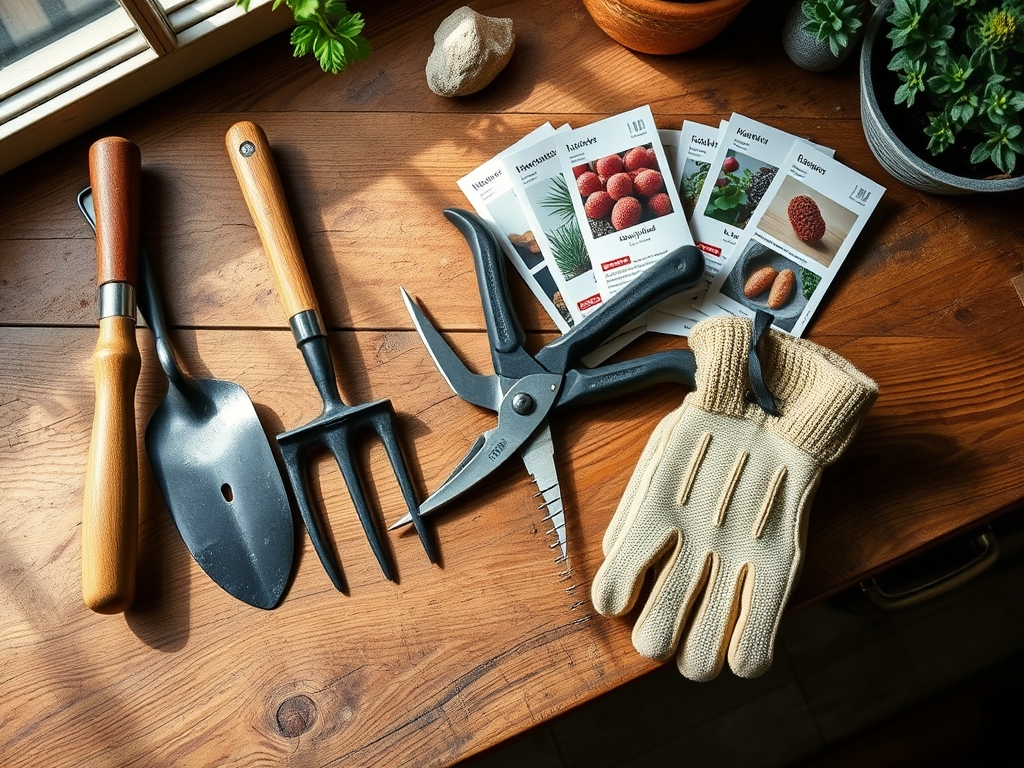
Materials:
The substrate is the most critical component. Aim for a soil pH between 6.0 and 7.2 for a general alpine mix. The physical texture must be porous. Use a ratio of one part sterilized topsoil, one part coarse grit or pea gravel, and one part leaf mold or compost. This ensures the bulk density remains low, allowing for maximum oxygen diffusion to the rhizosphere.
For nutrient management, avoid high-nitrogen fertilizers which cause leggy, weak growth. Use a slow-release organic fertilizer with an NPK ratio of 5-10-10. The higher phosphorus and potassium levels support root development and cellular turgor without forcing excessive vegetative biomass. Select weathered limestone or granite boulders. These stones provide essential minerals as they slowly erode and offer thermal stability, absorbing solar radiation during the day and releasing it at night to protect sensitive root systems from frost.
Timing:
The ideal window for installation spans from late winter to early spring, specifically four to six weeks before the last predicted frost in USDA Hardiness Zones 4 through 8. This timing aligns with the biological clock of alpine species, which often require a period of cold stratification to break seed dormancy.
Planting during this dormant or early vegetative phase allows the root system to establish before the plant enters the high-transpiration demands of summer. Monitor soil temperatures; once the ground consistently reaches 45 degrees Fahrenheit (7 Celsius), microbial activity resumes, and the transition from dormancy to active growth begins. Avoid planting during the peak of the reproductive stage (flowering), as the plant's energy is diverted away from root establishment toward gamete production.
Phases:

Sowing and Site Preparation
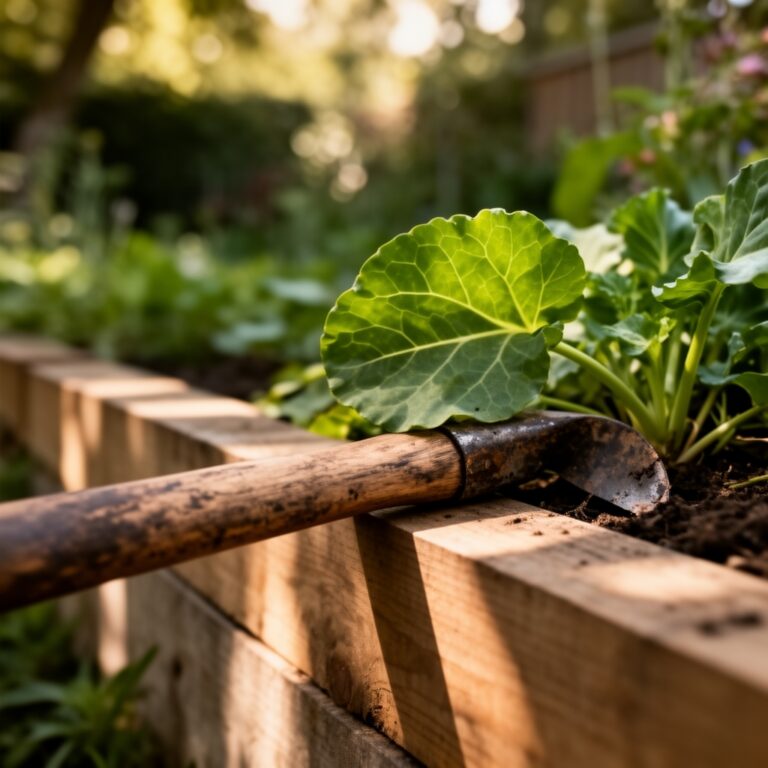
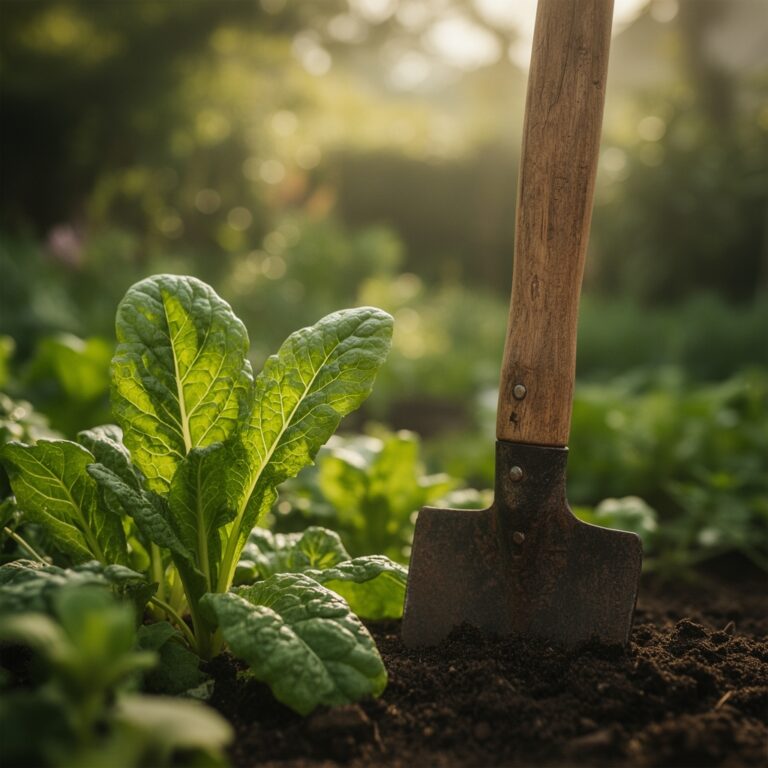
Clear all perennial weeds using a hori-hori knife to ensure the removal of deep taproots. Excavate the area to a depth of 12 inches. Fill the bottom 6 inches with coarse rubble or broken bricks to facilitate rapid drainage.
Pro-Tip: Proper drainage prevents root hypoxia. When pore spaces in the soil are filled with water instead of oxygen, the roots cannot perform cellular respiration, leading to the accumulation of ethanol and eventual tissue death.
Transplanting
Position your largest "keystone" rocks first, burying at least one-third of their volume below the soil line. This anchors the stone and allows it to act as a moisture reservoir for roots. Place your plants in the crevices, ensuring the crown of the plant sits slightly above the soil level to prevent crown rot.
Pro-Tip: Utilize mycorrhizal symbiosis by inoculating the planting hole with beneficial fungi. These organisms extend the root system's reach, increasing the surface area for water and phosphorus absorption by up to 100 times.
Establishing
Mulch the surface with a 1-inch layer of stone chippings or gravel. This prevents soil splashing onto foliage, which reduces the transmission of soil-borne pathogens. Water the area deeply immediately after planting to eliminate air pockets around the root zone.
Pro-Tip: Monitor phototropism during the first month. If plants lean aggressively toward the sun, they may be receiving insufficient light, leading to the production of auxins that cause elongated, weak stems.
The Clinic:
Physiological disorders in rock gardens often stem from moisture imbalances or nutrient lockout.
-
Symptom: Interveinal chlorosis (yellowing between leaf veins while veins remain green).
-
Solution: This typically indicates an Iron (Fe) deficiency, often caused by high pH levels (above 7.5) making iron insoluble.
-
Fix-It: Apply chelated iron or lower the pH using elemental sulfur to return the soil to a 6.5 range.
-
Symptom: Tip burn on new growth or stunted apical meristems.
-
Solution: This points to Calcium (Ca) deficiency, which is often a result of inconsistent watering rather than a lack of calcium in the soil.
-
Fix-It: Maintain consistent soil moisture to ensure the passive transport of calcium through the xylem via transpiration.
-
Symptom: Purpling of older leaves.
-
Solution: Phosphorus (P) deficiency. Cold soil temperatures in early spring can temporarily inhibit phosphorus uptake.
-
Fix-It: If symptoms persist as soil warms above 55 degrees Fahrenheit, apply a high-phosphate bone meal.
Maintenance:
Precision is required for long-term health. Provide 1.0 to 1.5 inches of water per week during the first growing season. Use a soil moisture meter to check the moisture levels at a depth of 4 inches; the meter should read "moist" but never "saturated."
Prune spent blooms using bypass pruners to prevent the plant from diverting energy into seed production, a process known as deadheading. This encourages the plant to focus on carbohydrate storage in the root system. Every three years, top-dress the garden with a thin layer of compost to replenish organic matter lost through decomposition, ensuring the CEC remains high enough to hold essential cations like potassium and magnesium.
The Yield:
For those incorporating alpine herbs or medicinal species like Thymus serpyllum, harvest timing is essential. Collect foliage just before the plant enters its flowering phase when essential oil concentrations are at their peak.
Use sharp snips to remove no more than one-third of the plant's biomass at a time. To maintain "day-one" freshness and prevent wilting, harvest in the early morning when turgor pressure is at its highest. Place the cuttings immediately into a shaded, cool container to slow the rate of respiration and enzymatic degradation.
FAQ:
What is the best soil for a rock garden?
Use a lean, well-draining mixture of 50% coarse grit or sand and 50% organic matter. This mimics the high-drainage, low-nutrient environments of mountain slopes, preventing root rot and ensuring the structural integrity of the rhizosphere.
How do I prevent weeds in a rock garden?
Install a 1-inch layer of gravel mulch over the soil surface. This creates a dry top layer that inhibits weed seed germination. Use a hori-hori knife to extract any emerging weeds by the root before they reach reproductive maturity.
Which rocks are best for plant health?
Sandstone and limestone are porous and hold moisture, benefiting roots. Granite is inert and does not alter soil pH. Avoid using smooth river stones, as they lack the angular surfaces needed to lock into the soil and provide stability.
How often should I water established rock plants?
Once established, most alpine plants require minimal supplemental irrigation. Provide deep watering only during extended droughts. Use a soil moisture meter to ensure the root zone has dried out significantly before reapplying water to prevent fungal pathogens.