8 Helpful Steps to Write a Tool Maintenance Book
The scent of damp earth rising from a freshly turned bed signals the start of the horticultural cycle. When the turgor pressure in a plant is optimal, the stems stand rigid and the leaves feel cool to the touch. This biological vigor is the baseline for high-quality photography and technical documentation. Learning how to prepare a garden for a tool maintenance book requires a strict focus on soil physics and plant health to ensure every blade and handle is shown against a backdrop of professional-grade cultivation.
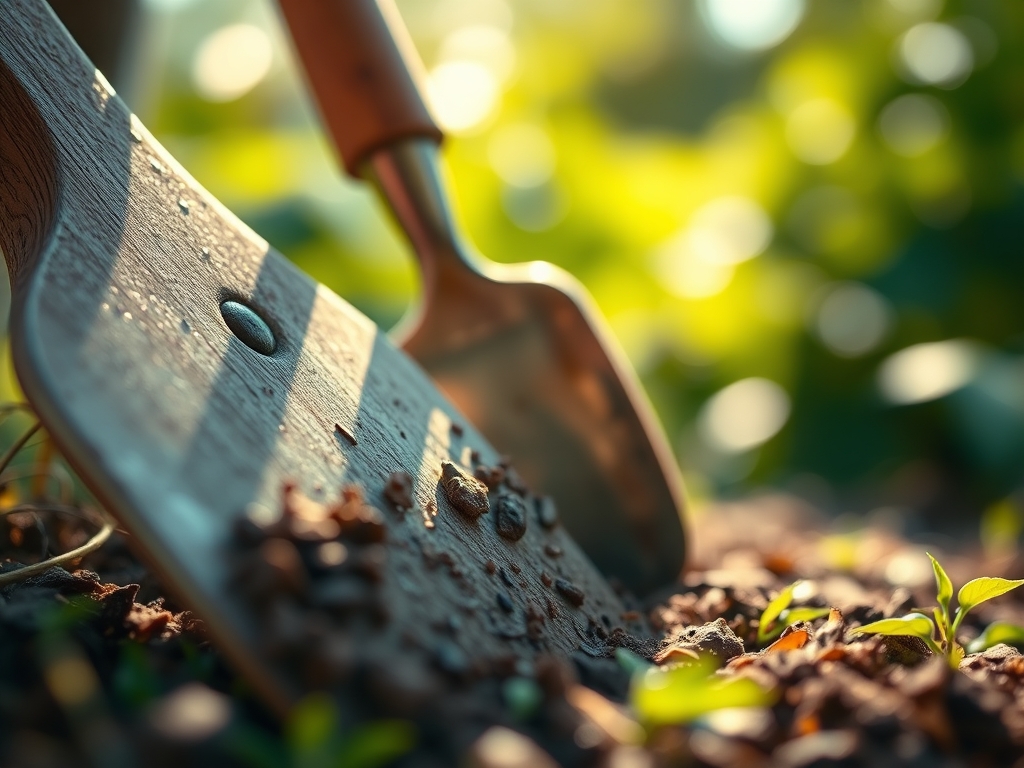
Achieving this standard means moving beyond casual gardening into the realm of precise environmental control. You must manage the rhizosphere to prevent aesthetic defects like wilting or chlorosis that distract the reader. A tool maintenance guide is only as credible as the environment it depicts. If your shovel is shown turning compacted, gray clay, the technical authority of the text diminishes. You need a site that demonstrates mastery over the substrate. This involves stabilizing the nitrogen levels and ensuring the soil structure allows for clean, crisp action shots of digging, pruning, and weeding tools in motion.
Materials:
The substrate must be a **friable loam** with a composition of approximately **40 percent sand, 40 percent silt, and 20 percent clay**. This balance ensures the soil does not clump excessively on tool surfaces, which allows for clearer photography of edge retention and metal finish. Maintain a **soil pH between 6.2 and 6.8** to optimize nutrient availability. At this range, the Cation Exchange Capacity (CEC) is maximized, allowing for the efficient uptake of metallic ions.
For the nutrient profile, utilize a controlled-release fertilizer with an NPK ratio of 10-10-10 during the initial bed preparation. If you are focusing on leafy growth for background aesthetics, shift to a high-nitrogen blend such as 21-0-0 (Ammonium Sulfate) to drive chlorophyll production. If the book requires shots of fruit or flower maintenance, use a 5-10-15 ratio to support reproductive development without inducing excessive vegetative stretch. Ensure the organic matter content remains at 5 to 8 percent to provide the dark, rich color contrast necessary for high-shutter-speed photography.
Timing:
Success depends on the Hardiness Zone and the specific frost-date window of your region. In Zones 6 through 8, the primary window for preparing the site begins 4 to 6 weeks before the last predicted frost. This timing allows the soil microbiology to stabilize before active planting. You must track the biological clock of your specimens; for instance, woody perennials enter their highest state of vascular activity during the spring flush.
The transition from the vegetative stage to the reproductive stage is governed by the photoperiod. For a tool maintenance book, you want to capture plants in their peak vegetative state to emphasize the use of bypass pruners and hedging shears. Schedule your primary photography sessions when the ambient temperature is between 65 and 75 degrees Fahrenheit. Temperatures exceeding 85 degrees can cause temporary wilting or "midday slump," which results in poor visual representations of plant health in your manual.
Phases:

Sowing
Direct sow seeds at a depth of three times the seed diameter to ensure uniform germination. Maintain a consistent soil moisture level of 70 percent field capacity. Use a mechanical seeder for straight rows; geometric precision is vital for technical manuals.
Pro-Tip: Proper sowing depth prevents "damping off" caused by fungal pathogens. This works because consistent moisture and temperature stabilize the gibberellic acid levels within the seed, triggering a uniform emergence.
Transplanting
When moving starts from the greenhouse to the field, ensure the root ball is saturated. Dig a hole twice the width of the root system but no deeper than the original container. This prevents the burying of the root flare, which can lead to stem rot.
Pro-Tip: Apply a mycorrhizal inoculant to the root zone during this phase. This mycorrhizal symbiosis expands the surface area of the root system, allowing for better phosphorus uptake and increased drought resistance during the shoot.
Establishing
During the first 21 days, the plant focuses on root architecture rather than top growth. Monitor the soil with a digital moisture meter to ensure the water reaches the bottom of the root zone. Avoid high-pressure sprays that can displace soil and coat plant leaves in grit.
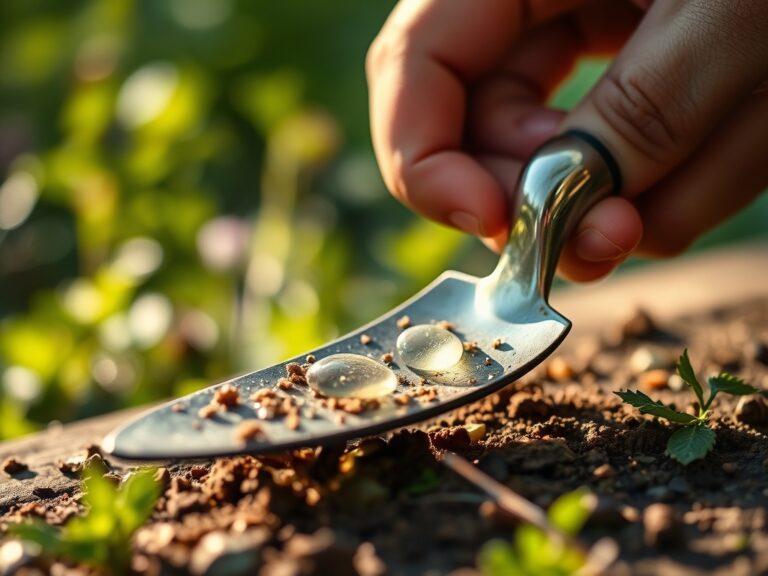
Pro-Tip: Use a hori-hori knife to prune circling roots before planting. This disrupts auxin suppression at the root tips, encouraging lateral branching and a more robust structural foundation for the plant.
The Clinic:
Physiological disorders can ruin the visual quality of your garden. Use this diagnostic guide to maintain book-ready specimens.
Symptom: Interveinal chlorosis on young leaves.
Solution: This indicates an Iron deficiency, often caused by a pH above 7.2.
Fix-It: Apply chelated iron as a foliar spray for immediate absorption and lower the soil pH using elemental sulfur.
Symptom: Leaf tip burn or marginal necrosis.
Solution: This is often a sign of salt accumulation or inconsistent irrigation.
Fix-It: Flush the soil with 3 inches of water to leach excess salts and stabilize the irrigation schedule to 1.5 inches per week.
Symptom: Blossom end rot in fruiting bodies.
Solution: Calcium deficiency exacerbated by erratic moisture levels.
Fix-It: Apply calcium nitrate and ensure the soil does not drop below 40 percent moisture during the fruit-set stage.
Maintenance:
Precision maintenance is the core of a professional garden. Apply exactly 1.5 inches of water per week at the drip line. Use a soil moisture meter daily to verify that the water is penetrating to a depth of 6 to 8 inches. For pruning, always use bypass pruners for living tissue to ensure a clean "biological seal" that prevents pathogen entry.
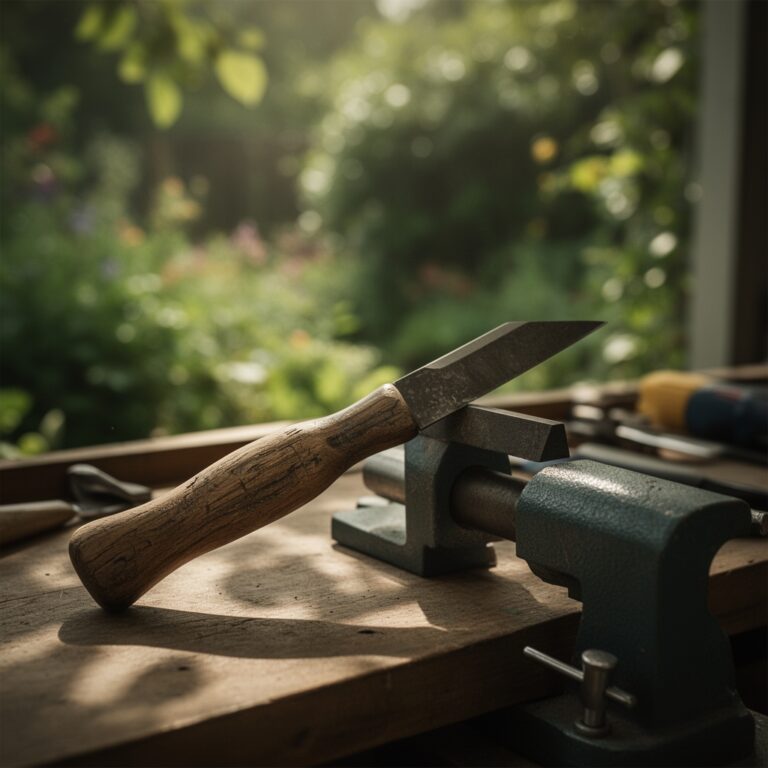
Keep your hori-hori knife sharpened to a 20-degree angle for efficient weeding without disturbing the root systems of your primary subjects. When documenting tool use, ensure the metal surfaces are wiped with mineral oil to prevent oxidation and provide a professional sheen for the camera. Manage the "weed seed bank" by applying a 2-inch layer of arborist wood chips, which suppresses germination through light exclusion while maintaining soil temperature stability.
The Yield:
Harvesting for a maintenance book should occur when the plant reaches peak physiological maturity but before senescence begins. For leafy greens, harvest in the early morning when cell turgidity is at its maximum. Use a sharpened harvest knife to make a single, clean stroke.
Post-harvest handling is critical for "day-one" freshness. Immediately submerge the cut ends in 40-degree Fahrenheit water to remove field heat. This slows the metabolic rate and prevents the breakdown of sugars and chlorophyll. If you are photographing the harvest process, keep the produce in a shaded, humid environment to prevent the leaves from flagging under the heat of photographic lighting.
FAQ:
How do I test my soil for a tool book?
Submit a sample to a local lab for a standard nutrient analysis. Ensure the report includes CEC, pH, and organic matter percentages. Aim for a pH of 6.5 and organic matter above 5 percent for optimal results.
What is the best water schedule for photography?
Irrigate deeply at 05:00 hours to ensure plants are fully turgid by the time the light is sufficient for photos. Apply 1.5 inches of water per week, focusing on the drip line to avoid wetting the foliage.
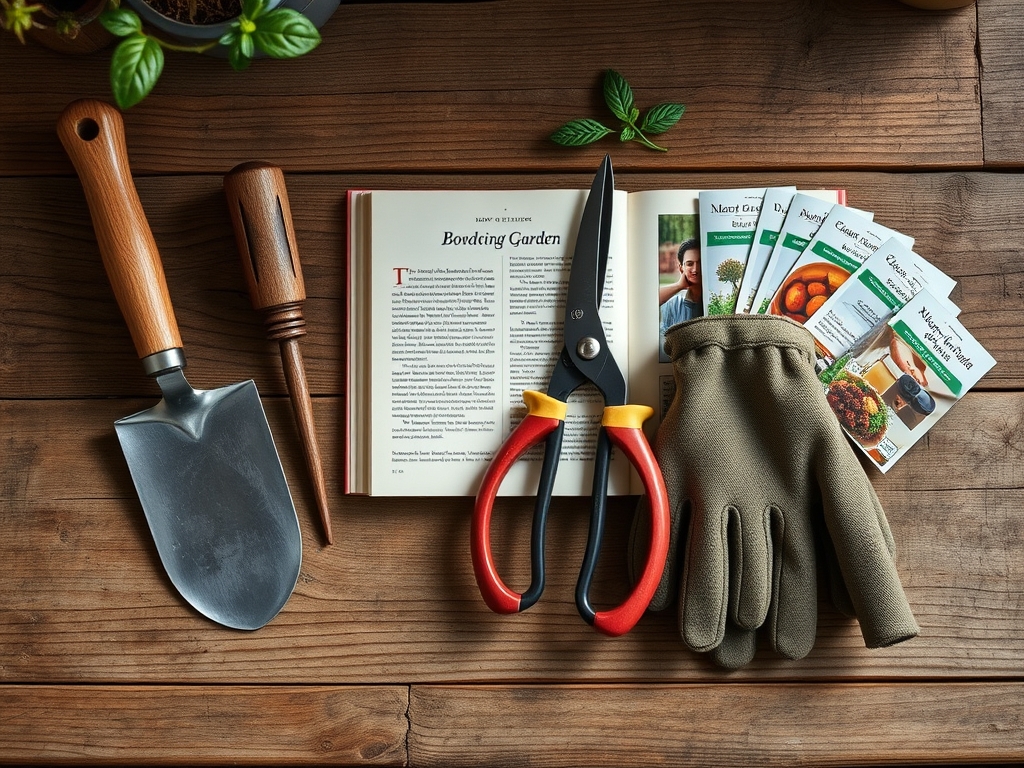
Which tools are essential for garden preparation?
A hori-hori knife for weeding, bypass pruners for clean cuts, and a stainless steel spade for soil work are vital. Ensure all edges are honed and metal surfaces are oiled to prevent rust and glare.
How do I fix yellow leaves quickly?
For nitrogen chlorosis, apply a liquid urea fertilizer (46-0-0) at a diluted rate for rapid uptake. If the yellowing is interveinal, use chelated iron. Always check the soil pH first, as it dictates nutrient availability.