9 Sturdy Steps to Build a Cedar Pergola
Freshly turned earth releases a sharp, geosmin-rich scent that signals a site is ready for structural integration. When the soil reaches a stable temperature and the turgor pressure in surrounding flora is at its peak, the environmental conditions are optimal for construction. Mastering the steps to build a cedar pergola requires more than carpentry skills; it demands an understanding of how timber interacts with the local ecosystem and the soil beneath. Western Red Cedar (Thuja plicata) is the preferred medium due to its natural thujaplicins, which are organic compounds that resist fungal decay. This guide provides the technical framework to erect a structure that survives the elements while supporting the biological needs of climbing vines.
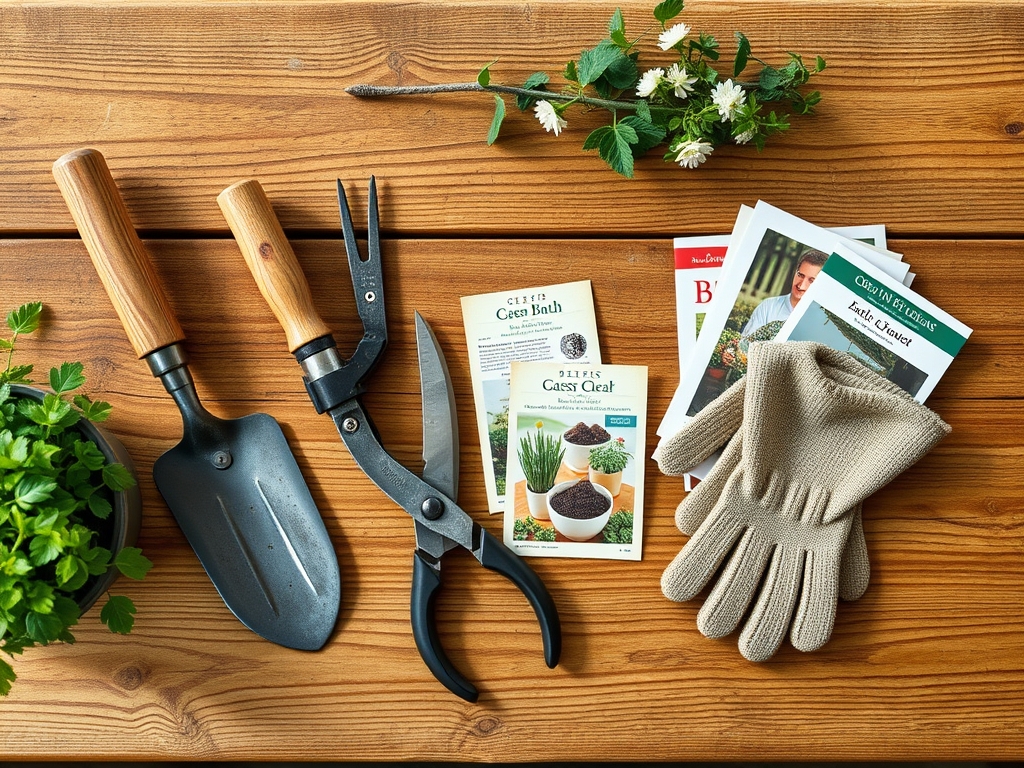
Materials:
The foundation of any cedar structure begins with the soil chemistry at the post-hole sites. To ensure long term stability and prevent the leaching of wood preservatives into the rhizosphere, you must analyze the substrate. The ideal substrate is a friable loam with a Cation Exchange Capacity (CEC) between 15 and 25 meq/100g. This ensures that the soil can hold nutrients for surrounding plants without becoming a bog that rots the footings.
If you intend to plant climbers against the pergola, the soil pH should be maintained between 6.0 and 7.0. For optimal vegetative growth, incorporate a slow release fertilizer with an NPK ratio of 10-10-10 into the backfill. Avoid high nitrogen levels (above 15) during the initial construction phase to prevent excessive weed competition before the primary ornamental specimens are established. Use 6×6 pressure-treated lumber for below-grade support, but use rough-sawn cedar for all visible components to take advantage of its superior cellular density and weather resistance.
Timing:
The construction window is dictated by your USDA Hardiness Zone. In Zones 5 through 7, the ideal time to execute the steps to build a cedar pergola is during the dormant season or early spring before the first frost-free date. This timing prevents soil compaction when the ground is overly saturated.
The biological clock of the surrounding landscape is critical. You must complete the heavy structural work before the "bud break" or the transition from the vegetative to reproductive stages in local perennials. Constructing during the late winter allows you to install the pergola without damaging the emerging root systems of nearby plants. If you wait until the photoperiod exceeds 14 hours of daylight, the heat will increase the rate of transpiration in your existing garden, making the plants more susceptible to stress from construction dust and foot traffic.
Phases:

Sowing the Foundation
The first step is the excavation of post holes to a depth of at least 36 inches, or below the local frost line. Use a power auger to ensure vertical precision. Fill the bottom 6 inches of the hole with crushed stone (3/4 inch minus) to facilitate drainage and prevent anaerobic conditions at the base of the post.
Pro-Tip: Proper drainage prevents the buildup of hydrostatic pressure. From a biological perspective, avoiding waterlogged soil around the posts prevents the proliferation of anaerobic bacteria that can migrate to the roots of nearby ornamental plants and cause root rot.
Transplanting the Structure
Once the footings are set in concrete, the 6×6 cedar posts are secured using galvanized steel bases. These bases provide a 1-inch standoff to prevent capillary action from drawing moisture into the end grain of the wood. Leveling is achieved using a transit level to ensure the beams sit perfectly horizontal across the span.
Pro-Tip: Use a level and plumb bob to ensure structural integrity. This relates to phototropism; if your structure is unlevel, the plants you train onto it will grow unevenly as they struggle to find the most efficient path toward the sun, leading to lopsided biomass distribution.
Establishing the Canopy
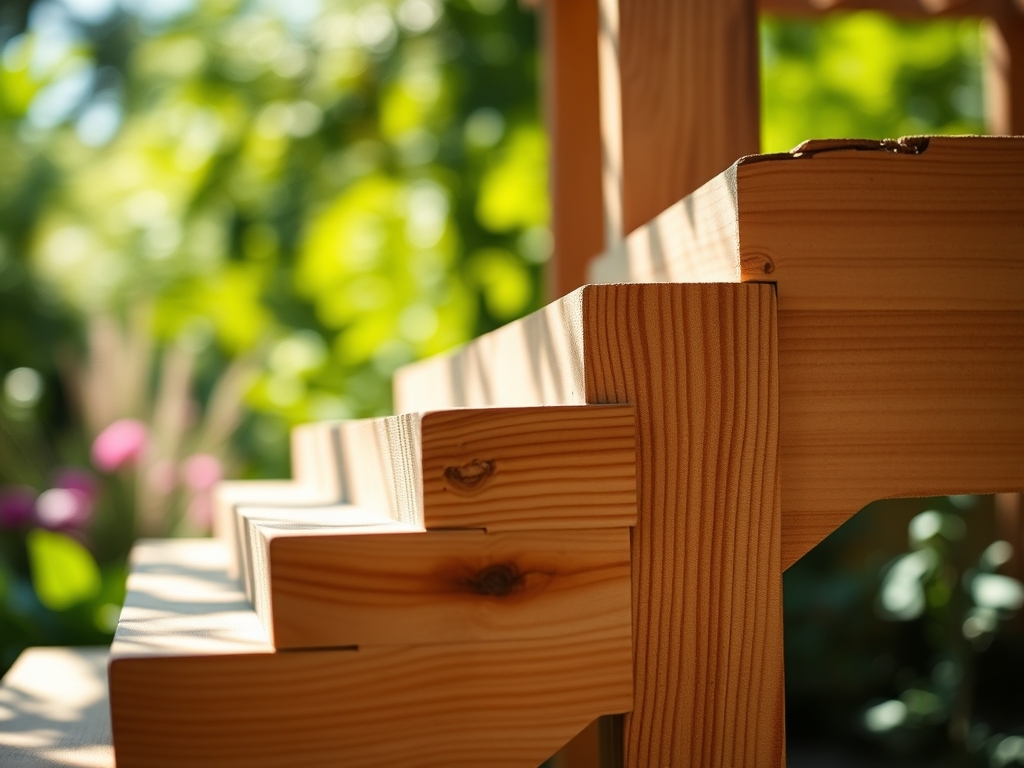
The final phase involves the installation of the 2×8 headers and 2×6 rafters. Notch the rafters to a depth of 1.5 inches to create a mechanical "lock" over the headers. Space the rafters at 16-inch intervals to provide a sufficient grid for vine attachment.
Pro-Tip: Spacing is vital for auxin suppression. By providing a rigid horizontal framework, you encourage lateral growth in climbing plants. This horizontal orientation slows the flow of auxins to the tips, which stimulates the development of lateral buds and results in a denser, more floriferous canopy.
The Clinic:
Physiological stressors can affect both the timber and the plants intended for the pergola.
Symptom: Silvering or "graying" of the cedar surface.
Solution: This is a result of UV degradation of the lignin in the wood cells. Apply a penetrating oil-based stain with UV inhibitors every 24 to 36 months to maintain cellular integrity.
Symptom: Yellowing of leaves (chlorosis) on vines climbing the pergola.
Solution: This often indicates Nitrogen chlorosis. Test the soil pH; if it is above 7.5, the nitrogen is chemically locked. Amend with elemental sulfur to lower the pH and apply a liquid kelp meal to provide immediate micronutrients.
Symptom: Premature leaf drop or wilting despite regular watering.
Solution: Check for soil compaction around the pergola base. Use a soil moisture meter to verify if water is reaching the root zone or simply running off the surface. Core aeration may be required to improve oxygen infiltration into the rhizosphere.
Maintenance:
A cedar pergola requires precise maintenance to ensure a lifespan of 20 years or more. Inspect all galvanized fasteners annually for signs of corrosion. Use a hori-hori knife to remove any invasive weeds or suckers that attempt to grow into the post bases, as these can trap moisture against the wood.
Irrigation for the plants climbing the structure must be targeted. Apply 1.5 inches of water per week directly at the drip line using a soaker hose. Avoid overhead watering, which increases the risk of fungal pathogens on the foliage. Use bypass pruners to remove any dead or "senescent" wood from the climbing plants during their dormant phase. This encourages new, vigorous growth and prevents the structure from becoming overloaded with dead biomass.
The Yield:
If your pergola supports fruiting vines like Vitis vinifera (grapes), the yield depends on the timing of the harvest. Monitor the Brix levels (sugar content) using a refractometer. Grapes are typically ready when they reach a Brix level of 18 to 22.
Harvest in the early morning while the fruit is still cool to maintain maximum turgor and flavor. Use sharp snips to cut the clusters; do not pull them, as this can damage the fruiting spurs for next season. Post-harvest, keep the fruit in a cool, humid environment at 32 to 35 degrees Fahrenheit to slow the rate of respiration and preserve freshness.
FAQ:
How deep should pergola posts be buried?
Posts must reach below the local frost line, typically 36 to 48 inches. This prevents frost heave from displacing the structure. Proper depth ensures the pergola remains stable during high wind events and seasonal soil expansion.
Can I grow heavy vines like Wisteria on cedar?
Yes, but the cedar must be "old growth" or high-grade heartwood. Wisteria creates significant weight and "girdling" pressure. Ensure your rafters are 2×8 or larger and spaced no more than 12 inches apart to support the biomass.
Does cedar need to be sealed immediately?
Wait until the wood's moisture content drops below 14 percent. Use a moisture meter to check. Sealing too early traps internal moisture, which can lead to internal fungal decay and "blue stain" mold within the wood fibers.
What is the best NPK ratio for pergola climbers?
Use a 10-30-20 ratio in early spring. The high phosphorus content supports strong root establishment and heavy flowering. Switch to a balanced 10-10-10 formula in mid-summer to maintain vegetative health without over-stimulating soft, vulnerable new growth.