10 Pro Tips How to Landscape a Front Yard
Crushing a handful of friable loam reveals the metallic scent of geosmin, a byproduct of Actinobacteria activity that signals a healthy rhizosphere. Mastering how to landscape a front yard requires moving beyond aesthetics to prioritize plant physiology and soil mechanics. A successful installation depends on maintaining high turgor pressure in newly sited specimens and ensuring the Cation Exchange Capacity (CEC) of the soil can support sustained nutrient uptake. You are not merely placing plants; you are engineering a living system that must withstand fluctuating transpiration rates and compaction pressures. Every decision, from the depth of the root ball to the specific NPK ratio of the starter fertilizer, dictates the long-term success of the site. High-performance landscaping demands a clinical understanding of how light, water, and mineral availability intersect to drive metabolic processes. By focusing on the structural integrity of the soil and the biological requirements of the species, you ensure the landscape thrives rather than merely survives.
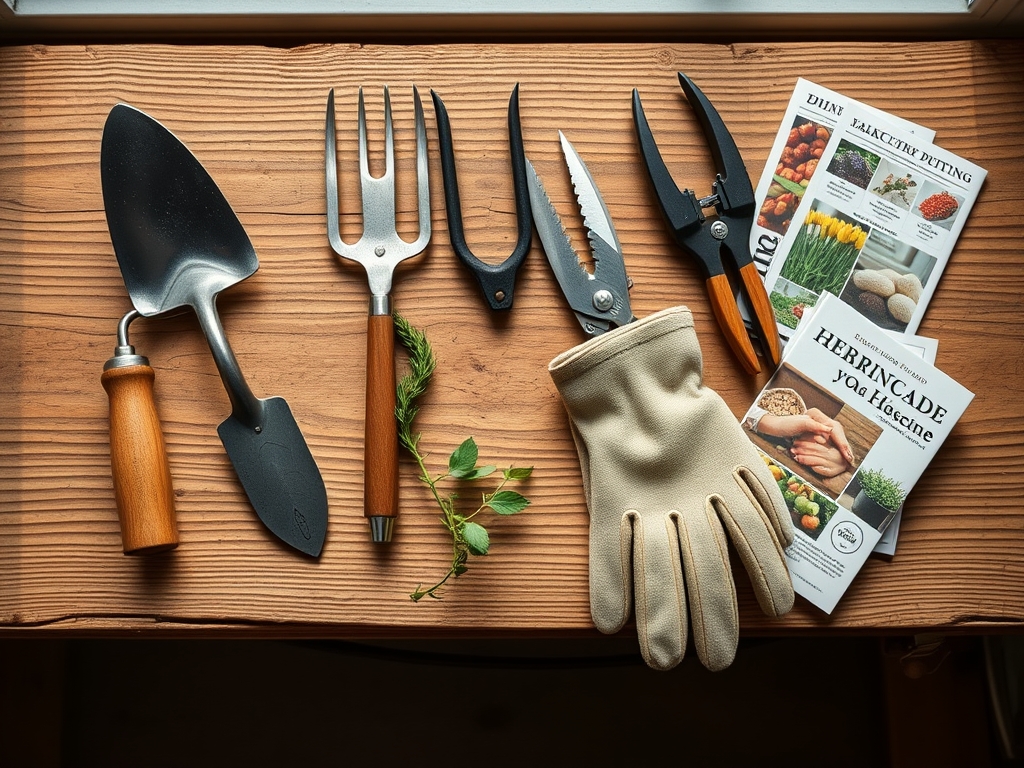
Materials:
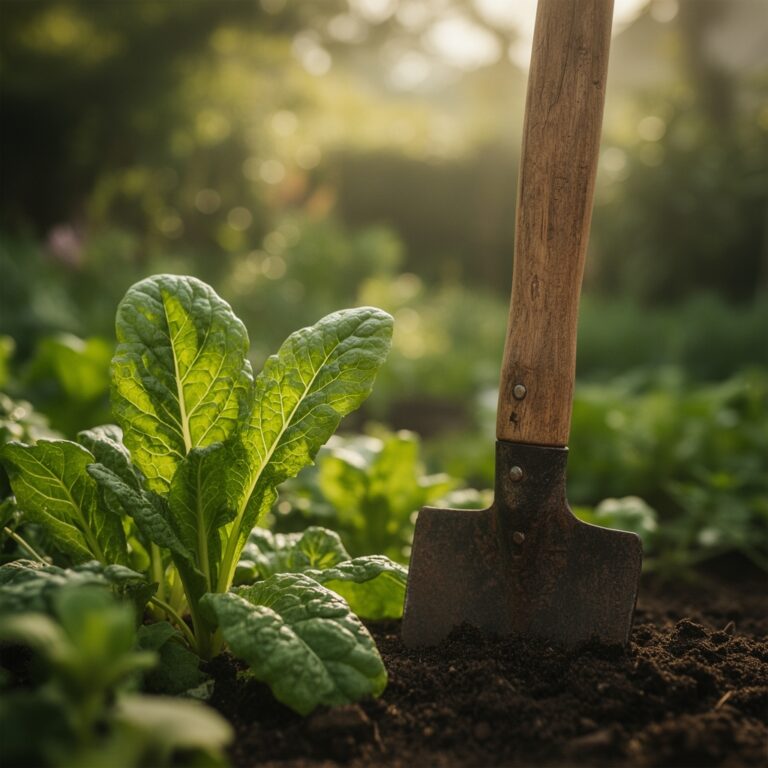
The foundation of the project is the substrate. For most temperate front yard species, aim for a pH range between 6.0 and 7.0. This range ensures maximum bioavailability of macronutrients. The physical texture should be a friable loam, consisting of roughly 40% sand, 40% silt, and 20% clay. This composition allows for a high infiltration rate while maintaining sufficient moisture retention.
Regarding nutrient inputs, avoid generic fertilizers. Use a slow-release 10-10-10 NPK formula for general establishment. If you are planting woody perennials or shrubs, a lower nitrogen ratio such as 5-10-10 encourages root development over excessive vegetative growth. For acid-loving species like Pieris or Azaleas, the soil pH must be amended with elemental sulfur to reach a 4.5 to 5.5 range. Use a calibrated soil moisture meter to verify that the substrate maintains a consistent 25% to 35% volumetric water content during the initial three weeks of establishment.
Timing:
Successful execution depends on the USDA Hardiness Zone and the local frost-free window. In Zones 5 through 7, the primary planting windows occur when soil temperatures reach a consistent 55 degrees Fahrenheit. This temperature triggers the "Biological Clock," transitioning the plant from dormancy to active root elongation.
The transition from the vegetative stage to the reproductive stage is governed by the photoperiod. Long-day plants require more than 12 hours of light to initiate flowering, while short-day plants respond to increasing periods of darkness. Schedule your installation at least six weeks before the first hard frost to allow for sufficient root establishment. This period ensures the plant can sequester enough carbohydrates in the root system to survive winter senescence.
Phases:

Sowing and Site Preparation
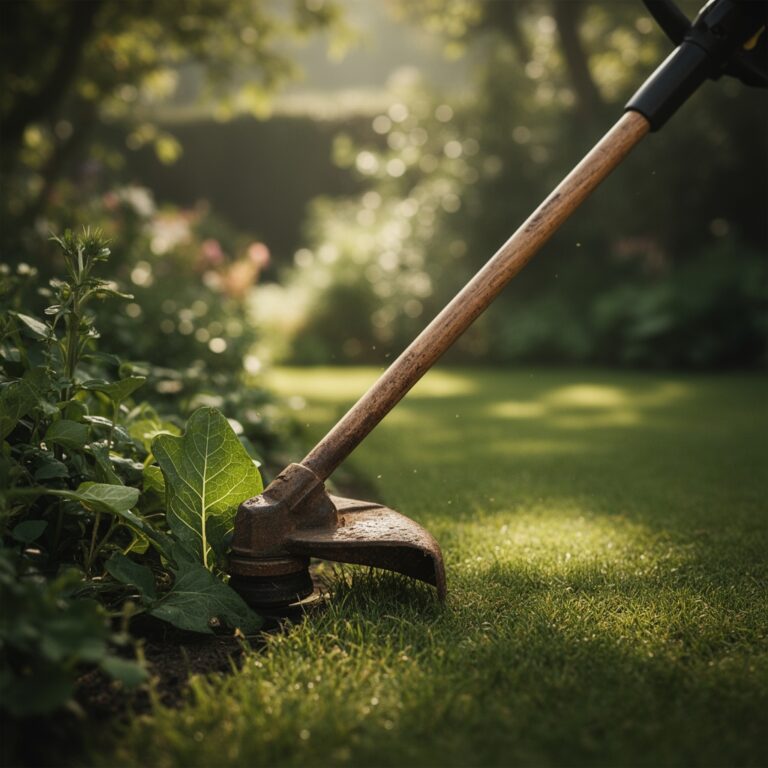
Clear all existing turf and weeds using a mechanical sod cutter or a hori-hori knife for smaller areas. Till the soil to a depth of 8 to 12 inches only if the soil is severely compacted; otherwise, use a broadfork to aerate without disrupting the established fungal networks.
Pro-Tip: Incorporate mycorrhizal inoculants into the planting hole. This biological why is centered on mycorrhizal symbiosis, where fungal hyphae extend the root system's reach, increasing the surface area for phosphorus absorption by up to 1,000 percent.
Transplanting
Dig holes two times wider than the root ball but no deeper. The flare of the trunk must remain visible at the soil surface. Backfill with native soil to avoid creating a "bathtub effect" where water collects in the looser amended soil and drowns the roots.
Pro-Tip: When transplanting shrubs, prune any circling roots to prevent girdling. This encourages auxin suppression at the root tips, which stimulates the growth of lateral feeder roots essential for nutrient uptake.
Establishing
Apply a 3-inch layer of organic mulch, keeping it 2 inches away from the stems of the plants. This prevents crown rot while regulating soil temperature and moisture.
Pro-Tip: Orient plants according to their original nursery positioning to prevent sunscald. This respects the plant's phototropism, as the cellular structure on the "sunny side" of the stem has already adapted to higher UV intensity.
The Clinic:
Physiological disorders often mimic pest damage but are usually rooted in environmental stress or nutrient imbalances.
- Symptom: Interveinal chlorosis (yellowing between green veins) on new leaves.
- Solution: This indicates an Iron (Fe) deficiency, often caused by high soil pH.
- Fix-It: Apply chelated iron foliar spray or lower soil pH using aluminum sulfate.
- Symptom: Marginal leaf burn or necrosis on older foliage.
- Solution: This suggests Potassium (K) deficiency or salt accumulation.
- Fix-It: Flush the soil with 2 inches of water to leach salts and apply a 0-0-50 potassium sulfate amendment.
- Symptom: Rapid wilting despite moist soil.
- Solution: This is likely Phytophthora root rot, caused by anaerobic conditions.
- Fix-It: Improve drainage by incorporating coarse perlite or raising the planting bed by 6 inches.
Maintenance:
Precision maintenance is the difference between a declining landscape and a thriving one. Deliver 1.5 inches of water per week at the drip line, rather than at the base of the trunk, to encourage outward root expansion. Use bypass pruners for clean cuts that heal quickly; anvil pruners can crush vascular tissue and invite pathogens.
Monitor the site with a soil moisture meter at a depth of 6 inches. If the meter reads below 20%, initiate a deep watering cycle. Use a hori-hori knife to remove deep-taproot weeds like dandelions before they reach the reproductive stage and disperse seeds. Annually, top-dress with 0.5 inches of finished compost to maintain a high Cation Exchange Capacity, ensuring the soil can hold onto essential minerals like Calcium and Magnesium.
The Yield:
If your front yard landscape includes ornamental or edible flowers like Lavender or Echinacea, harvest during the "balloon stage" just before the buds fully open. This timing ensures the highest concentration of essential oils and maximum vase life.
Use sharp snips to cut the stems at a 45-degree angle to increase the surface area for water uptake. Immediately plunge the stems into 110-degree Fahrenheit water (the "hardening off" process) and move them to a cool, dark location for two hours. This technique maintains day-one freshness by reducing the respiration rate and preventing air embolisms in the xylem.
FAQ:
How do I fix compacted soil in my front yard?
Use a broadfork or mechanical aerator to create channels for oxygen and water. Incorporate 3 inches of organic matter to improve soil structure and increase the Cation Exchange Capacity over time. Avoid heavy machinery that collapses soil macropores.
What is the best NPK ratio for new plants?
A balanced 10-10-10 ratio is standard for general establishment. However, for woody ornamentals, a 5-10-10 ratio is superior as it prioritizes root architecture and carbohydrate storage over rapid, weak vegetative growth that is susceptible to pests.
How often should I water a new landscape?
Provide 1 to 1.5 inches of water per week. Use a rain gauge to track precipitation. Water deeply and infrequently to encourage roots to penetrate deeper into the soil profile, which increases drought resistance during high-evapotranspiration periods.
When is the best time to prune front yard shrubs?
Prune most deciduous shrubs in late winter or early spring while they are dormant. This timing minimizes sap loss and allows the plant to direct its spring energy surge toward closing the pruning wounds before pathogen activity increases in summer.
How do I know if my soil pH is wrong?
Observe the foliage for chlorosis or stunted growth. A soil test is the only definitive method. If pH is above 7.5, nutrients like iron and manganese become "locked" and unavailable to the plant's vascular system.