9 Basic Steps to Clean a Garden Trowel After Use
The smell of damp earth and the turgor of a healthy leaf define the success of a horticultural season. However; the same soil that supports life also harbors pathogens and abrasive particulates that degrade steel. Neglecting your hand tools leads to cross-contamination of the rhizosphere and premature oxidation. Mastering the steps for cleaning a garden trowel after use ensures that your primary interface with the soil remains a sterile; sharp instrument capable of precise root manipulation.
Materials:
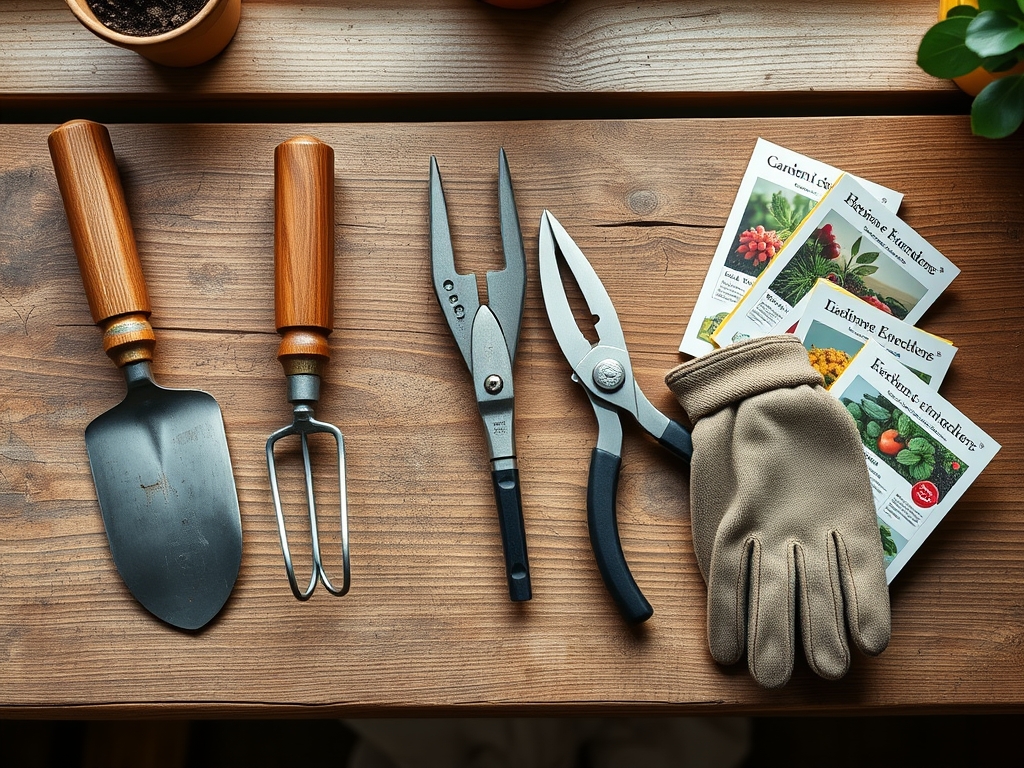
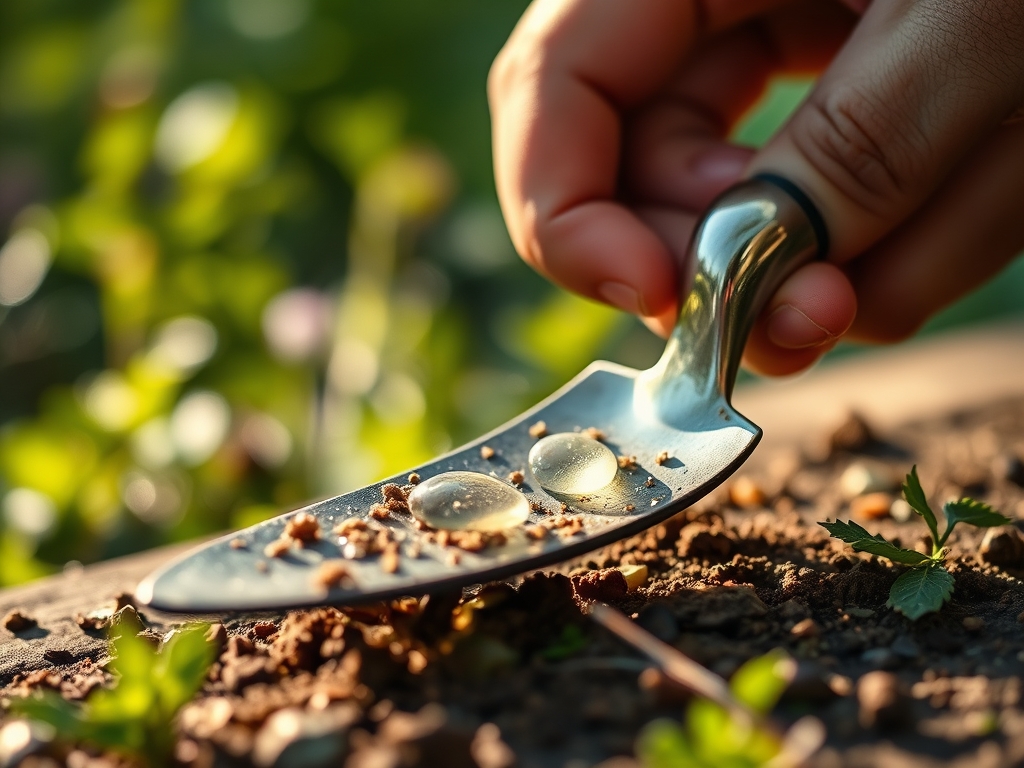
Effective maintenance begins with understanding the substrate your tool encounters. A friable loam with a **pH of 6.5** and a balanced **NPK ratio of 10-10-10** is ideal for plant growth; but its high organic matter content retains moisture against metal surfaces. To clean your trowel; you require a five-gallon bucket filled with coarse builder’s sand saturated with **30 weight motor oil** or a vegetable-based alternative. You also need a stiff-bristled nylon brush; 70 percent isopropyl alcohol for sterilization; and a dry microfiber cloth. Avoid using water alone; as it facilitates the electrochemical process of rusting.
Timing:
Maintenance must occur immediately following use to prevent the hardening of clay particles. In Hardiness Zones 5 through 8; the biological clock of the garden dictates tool frequency. During the transition from vegetative to reproductive stages; tool sterility is paramount to prevent the spread of soil-borne fungi. As frost-date windows approach in late autumn; tools must undergo a deep-cleaning phase before winter senescence. This prevents the overwintering of pathogens like Fusarium or Verticillium within the microscopic pits of the metal blade.
Phases:

Sowing
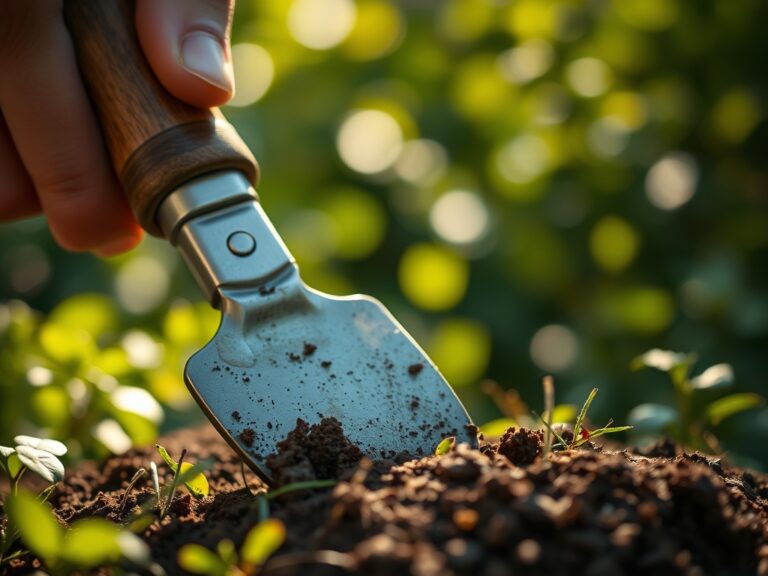
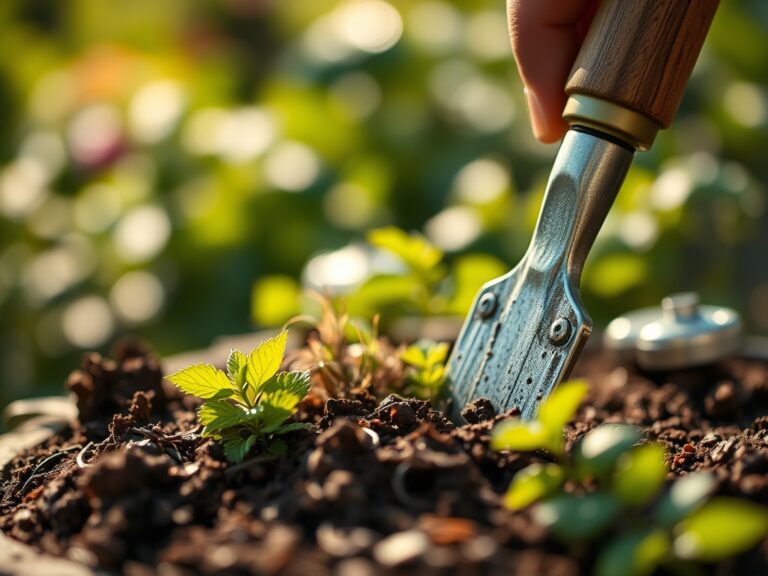
The first step involves the physical removal of bulk soil. Use a wooden spatula or the back of a hori-hori knife to scrape away large clods of earth. This prevents the abrasive grit from scratching the protective coating of the steel during the finer cleaning stages.
Pro-Tip: Removing soil prevents the accidental transfer of weed seeds and dormant larvae. This protects the delicate rhizosphere of new seedlings from competition and early-stage root predation.
Transplanting
Once the bulk soil is removed; submerge the trowel into the oiled sand bucket several times. The friction of the sand acts as a mechanical abrasive to polish the metal; while the oil creates a hydrophobic barrier. This is critical when moving plants; as a smooth blade reduces friction and minimizes damage to the root ball.
Pro-Tip: Minimizing root trauma maintains high turgor pressure within the plant. This reduces transplant shock by ensuring the xylem remains intact and capable of transporting water immediately after the move.
Establishing
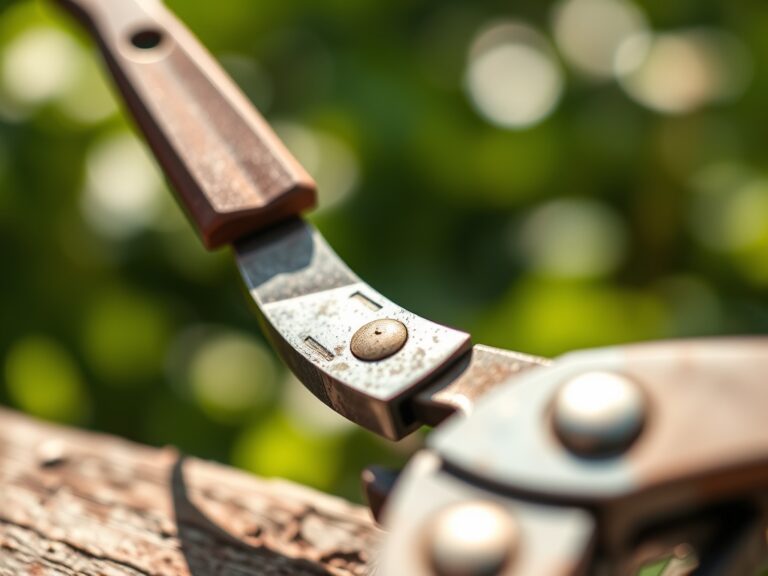
The final phase is chemical sterilization. Wipe the blade with a cloth soaked in 70 percent isopropyl alcohol. This kills bacteria; viruses; and fungal spores that survive the mechanical cleaning process. Pay close attention to the "neck" of the trowel where the blade meets the handle; as this area often traps organic debris.
Pro-Tip: Sterilization prevents the suppression of mycorrhizal symbiosis. By ensuring your tool is clean; you avoid introducing antagonistic fungi that could outcompete the beneficial fungi necessary for nutrient uptake.
The Clinic:
Physiological disorders in the garden often stem from poor tool hygiene. Observe the following symptoms and apply the necessary fixes.
Symptom: Bacterial Wilt. If plants show sudden drooping despite high soil moisture; the trowel may have introduced Ralstonia solanacearum.
Solution: Immediately isolate the affected area and soak all hand tools in a 10 percent bleach solution for 30 minutes.
Symptom: Nitrogen Chlorosis. Yellowing of older leaves indicates a nitrogen deficiency; often caused by high-carbon debris (like uncleaned wooden handles) robbing nitrogen from the soil to decompose.
Solution: Ensure tool handles are sealed and apply a high-nitrogen fertilizer with an NPK of 21-0-0 to restore leaf color.
Symptom: Iron Chlorosis. Interveinal yellowing in high pH soils (above 7.5 pH).
Solution: Clean tools to prevent alkaline soil transfer and apply chelated iron foliar sprays to bypass soil lock-out.
Maintenance:
A well-maintained trowel should glide through the soil with minimal resistance. Check the edge of your blade weekly; use a fine-grit metal file to remove burrs; maintaining a 45-degree bevel. Store tools in a dry; ventilated shed away from fertilizers; as the salts in fertilizers are highly corrosive. During the growing season; ensure your plants receive 1.5 inches of water per week at the drip line; monitored by a soil moisture meter. Use bypass pruners for clean cuts on soft tissue and reserve the trowel strictly for soil work to maintain its edge.
The Yield:
For root crops like carrots or beets; the cleanliness of the trowel directly impacts the post-harvest shelf life. A clean; sharp trowel makes a surgical incision in the soil; preventing bruising of the taproot. Harvest during the cool of the morning when turgor pressure is at its peak. Immediately move the yield to a shaded area to slow the rate of senescence. For "day-one" freshness; hydro-cool the vegetables in 40-degree Fahrenheit water to remove field heat and stabilize the cellular structure.
FAQ:
How often should I clean my garden trowel?
Clean your trowel after every use. Mechanical cleaning takes thirty seconds; while sterilization should occur between different garden beds to prevent the cross-contamination of soil pathogens and invasive weed seeds.
Can I use water to wash my garden tools?
Water is acceptable only if the tool is dried immediately and thoroughly. Residual moisture leads to oxidation. A better method is using oiled sand; which cleans and lubricates the metal in one motion.
What is the best oil for tool maintenance?
Mineral oil or boiled linseed oil are superior choices. They provide a durable; water-resistant coating that does not go rancid. Avoid using motor oil if you are maintaining an organic vegetable plot.
Why is my trowel blade turning black?
Blackening often indicates tannin staining from high-organic soils or the beginning of "black rust." Scrub the blade with steel wool and a mild acid like vinegar; then neutralize with baking soda and apply a fresh oil coat.