6 Smart Steps to Prepare a Tool Storage Manual
The sharp scent of wet humus and the cool resistance of high turgor pressure in a leaf signify a garden at peak physiological performance. Maintaining this level of excellence requires more than just water; it demands a systematic approach to documentation and infrastructure. Learning how to prepare a garden for a tool storage manual ensures that every mechanical intervention, from aeration to precision pruning, is backed by a rigorous maintenance schedule. When tools are stored according to a technical manual, their interaction with plant tissue remains clean. Dull blades cause cellular crushing that invites pathogens, while oxidized steel can introduce heavy metal contamination into the rhizosphere. A well prepared garden serves as the testing ground for the manual, allowing a horticulturist to calibrate their equipment against specific soil densities and plant woody structures. By aligning storage protocols with seasonal growth cycles, you stabilize the environment. This technical preparation transforms a collection of plants into a high performance biological system where every spade and pruner is optimized for maximum efficiency.
Materials:
Successful garden preparation begins with the substrate. The ideal growing medium is a **friable loam** consisting of 40 percent sand, 40 percent silt, and 20 percent clay. This balance ensures a high **Cation Exchange Capacity (CEC)**, allowing the soil to retain essential nutrients like ammonium and potassium. For most temperate crops, maintain a **soil pH between 6.2 and 6.8**.
Specific nutrient profiles must be adjusted based on the stage of the garden. For a vegetative focus, utilize an NPK ratio of 10-5-5. If the garden is transitioning to reproductive stages, shift to a 5-10-10 ratio to provide the phosphorus and potassium necessary for flower and fruit development. The physical texture should allow for easy penetration of a soil moisture meter probe to a depth of 12 inches without encountering excessive compaction or anaerobic pockets.
Timing:
Timing is governed by the Hardiness Zone and the local frost-date window. In Zones 5 through 7, the primary window for garden preparation occurs 4 to 6 weeks before the last predicted frost. This period aligns with the biological clock of perennial species as they emerge from dormancy and enter the vegetative stage.
Monitoring the photoperiod is essential; many plants trigger hormonal shifts based on the length of daylight. As days exceed 12 hours, auxin production increases, stimulating apical dominance. Preparation for the tool storage manual should be completed before the reproductive stage begins, as the physical presence of tools and maintenance equipment must be coordinated with the plant's metabolic demands. Failure to time these actions correctly can lead to senescence or premature fruit drop due to mechanical stress.
Phases:
### Sowing
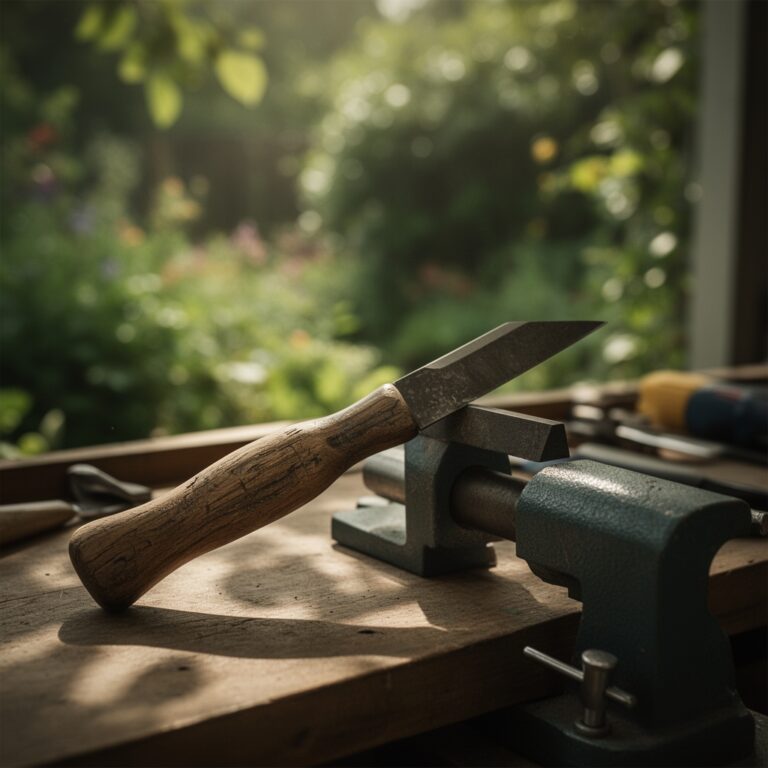
Direct sow seeds only when the soil temperature consistently reaches **55 degrees Fahrenheit**. Use a **hori-hori knife** to create furrows at a depth exactly **three times the diameter** of the seed. Ensure the seed-to-soil contact is firm to facilitate imbibition.
Pro-Tip: Proper sowing depth is critical for phototropism. If a seed is buried too deep, the seedling will exhaust its endosperm energy reserves before the coleoptile reaches the surface to begin photosynthesis.
Transplanting
When moving starts from a greenhouse to the field, harden them off over a 7 to 10 day period. Dig a hole twice the width of the root ball and ensure the crown sits level with the soil surface.
Pro-Tip: Use a mycorrhizal inoculant during transplanting to foster mycorrhizal symbiosis. These fungi extend the reach of the root system, increasing the surface area for phosphorus absorption by up to 100 times.
Establishing
During the first 21 days, focus on root development rather than top growth. Maintain consistent moisture levels in the top 6 inches of soil to prevent the root hairs from desiccating.
Pro-Tip: Avoid high-nitrogen fertilizers during the establishment phase to prevent auxin suppression. Excessive nitrogen can trick the plant into prioritizing leaf production over the critical root architecture needed for long term stability.
The Clinic:
Physiological disorders often mimic infectious diseases but result from environmental or nutritional imbalances.
-
Symptom: Interveinal chlorosis on young leaves.
-
Solution: This indicates an Iron deficiency, often caused by a pH above 7.0.
-
Fix-It: Apply chelated iron and lower the soil pH using elemental sulfur to a range of 6.0 to 6.5.
-
Symptom: Blossom end rot on fruit.
-
Solution: This is a Calcium deficiency caused by inconsistent transpiration.
-
Fix-It: Ensure even irrigation and apply a foliar calcium spray. Maintain a steady 1.5 inches of water per week.
-
Symptom: General yellowing of older leaves (Nitrogen chlorosis).
-
Solution: The plant is scavenging nitrogen from old growth to support new growth.
-
Fix-It: Side-dress with a high-nitrogen organic fertilizer like blood meal at a rate of 1 pound per 100 square feet.
-
Symptom: Marginal leaf burn or "scorch."
-
Solution: Potassium deficiency or high salinity in the soil.
-
Fix-It: Flush the soil with clean water to leach salts and apply sulfate of potash.
Maintenance:
Precision maintenance is the backbone of a professional garden. Apply exactly 1.5 inches of water per week at the drip line of the plant; avoid wetting the foliage to prevent fungal spores from germinating. Use a soil moisture meter daily to verify that the root zone remains between 60 and 80 percent of field capacity.
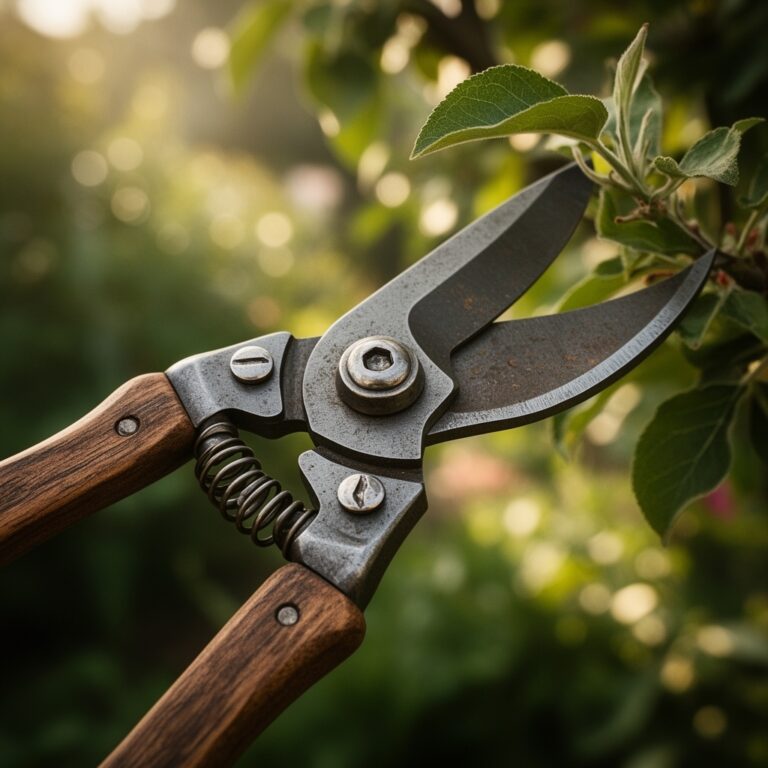
Pruning must be executed with sharp bypass pruners to ensure clean vascular cuts. When removing diseased wood, disinfect the blades with 70 percent isopropyl alcohol between every single cut. Use a hori-hori knife for weeding to ensure the entire taproot is extracted, preventing regrowth from dormant buds. Record every maintenance action in the manual, noting the date, tool used, and the specific plant response observed 48 hours post-intervention.
The Yield:
Harvesting should occur during the period of maximum turgor pressure, typically between 5:00 AM and 8:00 AM. At this time, the plant cells are fully hydrated, and the respiration rate is at its lowest. Use a sharp blade to sever the pedicel; never pull or twist the fruit, as this can damage the parent plant's vascular system.
Post-harvest handling is critical for "day-one" freshness. Immediately move the produce to a shaded area and reduce the "field heat" by hydro-cooling in 50 degree Fahrenheit water. This process slows down the metabolic rate and prevents the rapid breakdown of sugars and vitamins. For woody herbs or flowers, recut the stems underwater at a 45 degree angle to prevent air embolisms from blocking the xylem.
FAQ:
What is the best soil pH for a tool storage garden?
Aim for a pH between 6.2 and 6.8. This range ensures maximum bioavailability of macronutrients and micronutrients. Use a calibrated digital probe for accuracy.
How often should I calibrate my soil moisture meter?
Calibrate the device once every thirty days or whenever you move between significantly different soil textures. Use a distilled water and salt solution to ensure the sensors remain accurate.
Why is mycorrhizal symbiosis important for garden tools?
Healthy fungi reduce soil compaction. This makes manual labor with a hori-hori knife or spade significantly easier while improving the plant's ability to recover from the mechanical stress of pruning.
How do I prevent tool-borne pathogens?
Clean all blades with a 10 percent bleach solution or 70 percent alcohol after each use. This prevents the transfer of viruses and fungi through the open vascular wounds created during pruning.