6 Simple Steps to Sharpen Pruners with a Metal File
The smell of damp earth and the high turgor pressure of a healthy leaf signify a garden in peak physiological performance. When a dull blade crushes vascular tissue instead of severing it, the plant suffers from ragged wounds that invite pathogens and disrupt the flow of xylem and phloem. Mastering the steps for sharpening a garden pruner with a file ensures every cut is a surgical strike that promotes rapid callus formation. A clean bypass cut preserves the structural integrity of the stem; it prevents the jagged tearing that leads to localized necrosis. Maintaining tool geometry is not a matter of aesthetics but a fundamental requirement for plant health. By removing burrs and restoring the 20 degree bevel, you minimize the physical force required for pruning. This reduces mechanical stress on the gardener and biological stress on the specimen. Precision in the workshop translates directly to vigor in the field.
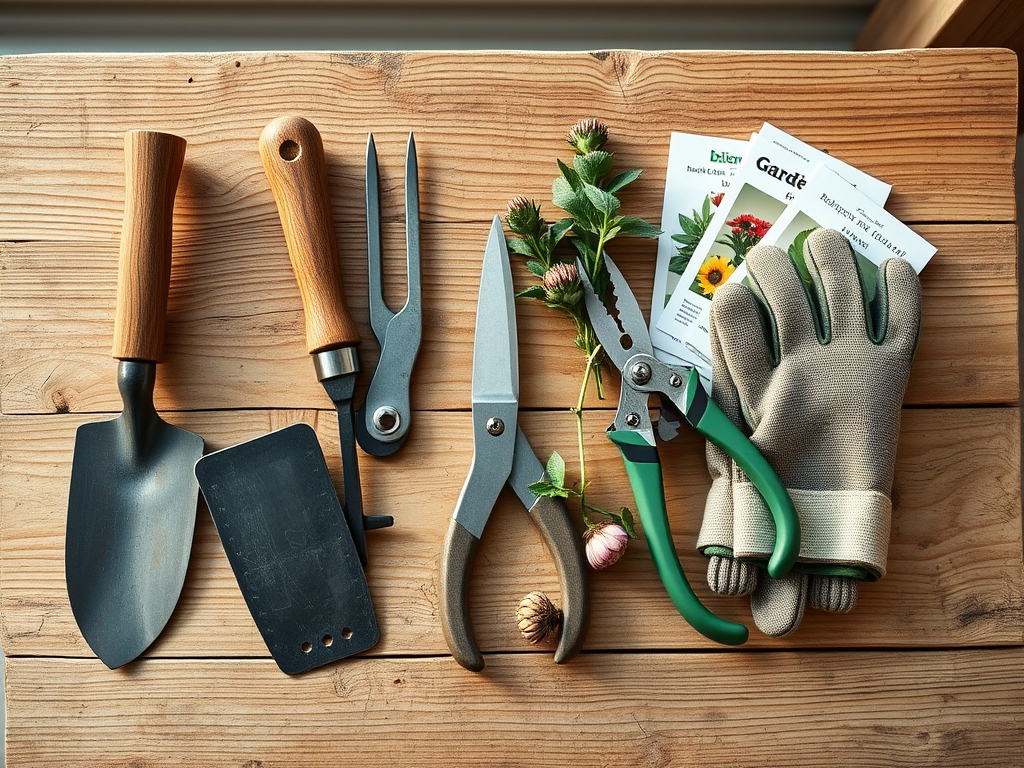
Materials:
Proper maintenance begins with the environment where your tools and plants interact. While sharpening occurs on a bench, the tool’s performance is dictated by the soil it encounters. For container-grown specimens, an ideal substrate is a **friable loam** with a **pH between 6.0 and 6.5**. This acidity level optimizes the **Cation Exchange Capacity (CEC)**, allowing the plant to readily absorb essential nutrients. When pruning for fruit production, ensure the soil has been amended with a balanced **NPK ratio of 10-10-10** or a bloom-boosting **5-10-10** depending on the growth stage. High-carbon organic matter improves the physical texture of the substrate, ensuring that the roots remain oxygenated. A sharp tool prevents the introduction of soil-borne fungi into the plant’s vascular system during routine maintenance.
Timing:
The biological clock of the plant dictates the sharpening schedule. In Hardiness Zones 5 through 7, the primary pruning window occurs during the late dormant season, typically four to six weeks before the last frost date. This timing aligns with the transition from the end of senescence to the surge of spring sap. Sharpening your tools in February or March ensures you are prepared for the "green tip" stage of bud development. Pruning during the vegetative stage requires a sharp blade to manage the rapid expansion of biomass without causing auxin suppression issues. Conversely, pruning during the reproductive stage must be handled with extreme care to avoid aborting flower buds or developing fruit. Always monitor the photoperiod; as days lengthen, the plant's metabolic rate increases, making the speed of wound closure much faster.
Phases:
Sowing and Preparation
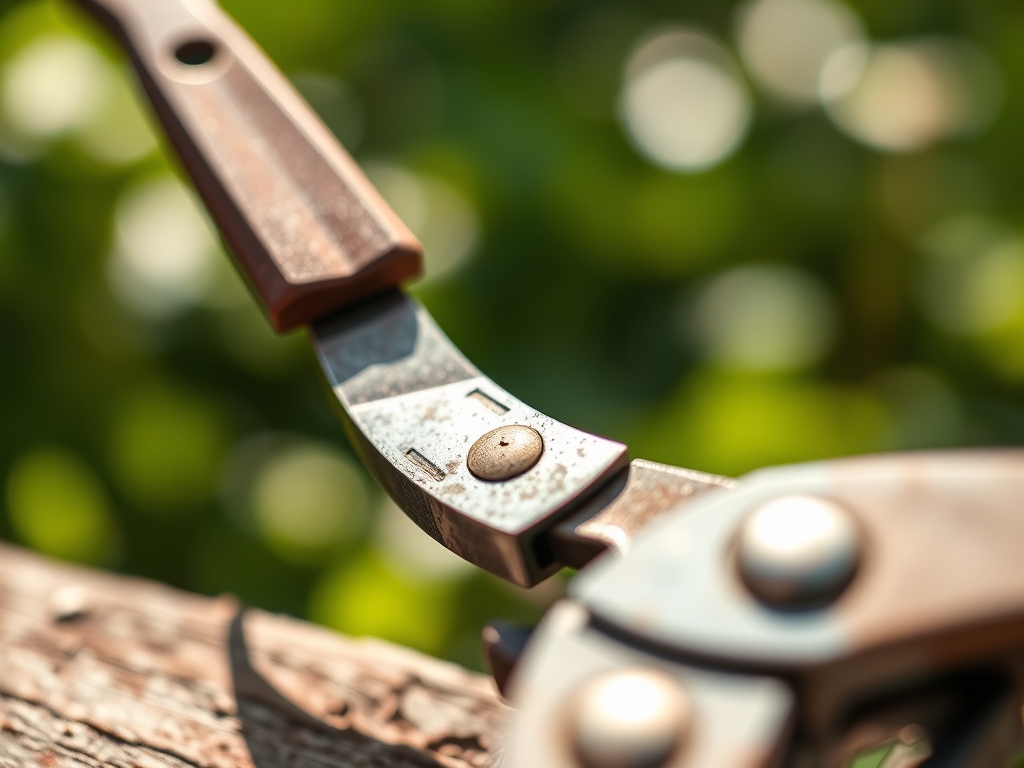
Before the first seed hits the soil, the pruners must be disassembled. Use a 10mm wrench to remove the pivot bolt. Clean the blades with warm soapy water and a stiff brush to remove dried sap and pesticide residue. Dry the metal immediately to prevent oxidation. This phase is critical because contaminated blades can spread tobacco mosaic virus or fire blight across an entire nursery.
Pro-Tip: Clean tools prevent the disruption of the rhizosphere. When you prune a plant, you affect its root-to-shoot ratio. Sharp tools ensure the plant can refocus its energy on root development rather than healing a massive, ragged wound.
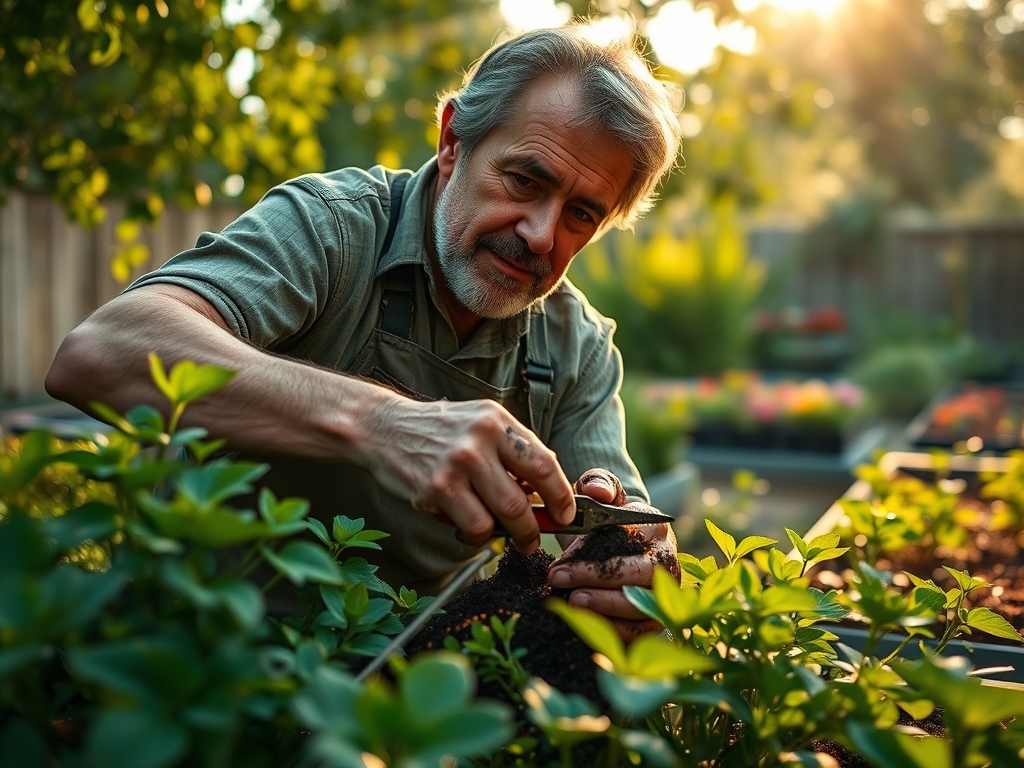
Transplanting and Initial Cuts
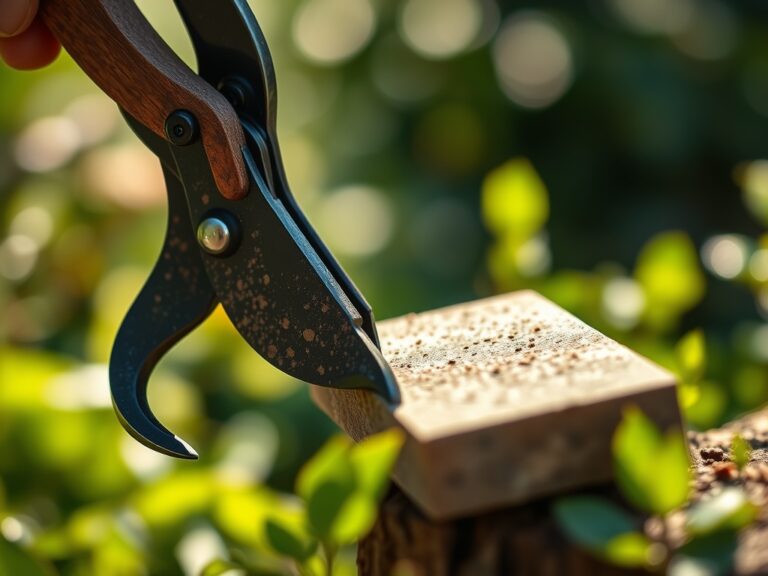
Once the blades are clean, identify the factory bevel. Hold a 6 inch mill file at a 20 degree angle against the cutting edge. Move the file in a smooth, curved motion from the base of the blade to the tip. Only apply pressure on the forward stroke. Repeat this process 10 to 15 times until a bright, silver edge appears.
Pro-Tip: Maintaining a sharp edge supports auxin suppression. When you make a clean heading cut, you remove the apical dominance, allowing lateral buds to break. A dull cut can damage these dormant buds, leading to erratic growth patterns.
Establishing the Edge
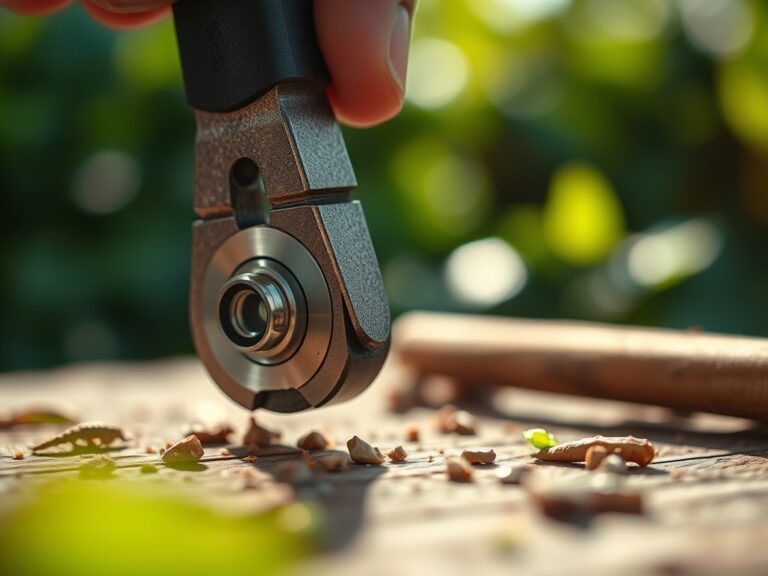
After sharpening the beveled side, flip the blade over. Use the file or a fine-grit whetstone to lay flat against the back of the blade. Lightly stroke once to remove the "burr" or wire edge created during sharpening. This ensures the bypass action is flush. Reassemble the pruners and lubricate the pivot point with a drop of mineral oil.
Pro-Tip: Smooth blades reduce the risk of mycorrhizal symbiosis disruption. While these fungi live in the soil, a healthy, clean-cutting plant maintains a more efficient carbon-for-nutrient exchange with its fungal partners because it is not wasting sugars on massive wound repair.
The Clinic:
Physiological disorders often mimic sharpening failures. If a plant shows Nitrogen chlorosis, characterized by the yellowing of older leaves, check the soil NPK. Fix-It: Apply a water-soluble fertilizer with a high N-value (20-10-10) to restore chlorophyll production. If you observe blossom end rot in tomatoes, it is a calcium deficiency often caused by erratic watering. Fix-it: Maintain consistent soil moisture and check the pH; calcium uptake is inhibited if the soil is too acidic. For iron chlorosis, where new leaves are yellow with green veins, the soil pH is likely above 7.0. Fix-it: Lower the pH using elemental sulfur to increase iron bioavailability.
Maintenance:
A garden requires consistent monitoring to sustain its vigor. Deliver 1.5 inches of water per week at the drip line to ensure the root zone remains hydrated without becoming anaerobic. Use a soil moisture meter to verify that the top 4 inches of soil are not bone dry. When removing deadwood, use a hori-hori knife for weeding near the crown and bypass pruners for precision branch removal. Never use anvil pruners on live tissue as they crush the vascular bundles. Wipe your blades with isopropyl alcohol between every plant to maintain sterile conditions.
The Yield:
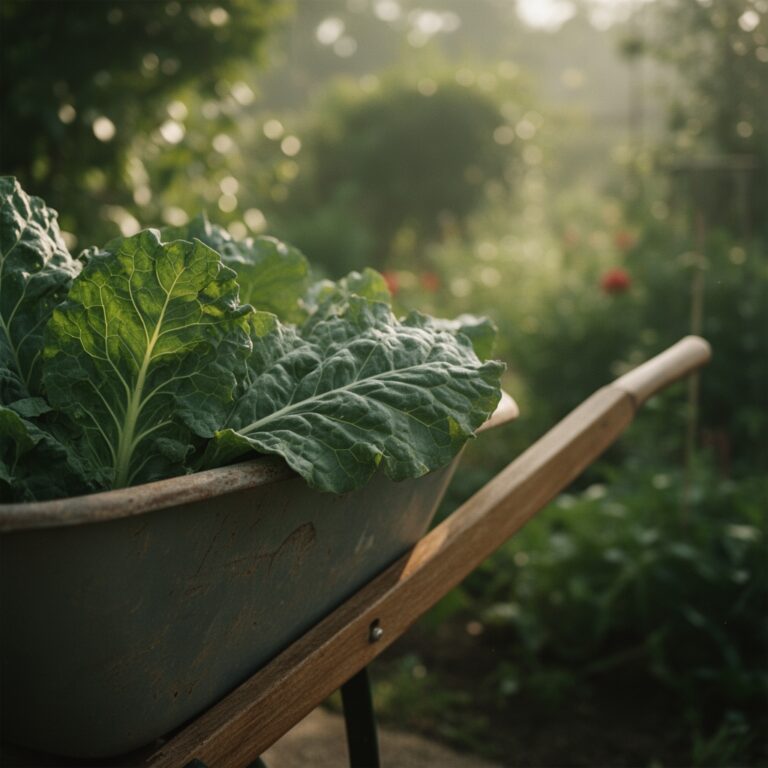
Harvesting is the culmination of the horticultural cycle. For leafy greens, harvest in the early morning when turgor pressure is at its highest. This ensures the cell walls are fully distended, providing maximum crispness. For fruiting bodies, wait for the "ground color" to shift from green to the cultivar's mature hue. Use your sharpened pruners to cut the pedicel, leaving a small stub attached to the fruit. This technique prevents the skin from tearing at the attachment point, which significantly extends the post-harvest shelf life and maintains "day-one" freshness.
FAQ:
How often should I sharpen my pruners?
Sharpen your blades after every 10 to 15 hours of heavy use. If you notice the blade "pushing" the wood rather than slicing it, or if the cut surface appears jagged, immediate sharpening is required to protect plant health.
Can I use a bench grinder instead of a file?
Avoid bench grinders for bypass pruners. The high heat generated by a grinder can temper the steel, making it brittle or soft. A manual mill file allows for precision control of the 20 degree angle without damaging the metal's integrity.
What is the best way to remove rust from blades?
Use a wire brush or 0000 steel wool dipped in white vinegar to dissolve iron oxide. Once the rust is removed, neutralize the acid with baking soda and water, dry thoroughly, and apply a thin coat of protective oil.
Why does my pruner keep sticking during cuts?
Sticking is usually caused by sap accumulation or a loose pivot bolt. Clean the blades with a solvent and tighten the nut until the blades bypass each other with minimal friction. Ensure the spring is free of debris to maintain tension.