7 Pro Tips to Manage Large Tool Inventories
The scent of damp earth and the iron tang of oxidized steel define the transition between growing seasons. When a plant maintains optimal turgor pressure, its cellular walls are rigid and efficient; however, the tools used to manage that growth must be equally precise. Managing a high-volume inventory requires more than just storage. It demands a rigorous mechanical protocol. Using a maintenance manual for garden tools ensures that every bypass pruner and spade operates at peak mechanical efficiency. A dull blade does not just make work harder; it creates ragged vascular tears in the plant tissue, inviting opportunistic pathogens into the xylem. By treating tool maintenance as a core horticultural discipline, you protect the structural integrity of your collection. Large inventories often suffer from neglect through sheer scale. Establishing a centralized log for sharpening schedules, lubrication types, and handle integrity prevents the systemic failure of your equipment during critical windows like spring bud break or autumn pruning. Precision in the tool shed translates directly to precision in the field.
Materials:

Successful cultivation begins with the substrate. A **friable loam** is the gold standard for most temperate species, characterized by a balanced mix of sand, silt, and clay that facilitates gas exchange in the **rhizosphere**. To support a diverse inventory of plants, aim for a soil pH between **6.0 and 7.0**, which maximizes the **cation exchange capacity (CEC)**. This allows the soil to hold onto essential nutrients like ammonium, potassium, and magnesium. For vegetative growth, utilize a high-nitrogen fertilizer with an **NPK ratio of 10-5-5**. As plants transition to the reproductive phase, shift to a **5-10-10 ratio** to prioritize phosphorus and potassium for flower and fruit development. Incorporating organic matter with a **carbon-to-nitrogen ratio of 30:1** will improve soil structure and microbial activity without causing nitrogen immobilization. Ensure your storage area for these amendments remains dry to prevent anaerobic decomposition or nutrient leaching before application.
Timing:
Timing is dictated by the Biological Clock of the plant, which responds to photoperiod and temperature. In Hardiness Zones 5 through 7, the window for major inventory maintenance and soil preparation begins exactly four weeks before the average last frost date. This period is critical for dormant pruning and tool calibration. The transition from the vegetative stage to the reproductive stage is triggered by hormonal shifts, specifically the ratio of gibberellins to abscisic acid. For perennials, this often occurs as day length exceeds 12 to 14 hours. Monitoring soil temperature is more accurate than following calendar dates; most temperate seeds require a minimum of 55 degrees Fahrenheit for consistent germination. Failure to align your maintenance schedule with these biological triggers leads to senescence in annuals or stunted growth in perennials. Observe the root structure in the step-by-step photos below to see how timing impacts development.
Phases:

Sowing
Sowing requires precise depth control, typically two to three times the diameter of the seed. This ensures the emerging hypocotyl has enough energy to reach the surface before exhausting its endosperm reserves.
Pro-Tip: Maintain consistent moisture to prevent the hardening of the seed coat. This facilitates imbibition, the first stage of germination where the seed absorbs water to activate metabolic enzymes.
Transplanting
When moving plants from containers to the field, minimize root exposure to prevent transplant shock. Ensure the new hole is twice the width of the root ball but no deeper.
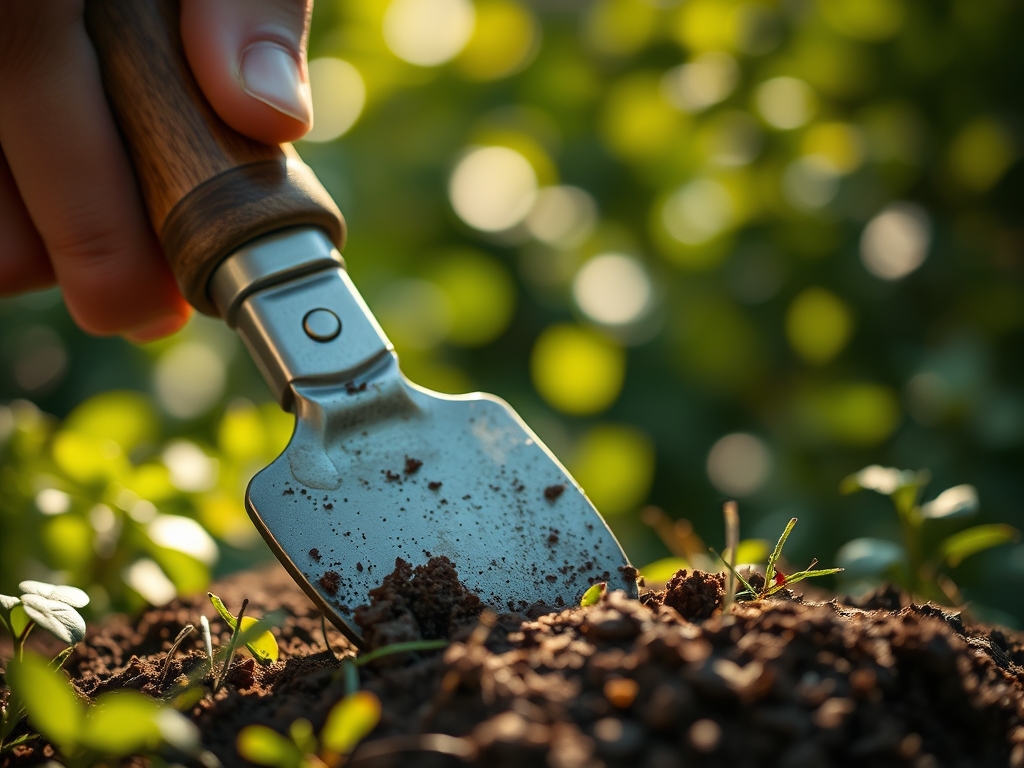
Pro-Tip: Use a hori-hori knife to gently score circling roots. This disrupts auxin suppression at the root tips, stimulating lateral root growth and faster establishment in the new soil profile.
Establishing
The establishment phase focuses on developing a robust root system. Monitor the soil moisture meter daily to ensure the root zone remains at 60 to 70 percent field capacity.
Pro-Tip: Encourage mycorrhizal symbiosis by avoiding high-phosphorus fertilizers during the first three weeks. Low phosphorus levels signal the plant to form partnerships with beneficial fungi, increasing its nutrient uptake surface area by up to 100 times.
The Clinic:
Physiological disorders often mimic infectious diseases but result from environmental or nutritional stress.
- Symptom: Interveinal chlorosis on young leaves.
- Solution: This indicates an Iron deficiency, often caused by a pH above 7.5. Apply chelated iron and lower pH with elemental sulfur.
- Symptom: Blossom end rot in fruiting crops.
- Solution: This is a Calcium transport issue. Maintain consistent soil moisture to ensure calcium moves through the xylem via transpiration.
- Symptom: Marginal leaf burn on older foliage.
- Solution: This suggests Potassium deficiency or salt accumulation. Flush the soil with 2 inches of water and apply a 0-0-50 fertilizer.
- Fix-It for Nitrogen Chlorosis: If older leaves turn uniformly pale yellow, the plant is scavenging nitrogen for new growth. Apply a quick-release high-N liquid fertilizer at half strength to restore chlorophyll production.
Maintenance:
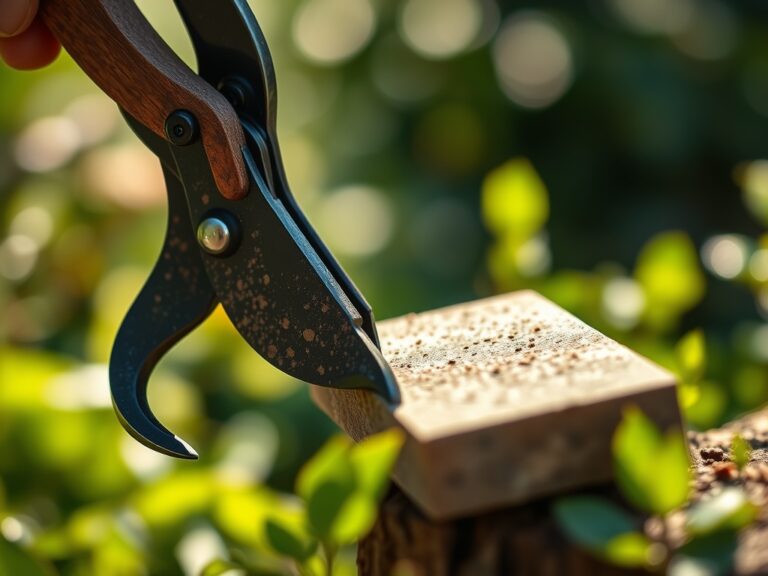
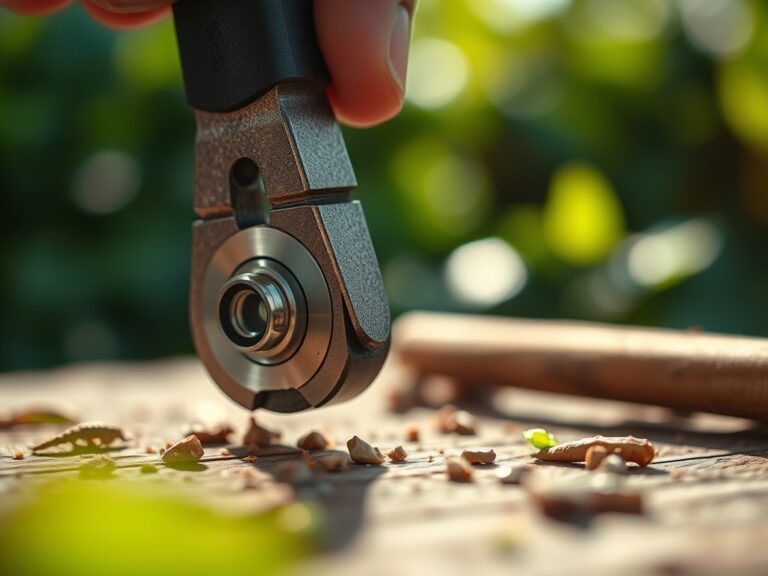
A large inventory demands a standardized maintenance routine. Apply 1.5 inches of water per week at the drip line, rather than at the base of the stem, to encourage outward root expansion. Use a soil moisture meter at a depth of 6 inches to verify penetration. For tool care, clean bypass pruners with a 10 percent bleach solution after every use to prevent the mechanical transmission of pathogens. Sharpen blades at a 20-degree angle using a whetstone to maintain a surgical edge. Lubricate pivot points with a dry graphite lubricant to avoid attracting grit. Your hori-hori knife should be wiped with mineral oil monthly to prevent oxidation of the carbon steel. Store all long-handled tools vertically to prevent warping of the wooden shafts.
The Yield:
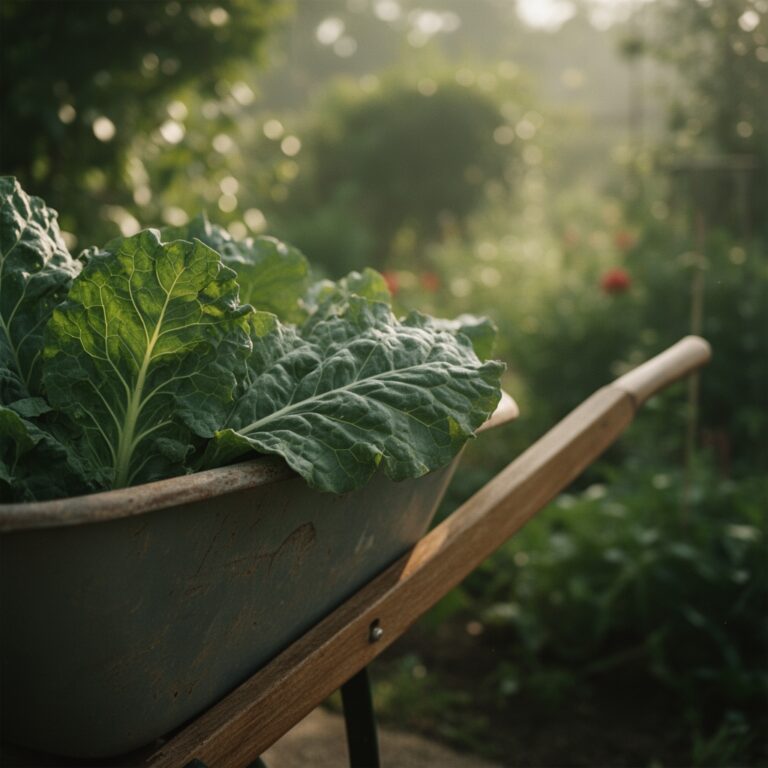
Harvesting is the culmination of the plant's reproductive cycle. For maximum "day-one" freshness, harvest during the coolest part of the morning when turgor pressure is at its highest. Use sharp bypass pruners to make clean cuts, leaving a small portion of the pedicel attached to prevent desiccation of the fruit or flower. For leafy greens, immediate hydro-cooling in 40-degree Fahrenheit water removes field heat and slows the rate of respiration. This preservation of sugars and volatile oils ensures the highest nutritional and aesthetic quality. Store produce in a high-humidity environment at 34 to 38 degrees Fahrenheit to delay the onset of senescence.
FAQ:
How often should I sharpen my pruning shears?
Sharpen shears every 10 to 15 hours of active use. High-volume pruning in woody perennials may require daily honing with a diamond file. A sharp blade ensures clean vascular cuts and prevents the entry of fungal pathogens into the plant.
What is the best way to prevent rust on steel tools?
Clean tools with a wire brush to remove soil. Apply a thin layer of mineral oil or camellia oil to the metal surfaces. Store tools in a bucket of dry sand mixed with motor oil to provide a constant protective barrier.
Why is my soil moisture meter reading high despite dry surface soil?
Surface evaporation often creates a dry crust while the rhizosphere remains saturated. Always insert the probe 6 to 8 inches deep near the drip line. This provides an accurate measurement of the water available to the primary root system.
How do I clean tools after working with diseased plants?
Submerge tool blades in a solution of 70 percent isopropyl alcohol or a 10 percent bleach mixture for at least one minute. This kills spores and bacteria, preventing the cross-contamination of healthy inventory during subsequent pruning or harvesting tasks.