7 Quick Steps to Install a Pond Pump
The scent of anaerobic decomposition and damp silt signals a pond in stasis; without mechanical aeration, the water column loses dissolved oxygen and begins the process of eutrophication. Stagnant water leads to low turgor pressure in aquatic plants and the accumulation of toxic gases that stress the entire rhizosphere. To restore balance, you must execute the steps to install a pond pump with precision. This process requires more than just placing hardware; it involves understanding hydraulic head pressure and the biological oxygen demand of your specific ecosystem. A properly installed pump ensures that nutrients are distributed evenly and that gas exchange occurs at the surface, preventing the senescence of your aquatic flora. By moving water, you create the mechanical force necessary to support a high-functioning biological filter. This guide provides the technical framework to transition your pond from a stagnant basin into a thriving, oxygenated environment.
Materials:
Installing a pump in a planted pond requires an understanding of the substrate and water chemistry. The ideal substrate for surrounding pond plants is a friable loam with a high Cation Exchange Capacity (CEC) to hold onto essential nutrients. Maintain a soil pH between 6.5 and 7.5 to ensure nutrient bioavailability.
For the surrounding terrestrial landscaping, utilize a fertilizer with an NPK ratio of 10-10-10 for general maintenance or 5-10-5 to encourage root development without causing excessive nitrogen runoff into the water. High nitrogen levels in the pond lead to algal blooms that compete for oxygen. You will need a submersible pump rated for 1.5 times the total volume of your pond per hour; a GFCI-protected outlet; and non-kink corrugated tubing. Ensure you have a sturdy filter crate or a flat stone to elevate the pump at least 3 inches above the bottom sediment to prevent the intake of heavy solids.
Timing:
The biological clock of your pond dictates the installation window. In Hardiness Zones 4 through 7, the ideal time for installation is early spring, once the water temperature consistently reaches 45 to 50 degrees Fahrenheit. This coincides with the transition of aquatic plants from dormancy to the vegetative stage. In warmer Zones 8 through 10, installation can occur year-round, but late winter is preferred to establish flow before the peak photoperiod of summer. Avoid installation during the first frost-date window to prevent thermal shock to the existing microbial colonies. Consistent water movement is critical during the reproductive stages of pond lilies and irises, as it prevents the buildup of heat that can lead to root rot.
Phases:

Sowing and Site Preparation
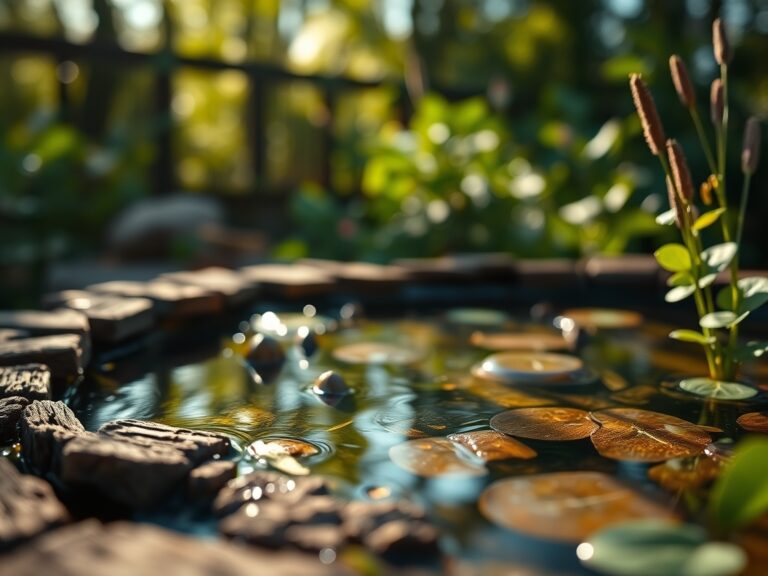
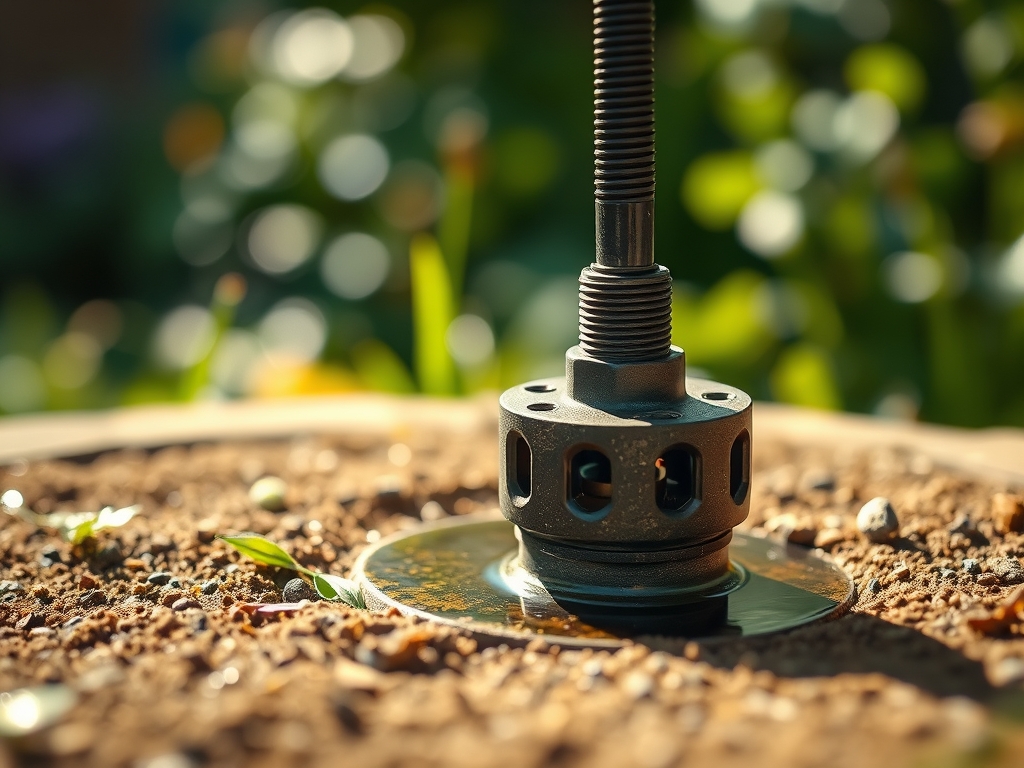
Before the pump enters the water, clear the area of excessive organic debris. If you are planting new aquatic species, use heavy clay-based soils in perforated pots. This prevents the substrate from washing into the pump intake. Position the pump at the furthest point from the return (waterfall or fountain) to eliminate "dead zones" where water becomes stagnant.
Pro-Tip: Elevating the pump prevents it from sucking in the "benthic layer" of muck. This protects the pump impeller from abrasion and prevents the disruption of mycorrhizal symbiosis in the roots of bottom-dwelling plants.
Transplanting and Plumbing
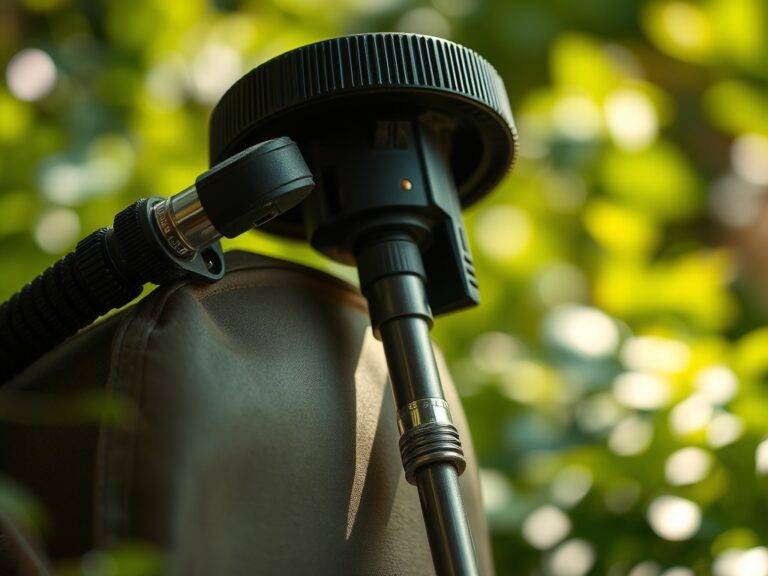
Connect the tubing to the pump outlet using stainless steel hose clamps. Route the tubing along the pond perimeter, concealing it beneath rocks or soil. If the pump includes a pre-filter, ensure it is seated correctly. Lower the pump into the water slowly to allow air to escape the housing, preventing airlock.
Pro-Tip: Ensure the water return provides surface agitation. This increases the surface area for gas exchange, facilitating the release of carbon dioxide and the uptake of oxygen, which is vital for the turgor pressure of submerged foliage.
Establishing the Flow
Plug the pump into the GFCI outlet and monitor the flow rate. Adjust the diverter valves to balance the flow between filters and decorative features. Observe the movement of water around plant clusters to ensure no leaves are being pinned against the intake screen.
Pro-Tip: Regulated water flow prevents auxin suppression in aquatic plants. Gentle movement stimulates the plant to strengthen its cellular structure, a process known as thigmomorphogenesis, resulting in hardier stems and leaves.
The Clinic:
Physiological disorders in a pond often stem from poor water circulation or nutrient imbalances.
- Symptom: Yellowing of older leaves with green veins (Interveinal Chlorosis).
- Solution: This indicates a Magnesium deficiency or high pH blocking iron uptake. Test pH and adjust to 7.0.
- Symptom: Stunted growth and dark purple tint on foliage.
- Solution: Phosphorus deficiency. Add an aquatic-safe P-heavy fertilizer (0-10-0) directly to the root zone.
- Symptom: Slimy brown coating on plant stems and pump intake.
- Solution: Excessive organic load. Increase pump flow rate and perform a 20 percent water change to reduce nitrates.
- Fix-It: For Nitrogen chlorosis (overall pale green leaves), introduce slow-release aquatic fertilizer tabs with a 10-5-5 NPK ratio into the potting media.
Maintenance:
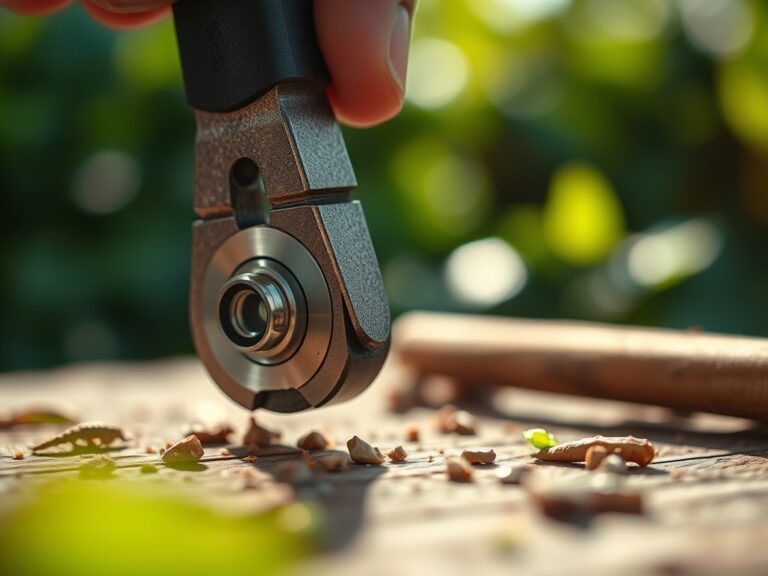
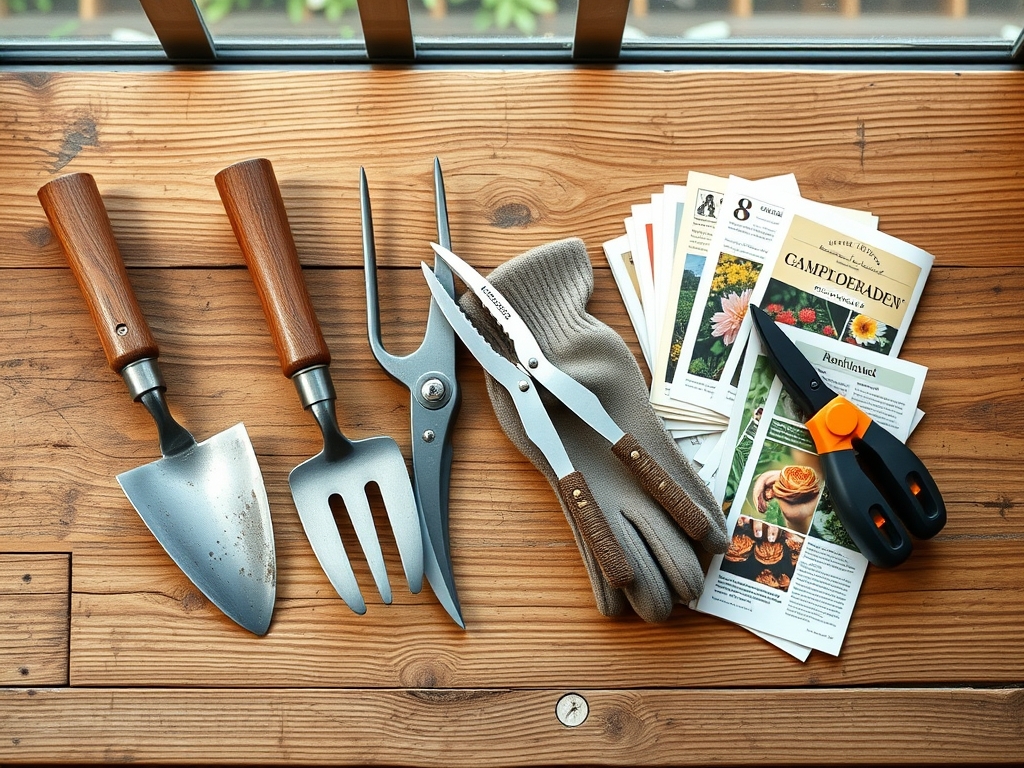
A high-functioning pond requires disciplined maintenance. Use a soil moisture meter for the surrounding terrestrial plants to ensure they receive 1.5 inches of water per week at the drip line. For the pond itself, clean the pump pre-filter every 30 days to prevent flow reduction. Use a hori-hori knife to divide overgrown aquatic perennials every three years to prevent them from choking the pump area. Use bypass pruners to remove any yellowing or decaying leaves (senescence) before they fall into the water and add to the nitrogen load. Check the pump impeller annually for calcium buildup; soak in a mild acid solution if the flow rate drops by more than 15 percent.
The Yield:
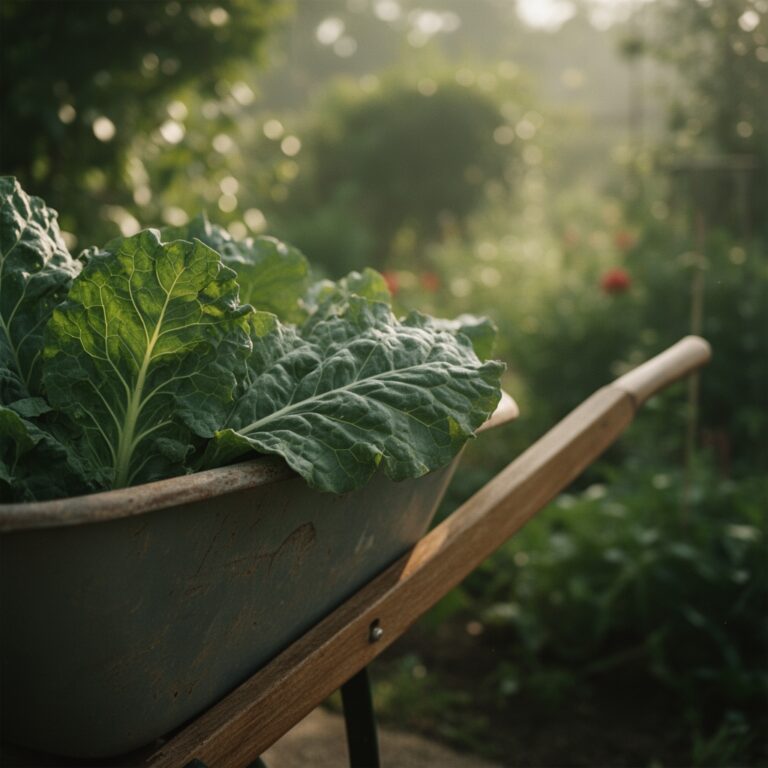
While a pond pump is a mechanical tool, the "yield" is the health of the flora and the clarity of the water. When harvesting aquatic flowers like water lilies, cut the stem at the base using a sharp blade during the early morning when turgor pressure is highest. For edible aquatic plants like watercress, harvest the top 3 inches of growth to encourage lateral branching. Place harvested greens immediately in a bucket of cool pond water to maintain "day-one" freshness and prevent wilting from rapid transpiration.
FAQ:
How often should I run my pond pump?
Run the pump 24 hours a day during the growing season. Continuous circulation maintains the biological filter and prevents oxygen depletion. Stopping the flow for more than a few hours can lead to the death of beneficial aerobic bacteria.
What size pump do I need for my pond?
Calculate your total pond volume in gallons. Select a pump that moves the entire volume every hour. For example, a 1,000-gallon pond requires a pump rated for at least 1,000 Gallons Per Hour (GPH) at your specific head height.
Can I use a regular extension cord for my pump?
No. Always plug a pond pump directly into a GFCI-protected outdoor outlet. Standard extension cords are not rated for continuous underwater use and pose a significant fire and electrocution risk in wet environments.
Why is my pump making a loud grinding noise?
A grinding noise usually indicates debris in the impeller or cavitation. Disconnect the power, remove the pump, and inspect the intake for gravel or snails. Ensure the pump is fully submerged to prevent air from entering the chamber.