9 Detailed Ways How to Build a Garden Pond
Damp earth carries a specific olfactory profile of geosmin and decomposing organic matter when you first break the soil crust. This scent signals a healthy rhizosphere ready for transformation. Understanding how to build a garden pond requires more than aesthetic intuition; it demands a rigorous application of hydrology and limnology. A successful aquatic ecosystem relies on maintaining turgor pressure in marginal plants while managing the nitrogen cycle within a closed loop. You are not just digging a hole; you are engineering a biological filter that manages gas exchange and thermal mass. Proper installation ensures that the pond becomes a carbon sink rather than a source of anaerobic decay. Every excavation stroke must account for soil stability and the eventual hydrostatic pressure exerted by hundreds of gallons of water.
Materials:
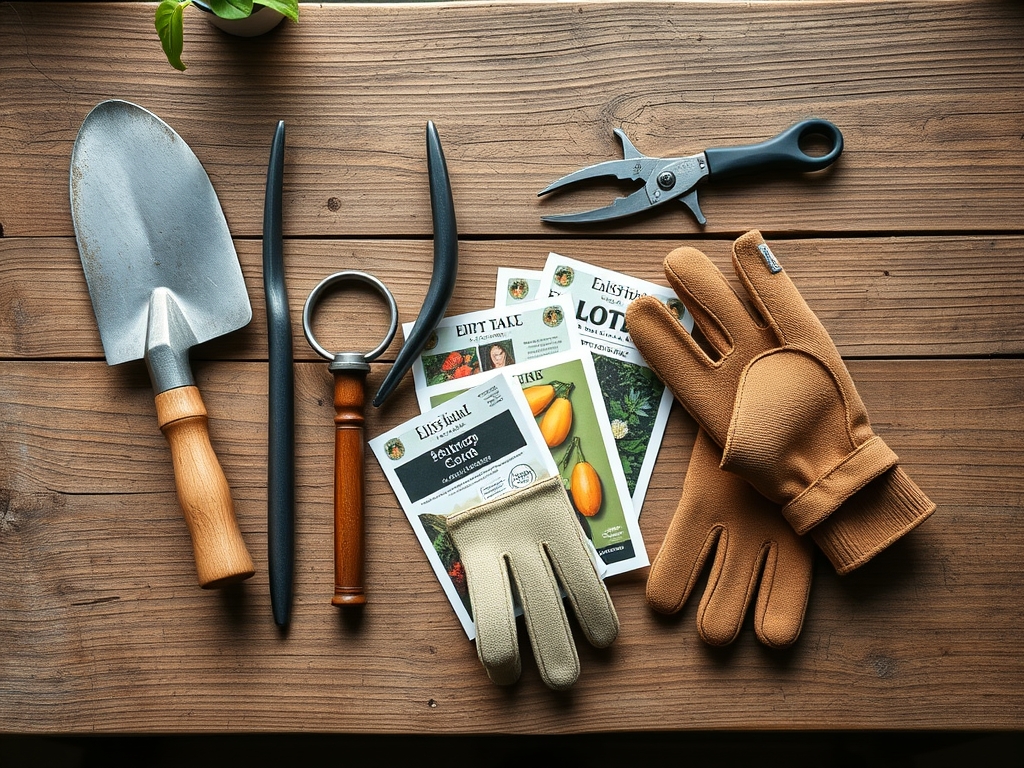
The success of aquatic flora depends on the substrate used in planting shelves. Avoid standard potting soils which contain high concentrations of peat and perlite that float and disrupt water clarity. Instead, utilize a **friable loam** with a high clay content to ensure a high Cation Exchange Capacity (CEC). This allows the soil to retain essential nutrients like ammonium and potassium for aquatic roots.
The ideal NPK ratio for aquatic plant spikes is 10-26-10. The high phosphorus content supports rhizome development and flower production in species like Nymphaeaceae. Soil pH should be maintained between 6.5 and 7.5 to prevent nutrient lockout. For the pond liner, use 45-mil EPDM rubber because of its UV resistance and elasticity. Underlayment must consist of non-woven geotextile fabric to protect the membrane from punctures by sharp aggregates or aggressive root systems.
Timing:
In Hardiness Zones 4 through 7, the optimal window for pond construction begins after the final hard frost when soil temperatures reach a consistent 50 degrees Fahrenheit. This temperature ensures the soil is workable and not subject to frost heave during the curing of any concrete or stone work. In Zones 8 through 10, construction can occur year-round, but late winter is preferred to allow the biological cycle to stabilize before the summer heat.
The biological clock of a pond follows the transition from the vegetative growth of spring to the reproductive stages of mid-summer. Establishing the pond in early spring allows nitrifying bacteria (Nitrosomonas and Nitrobacter) to colonize the filter media before the photoperiod increases enough to trigger massive algal blooms. This timing ensures that the ecosystem reaches a state of equilibrium before the peak solar radiation of the summer solstice.
Phases:
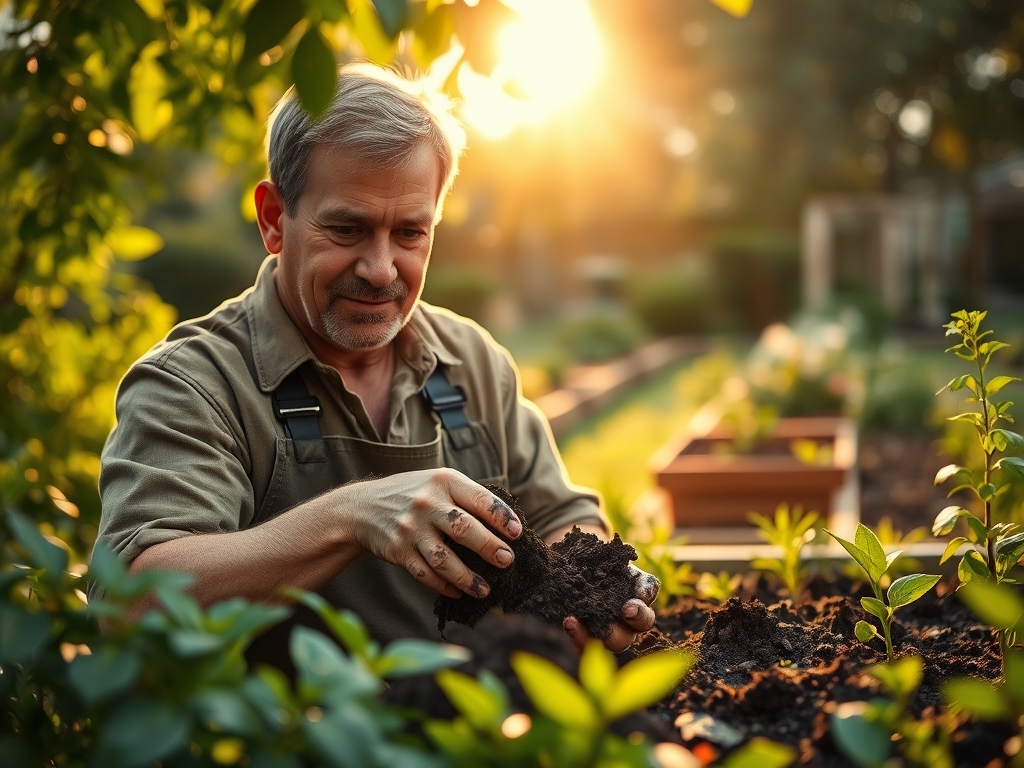
Sowing and Site Preparation
Begin by marking the perimeter with a flexible hose. Excavate in tiers, creating shelves at depths of 8 inches, 18 inches, and 36 inches. The 36-inch depth is critical in colder climates to provide a thermal refuge for aquatic life below the frost line. Ensure the perimeter is perfectly level using a transit level or a long straightedge with a bubble level.
Pro-Tip: Always include a slight outward slope on the pond walls. This utilizes the principle of hydrostatic pressure to keep the liner pressed firmly against the soil, preventing air pockets that can lead to anaerobic bacterial pockets.
Transplanting Aquatic Flora
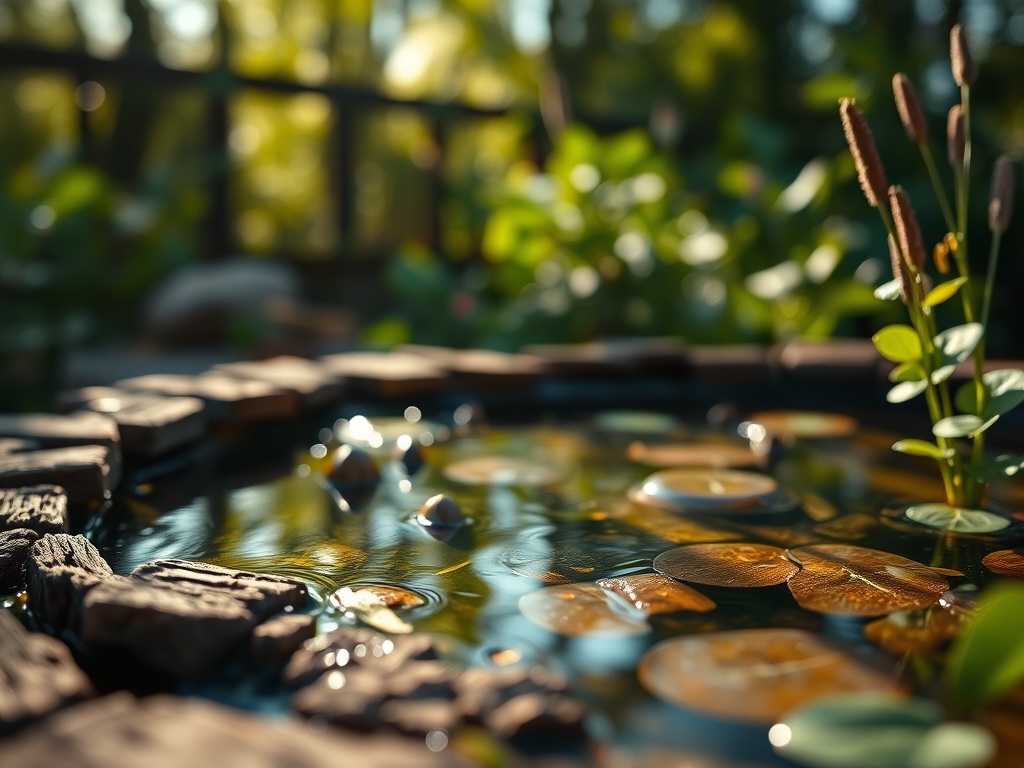
When placing marginal plants on the shallow shelves, remove them from their nursery pots and place them in heavy plastic mesh baskets. Use the heavy clay loam described previously and top with 1 inch of washed pea gravel. This prevents fish from foraging in the substrate and clouding the water column.
Pro-Tip: Position floating-leaf plants like water lilies so their petioles are slightly slack. This accounts for phototropism, allowing the leaves to reach the surface and maximize surface area for gas exchange and photosynthesis without being submerged by minor water level fluctuations.
Establishing the Biological Filter
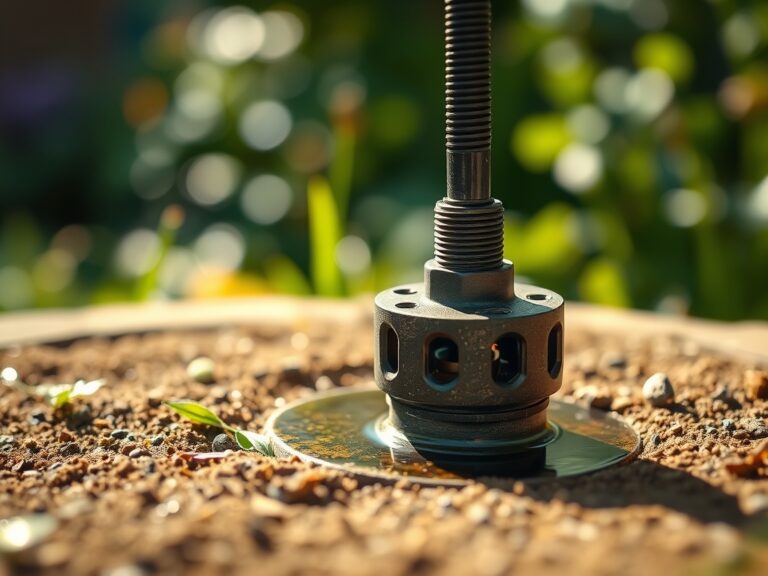
Fill the pond with water and add a dechlorinating agent. Introduce a mechanical pump capable of circulating the entire volume of the pond at least once every hour. The biological filter should be packed with high-surface-area media like lava rock or plastic bio-balls to facilitate the conversion of ammonia to nitrates.
Pro-Tip: Avoid introducing fish for at least 21 days. This allows for the establishment of mycorrhizal symbiosis in the submerged root systems and gives the nitrifying bacteria time to reach a population density capable of processing organic waste.
The Clinic:
Physiological disorders in a new pond often manifest through the foliage of marginal and floating plants.
-
Symptom: Yellowing of older leaves while veins remain green.
Solution: This indicates Magnesium deficiency. Add a small amount of magnesium sulfate (Epsom salt) to the planting baskets at a rate of 1 tablespoon per 5 gallons of soil. -
Symptom: Stunted growth and dark purple or blue-green tint on leaves.
Solution: This is a sign of Phosphorus deficiency. Use aquatic-safe fertilizer tabs with a high middle NPK number pushed deep into the root zone. -
Symptom: Soft, rotting tissue at the base of the stems.
Solution: Likely anaerobic rot caused by poor water circulation. Increase the flow rate near the plant or raise the planting basket to improve oxygenation of the rhizosphere. -
Fix-It for Nitrogen Chlorosis: If all leaves are turning a uniform pale yellow, the plant lacks nitrogen. This is common in new ponds where the nitrogen cycle is not yet established. Supplement with a slow-release aquatic fertilizer to restore chlorophyll production.
Maintenance:
A pond requires precise intervention to remain clear. Use a soil moisture meter to check the surrounding landscape; excessive runoff into the pond can introduce unwanted phosphates and nitrates. Evaporation can lead to a concentration of dissolved solids. Add water to maintain the level, but never replace more than 15 percent of the total volume at once to avoid thermal shock.
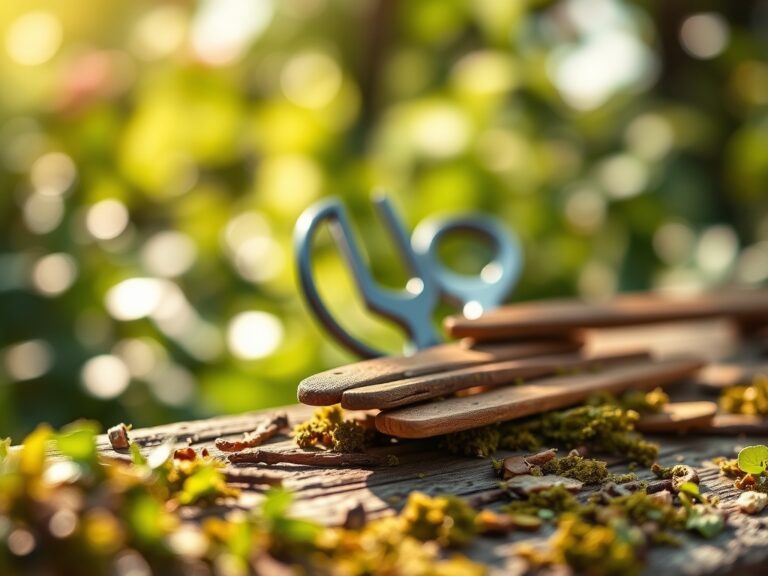
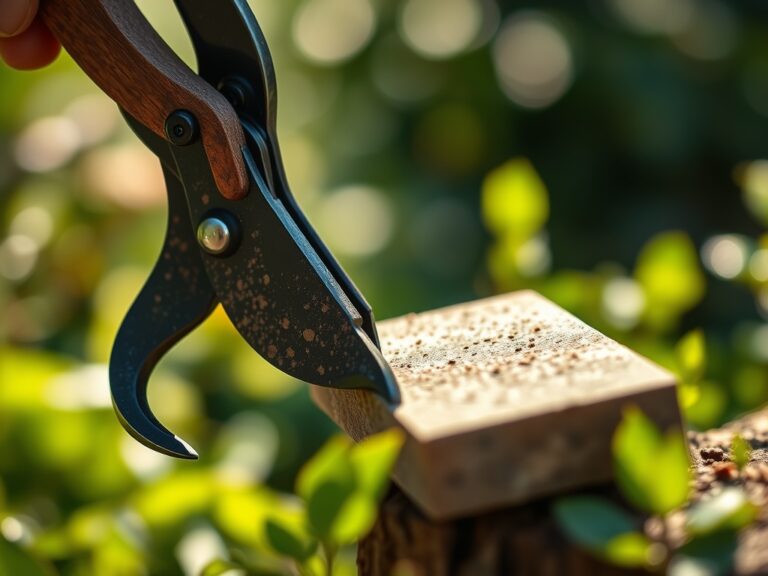
Use a hori-hori knife to divide overgrown iris or rush every three years. Prune decaying lily pads with bypass pruners as soon as they show signs of senescence to prevent organic matter from sinking to the bottom. During autumn, install a fine mesh net to catch falling leaves; a single pound of decomposing leaf litter can trigger a massive spike in ammonia levels.
The Yield:
While a garden pond is primarily a structural feature, the "yield" is measured in the biomass of aquatic plants and the clarity of the water. Harvest floating plants like water hyacinth if they cover more than 60 percent of the surface. This ensures adequate light penetration for submerged oxygenators. When thinning plants, handle them by the base of the crown to avoid damaging the vascular tissue. Place harvested trimmings directly into a compost bin to recycle the nutrients back into the terrestrial garden.
FAQ:
How deep should a garden pond be?
A minimum depth of 18 inches is required for most aquatic plants. In regions with freezing winters, a section of the pond must be at least 36 inches deep to prevent the water from freezing solid and killing dormant life.
What is the best liner for a pond?
45-mil EPDM rubber is the industry standard for durability and flexibility. It resists UV degradation and remains pliable in extreme temperatures, unlike thinner PVC liners which can become brittle and crack over time.
How do I stop pond water from turning green?
Green water is caused by suspended algae. Ensure the pond has 50 to 60 percent surface coverage from floating plants to block sunlight. A UV clarifier can also be integrated into the filtration system to kill algal cells.
Do I need a pump for a small pond?
Yes. Continuous circulation is vital for oxygenation and to prevent stagnant water. A pump should move the total volume of the pond at least once per hour to maintain the health of the aerobic bacteria in the filter.