7 Easy Steps to Plant Butternut Squash
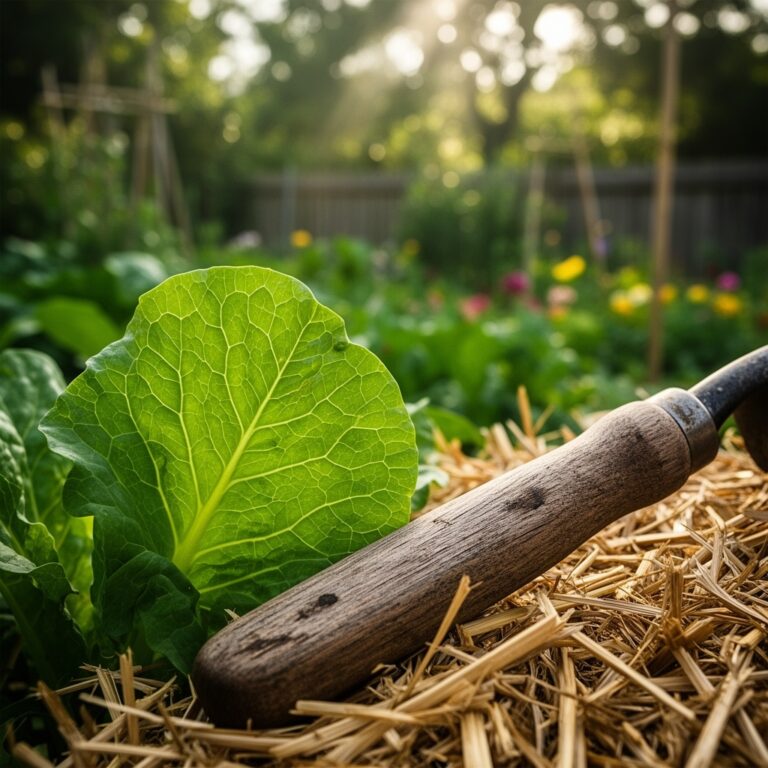
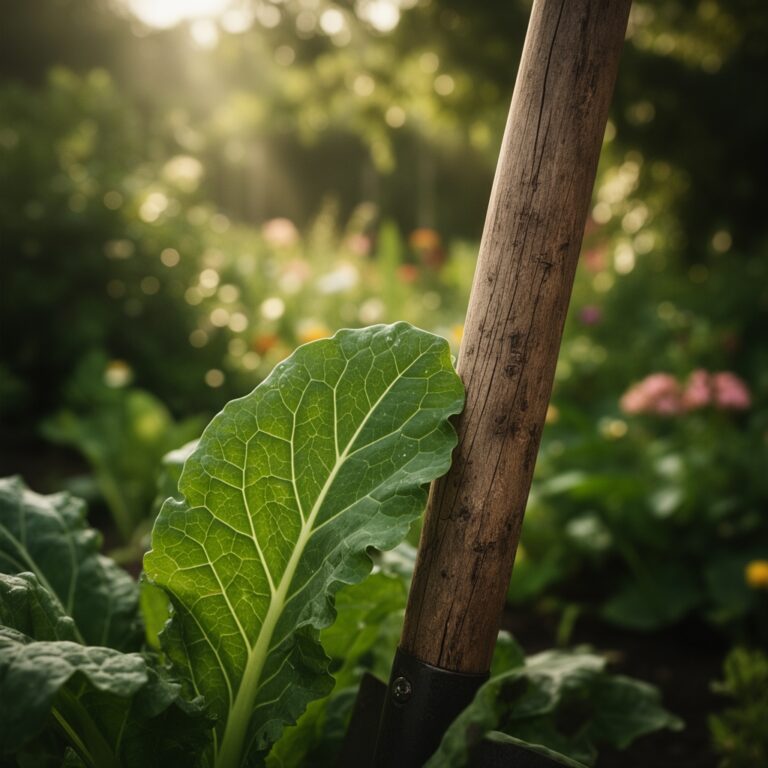
Crushing a handful of well-aged compost releases the sharp, metallic scent of geosmin; it is the smell of a productive rhizosphere ready for a heavy feeder. Success with Cucurbita moschata requires more than burying a seed in the dirt. You must master the steps to plant butternut squash by managing soil temperature, nutrient availability, and cellular turgor. A healthy squash leaf should feel rigid and cool to the touch, indicating high internal water pressure and efficient transpiration. To achieve this, you will need to coordinate your planting window with the specific thermal requirements of the species. Failure to provide a minimum soil temperature of 60 degrees Fahrenheit results in seed rot or stunted vascular development. This guide provides the technical framework to move from initial site preparation to a successful harvest through precise horticultural intervention.
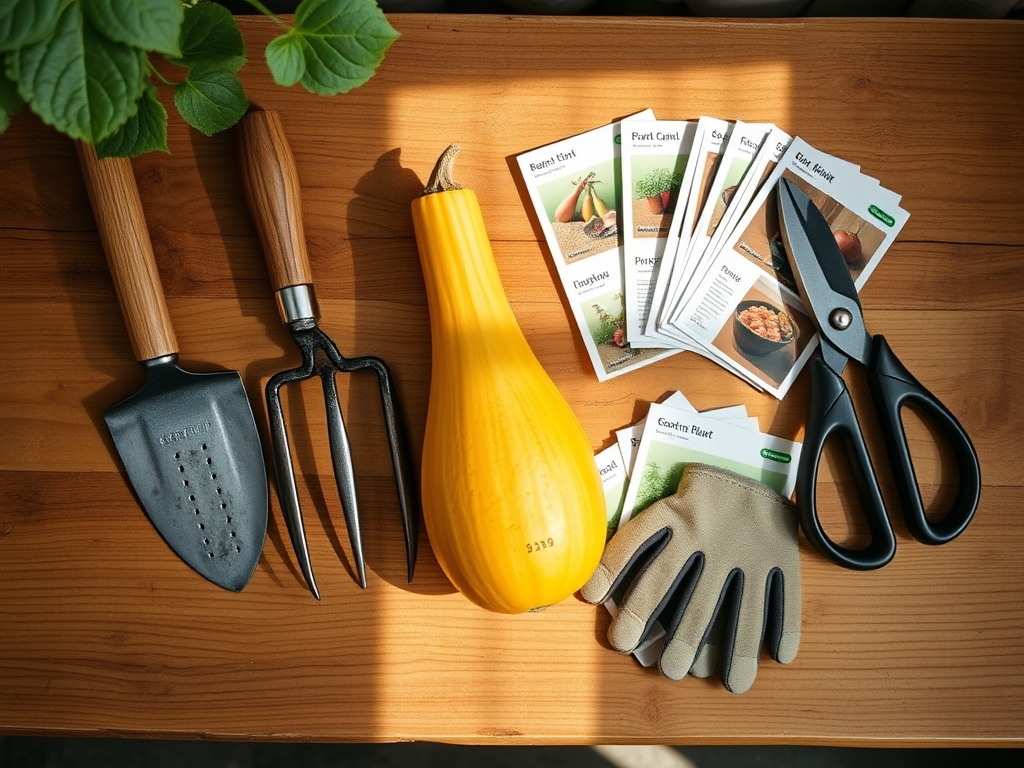
Materials:
The ideal substrate for butternut squash is a friable loam with a high Cation Exchange Capacity (CEC). This measurement dictates the soil's ability to hold onto essential nutrients like potassium and magnesium. Aim for a soil pH between 6.0 and 6.8 to ensure maximum bioavailability of micronutrients.
Prepare your planting site with the following specific inputs:
- Base Fertilizer: A 5-10-10 NPK ratio is preferred for initial bed preparation. High nitrogen at the start can lead to excessive foliage at the expense of fruit set.
- Organic Matter: Incorporate three inches of finished compost to improve drainage and microbial activity.
- Calcium Source: Add gypsum or crushed eggshells to the planting hole to prevent calcium-related physiological disorders.
- Mulch: Clean wheat straw or black plastic sheeting to regulate soil temperature and suppress competitive weed growth.
Timing:
Butternut squash is a long-season crop requiring 100 to 120 frost-free days to reach physiological maturity. In Hardiness Zones 3 through 5, you must start seeds indoors three weeks before the last frost. In Zones 6 through 10, direct sowing is preferred once the soil reaches a consistent 70 degrees Fahrenheit.
The biological clock of the plant is governed by the photoperiod and heat units. The transition from the vegetative stage (leaf and stem growth) to the reproductive stage (flowering) occurs when the plant has established sufficient carbohydrate reserves. Early planting into cold soil triggers a stress response that can lead to premature senescence, where the plant shuts down its metabolic processes before it can produce viable fruit. Monitor the 10-day forecast for night temperatures consistently above 50 degrees Fahrenheit before committing seeds to the earth.
Phases:
Sowing and Germination
Direct sow seeds one inch deep in hills spaced four feet apart. Place three seeds per hill to ensure a high stand count. If the soil is below 65 degrees, use a germination mat for indoor starts. Squash seeds require high moisture levels to break the seed coat, but the soil must remain aerobic to prevent fungal pathogens.
Pro-Tip: Utilize the principle of hydrotropism. By watering the area surrounding the seed rather than the exact spot of the seed, you encourage the primary radicle to extend further into the soil profile in search of moisture, creating a more robust root system.
Transplanting and Hardening Off
If starting indoors, you must harden off seedlings over seven days to prevent transplant shock. Move them outside for increasing durations, starting with two hours in filtered light. When moving to the final location, handle the root ball with extreme care to avoid damaging the delicate fine root hairs.
Pro-Tip: Squash plants exhibit high levels of auxin suppression when their roots are disturbed. Using biodegradable peat or cow pots allows you to plant the entire container, preventing the root trauma that often halts growth for 10 to 14 days post-transplant.
Establishing the Vine
Once the plant develops its fourth true leaf, thin the hills to the strongest single plant. This reduces competition for light and nutrients. Apply a side-dressing of composted manure at this stage to provide a slow-release nitrogen source for the rapid expansion of the vine.
Pro-Tip: Encourage mycorrhizal symbiosis by inoculating the soil with beneficial fungi during planting. These fungi extend the reach of the root system, allowing the plant to access phosphorus and water that would otherwise be beyond the reach of the squash's own roots.
The Clinic:
Physiological disorders often mimic disease but are usually the result of environmental stress or nutrient imbalances.
- Symptom: Blossom End Rot (dark, leathery spot on the bottom of the fruit).
- Solution: This is caused by a calcium deficiency in the fruit tissue, often triggered by inconsistent watering. Maintain even soil moisture to ensure calcium transport through the xylem.
- Symptom: Interveinal Chlorosis (yellowing between leaf veins).
- Solution: This indicates a Magnesium deficiency. Apply a foliar spray of Epsom salts (magnesium sulfate) diluted at one tablespoon per gallon of water.
- Symptom: Small, distorted new leaves.
- Solution: Nitrogen chlorosis. Apply a high-nitrogen liquid fertilizer (like fish emulsion) to boost vegetative growth.
- Symptom: Poor fruit set or fruit dropping prematurely.
- Solution: Lack of pollination. Ensure your garden supports local pollinators or perform manual pollination by transferring pollen from male to female flowers using a small brush.
Maintenance:
Precision maintenance is the difference between a mediocre harvest and a high-yield season. Butternut squash requires exactly 1.5 inches of water per week delivered at the drip line. Avoid overhead irrigation, as moisture on the foliage encourages the growth of Erysiphe cichoracearum (powdery mildew). Use a soil moisture meter to verify that the root zone is damp to a depth of six inches.
As the vines expand, use a hori-hori knife to remove any invasive weeds that emerge near the main stem. If the vines exceed their allotted space, use bypass pruners to pinch off the growing tips. This redirects the plant's energy from vegetative expansion to fruit development. If a vine becomes buried in mulch, it may develop adventitious roots; leave these intact as they provide additional uptake points for water and nutrients.
The Yield:
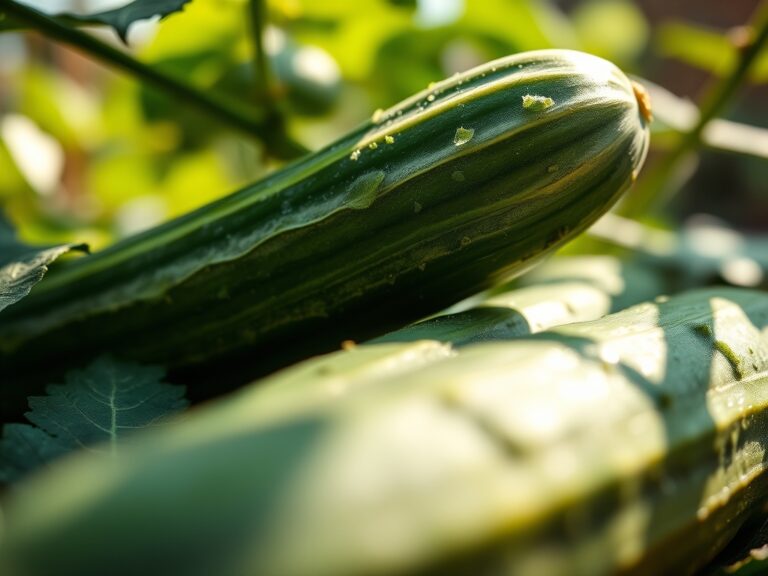
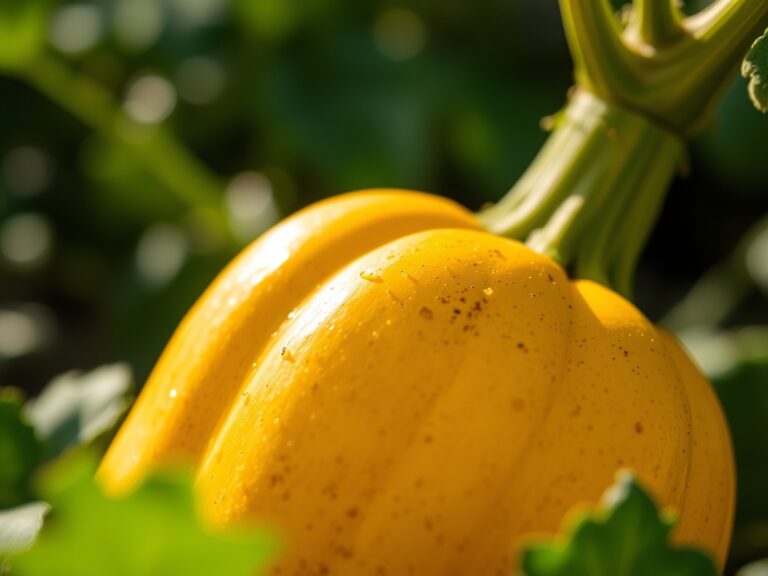
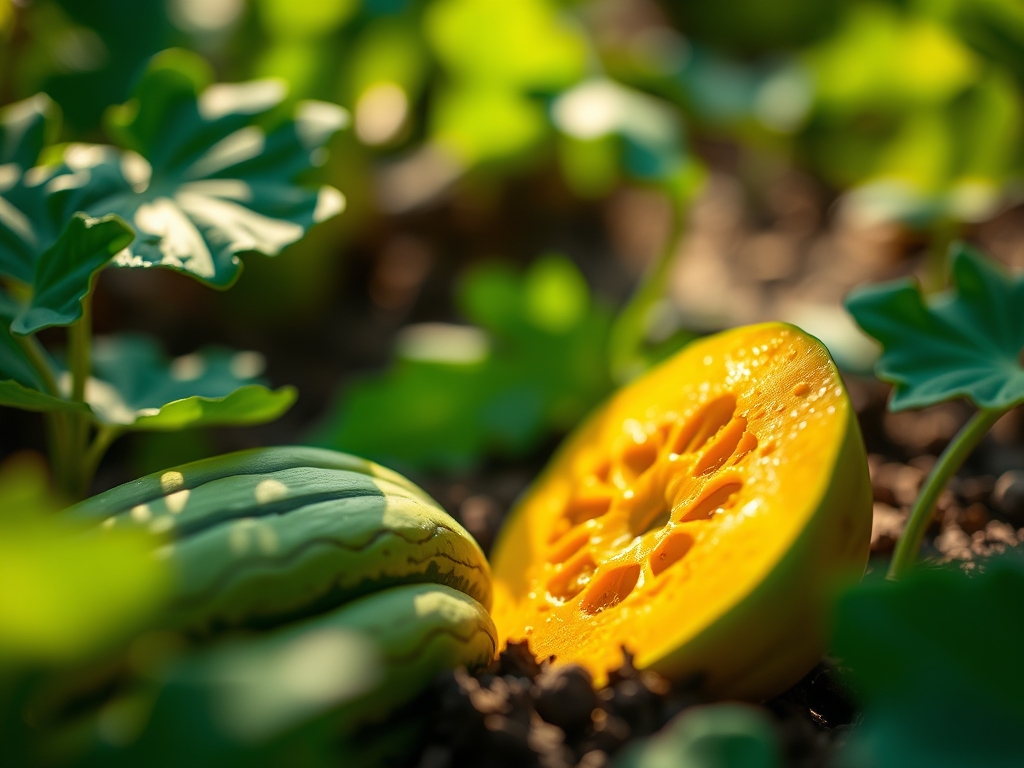
Harvest occurs when the rind is hard enough to resist a fingernail puncture and the color has shifted from a light green-tan to a deep, solid beige. The "ground spot" (the area touching the soil) should turn from white to yellow or orange. Use pruners to cut the fruit from the vine, leaving at least two inches of stem attached. This stem acts as a seal against pathogens.
Post-harvest curing is essential for long-term storage. Place the squash in a warm (80 degree), dry area with good airflow for 10 days. This process thickens the skin and concentrates the sugars within the flesh. After curing, store the squash in a cool, dark location at 50 to 55 degrees Fahrenheit. Properly cured butternut squash will maintain its "day-one" freshness for up to six months.
FAQ:
How do I know when to plant butternut squash?
Plant when soil temperatures consistently reach 65-70 degrees Fahrenheit and the danger of frost has passed. Use a soil thermometer at a 4-inch depth to confirm the thermal window for optimal germination and root development.
Why are my squash leaves turning yellow?
Yellowing, or chlorosis, typically indicates a nitrogen deficiency or overwatering. Check soil moisture with a probe. If the soil is not saturated, apply a high-nitrogen organic fertilizer to restore chlorophyll production and photosynthetic efficiency.
How much space do butternut squash plants need?
Each plant requires approximately 15 to 20 square feet of space. Space hills 4 feet apart with 6 feet between rows. This spacing ensures adequate airflow, reducing the risk of fungal infections and allowing for maximum solar interception.
Can I grow butternut squash in containers?
Yes, but you must use a container with a minimum 10-gallon capacity and a trellis system. Compact or "bush" varieties are better suited for containers, as they have shorter internodes and a more manageable growth habit.