9 Best Heavy-Duty Tool Kits for Long-Term Storage
The scent of damp, anaerobic decomposition in a storage shed is the first sign of metallurgical failure. When moisture lingers on high-carbon steel, oxidation begins at a microscopic level, compromising the structural integrity of the blade or tine. Maintaining the turgor of a healthy leaf requires tools that provide clean, surgical cuts to prevent pathogen entry into the vascular system. Selecting the best tool kits for garden storage ensures that your equipment remains sterile and sharp throughout the dormant season. A professional gardener understands that a tool is an extension of the hand; if the steel is pitted or the wooden handle has lost its oil-rubbed finish, the precision of the horticultural task is lost. High-quality storage kits protect your investment from the corrosive effects of humidity and fluctuating temperatures. This guide focuses on the technical specifications of heavy-duty kits designed to survive the rigors of the potting shed while keeping your specialized equipment ready for the first thaw of the spring season.
Materials:
The success of any botanical endeavor begins with the substrate. For most ornamental and food crops, a **friable loam** with a **pH range of 6.2 to 6.8** provides the optimal environment for nutrient availability. This texture allows for adequate aeration while maintaining a **Cation Exchange Capacity (CEC) of 15 to 25 milliequivalents per 100 grams**. When preparing your beds, focus on specific NPK ratios to match the growth stage. A **10-10-10 balanced fertilizer** is standard for general maintenance; however, heavy feeders like brassicas require a **high-nitrogen ratio of 21-0-0** during the early vegetative phase. Conversely, root crops and flowering perennials benefit from a **5-10-10 or 0-20-20 ratio** to prioritize phosphorus and potassium for cellular development and starch storage. The physical texture of the soil must allow for rapid root penetration; compressed clay with a bulk density exceeding **1.6 g/cm3** will restrict oxygen flow and lead to root rot.
Timing:
Successful cultivation is governed by the USDA Hardiness Zones and the local frost-free window. In Zones 5 through 7, the growing season is compressed; therefore, timing the transition from the vegetative stage to the reproductive stage is critical. The "Biological Clock" of the plant is often triggered by the photoperiod, where the ratio of light to darkness dictates when a plant shifts its energy from leaf production to flower initiation. For short-day plants, this occurs as nights lengthen. You must track your local Last Frost Date with precision. Planting into soil that has not reached a consistent 55 degrees Fahrenheit will result in stunted growth and poor phosphorus uptake. Monitoring the Growing Degree Days (GDD) allows a scientist to predict harvest windows with greater accuracy than simple calendar counting.
Phases:
Sowing
Seeds must be placed at a depth exactly two to three times their diameter to ensure sufficient moisture contact without exhausting the endosperm's energy reserves before emergence. Maintain a consistent temperature of 70 degrees Fahrenheit for most temperate species.
Pro-Tip: Proper seed depth management prevents epigeal hook failure. If a seed is too deep, the hypocotyl cannot reach the surface before the stored carbohydrates are depleted, leading to pre-emergent mortality.
Transplanting
When moving seedlings from a controlled environment to the field, the process of "hardening off" is non-negotiable. Gradually expose plants to ultraviolet light and wind over a 7 to 10 day period. This thickens the waxy cuticle on the leaf surface to reduce transpiration stress.
Pro-Tip: Use a mycorrhizal inoculant during transplanting to establish a symbiotic relationship between the roots and beneficial fungi. This increases the surface area for water absorption by up to 1,000 percent through hyphal networks.
Establishing
During the first 21 days in the ground, the plant focuses on downward root expansion. Avoid heavy nitrogen applications during this window to prevent "lazy roots." Instead, focus on consistent moisture to ensure the rhizosphere remains active.
Pro-Tip: Practice auxin suppression by pinching off early flower buds. This redirects the plant's hormonal energy away from reproduction and back into root and structural development, leading to a higher ultimate yield.
The Clinic:
Physiological disorders often mimic infectious diseases but are rooted in environmental or nutritional stress.
- Symptom: Interveinal chlorosis on young leaves.
Solution: This indicates an Iron (Fe) deficiency, often caused by a soil pH above 7.0. Lower the pH using elemental sulfur. - Symptom: Blossom end rot on fruit.
Solution: This is a Calcium (Ca) transport issue. It is rarely a lack of calcium in the soil but rather inconsistent moisture preventing the plant from moving calcium to the fruit. - Symptom: Marginal leaf burn on older foliage.
Solution: Potassium (K) deficiency. Apply a sulfate of potash at a rate of 0.5 pounds per 100 square feet. - Fix-It: For general Nitrogen (N) chlorosis (yellowing of the entire plant starting at the bottom), apply a quick-release liquid fish emulsion with a 5-1-1 ratio for immediate uptake.
Maintenance:
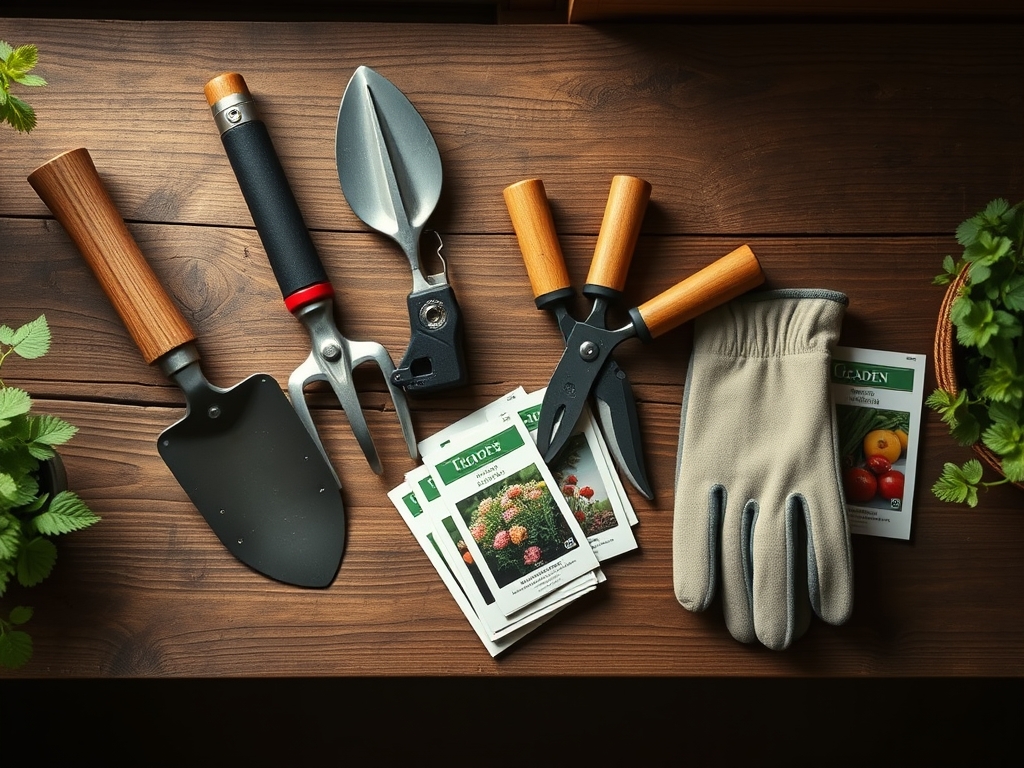
Precision maintenance requires the right instrumentation. Deliver exactly 1.5 inches of water per week at the drip line using a soaker hose to minimize foliar moisture and fungal spores. Use a soil moisture meter to verify that the water is penetrating at least 6 inches deep. For pruning, utilize bypass pruners for living tissue to ensure a clean scissor-like cut; reserve anvil pruners for dead wood only. A hori-hori knife is the most versatile tool for weeding and measuring planting depths simultaneously. Every tool should be cleaned with 70 percent isopropyl alcohol between plants to prevent the spread of tobacco mosaic virus or other systemic pathogens.
The Yield:
Harvesting should occur during the "cool of the day," typically between 5:00 AM and 8:00 AM, when the plant is at maximum turgidity. For leafy greens, immediate immersion in a 40-degree Fahrenheit water bath removes field heat and stops the process of senescence. For fruiting bodies, use sharp snips to leave a small portion of the pedicel attached; this prevents the entry of rot-inducing bacteria into the fruit shoulder. Store produce in a high-humidity environment with temperatures tailored to the specific crop: 32-35 degrees Fahrenheit for brassicas and 45-50 degrees Fahrenheit for solanaceous crops like peppers.
FAQ:
How do I prevent rust on my stored garden tools?
Clean tools with a wire brush to remove organic matter. Apply a thin coat of mineral oil or silicone spray before placing them in a dry, ventilated kit. This creates a hydrophobic barrier against atmospheric moisture and oxidation.
What is the best material for a long-term tool kit?
Look for high-density polyethylene (HDPE) or powder-coated steel. HDPE is resistant to UV degradation and chemical spills, while powder-coated steel provides structural rigidity for heavy implements like shovels and mattocks in high-traffic storage areas.
How often should I calibrate my soil moisture meter?
Calibrate your meter once per season or if you suspect erratic readings. Submerge the probe in a saturated sand-and-water mixture to verify the "wet" baseline. Accurate readings prevent over-saturation and subsequent root hypoxia in heavy soils.
Why is tool sterilization important for storage?
Pathogens like Fusarium and Pythium can survive on metal surfaces in a dormant state. Sterilizing with 10 percent bleach or 70 percent alcohol before storage ensures you do not inoculate your soil with diseases during the next planting cycle.