8 Steps to Recalibrate a Digital pH Soil Tester
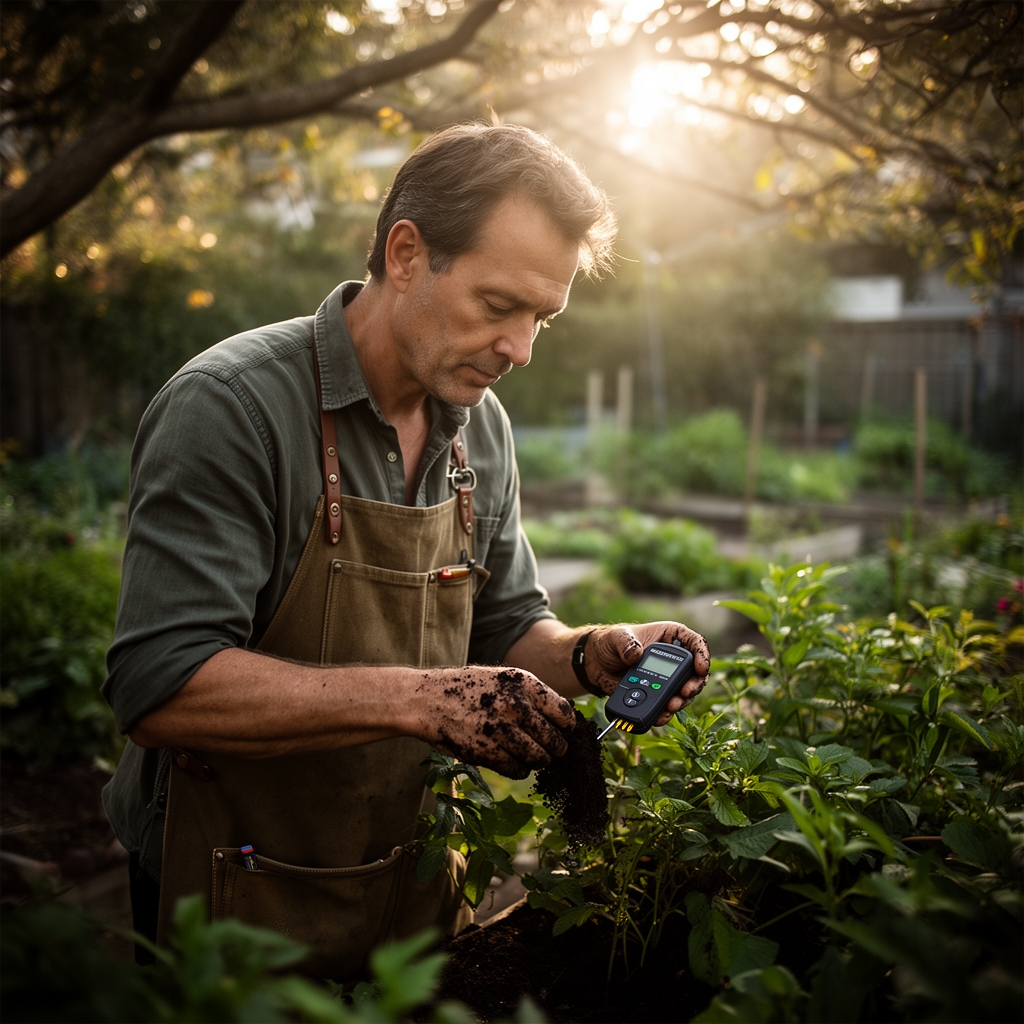
Accuracy in soil pH measurement separates guesswork from precision horticulture. A digital pH soil tester that drifts out of calibration can lead to nutrient lockout, stunted root development, and failed harvests. The steps for recalibrating a pH soil tester restore the instrument's reliability, ensuring readings reflect true substrate conditions. Without regular calibration, even premium meters deliver false data that compromise cation exchange capacity optimization and micronutrient availability.
Materials
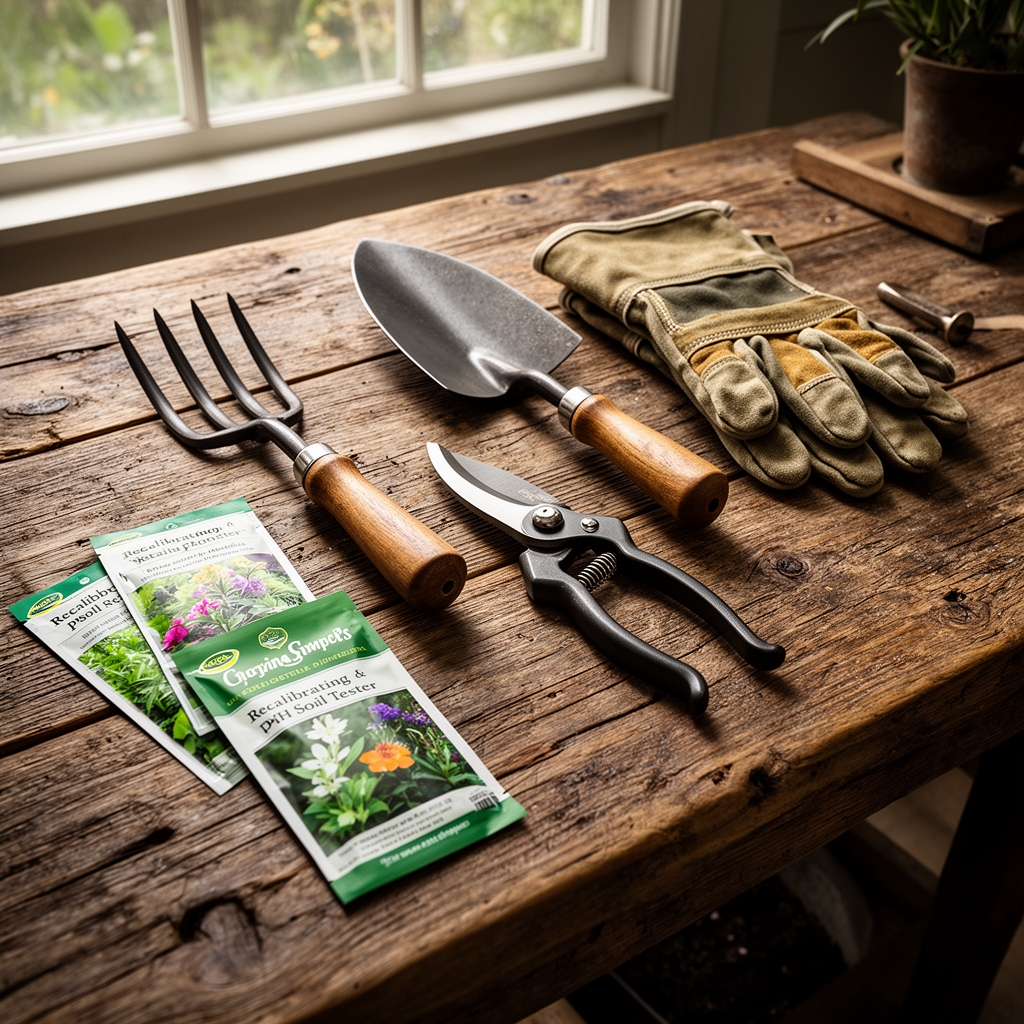
Gather pH buffer solutions in three values: pH 4.0, 7.0, and 10.0. These reference standards bracket the measurement range most soil tests require. Select solutions certified to 0.01 pH accuracy and stored in opaque bottles to prevent light degradation. Distilled or deionized water (0 ppm TDS) rinses the probe between calibrations without introducing mineral contamination.
A clean calibration beaker or shot glass holds 50 mL of buffer solution. Use separate containers for each buffer value to avoid cross-contamination. Soft lint-free wipes or laboratory-grade tissues remove residue from the probe surface without scratching the glass membrane. Keep a logbook to record calibration dates, buffer lot numbers, and pre-calibration drift values.
For post-calibration verification, prepare a control soil sample with known pH. Mix 2 parts Canadian sphagnum peat moss (pH 3.8-4.2) with 1 part dolomitic lime-amended topsoil (pH 6.5) for a stable reference substrate around pH 5.5. Test with fresh litmus paper to confirm target pH.
Timing
Calibrate digital pH testers every 30 days during active growing seasons and before any major soil amendment project. In USDA Hardiness Zones 8-11, where year-round cultivation occurs, monthly calibration prevents measurement creep caused by frequent probe exposure to soil microbes and root exudates. In Zones 3-7, calibrate at spring soil thaw (when ground temperature reaches 45°F), midsummer, and before fall planting.
Temperature affects buffer solution pH values. Calibrate when ambient temperature matches your typical testing environment, ideally 68-77°F. Buffer solutions expand their pH tolerance outside this range. Cold storage below 40°F can cause buffer precipitation, rendering them unreliable.
Recalibrate immediately after probe exposure to extreme pH environments (below 3.5 or above 9.0), concentrated fertilizer solutions, or saltwater intrusion events. Probes used in hydroponic systems require weekly calibration due to constant submersion and biofilm accumulation.
Phases
Step 1: Clean the Electrode
Remove soil particles and organic matter from the probe with distilled water and gentle agitation. Stubborn biofilm requires a 10-minute soak in 0.1 M hydrochloric acid (follow manufacturer specifications). Rinse thoroughly with distilled water until no acid residue remains. Pat dry with a lint-free tissue.
Pro-Tip: Electrodes stored dry develop junction potential errors. Store probes in pH 4.0 buffer solution or manufacturer storage solution between uses to maintain membrane hydration.
Step 2: Power and Initialize
Turn on the meter and allow a 5-minute warm-up period for internal circuitry stabilization. Check battery voltage. Readings below 1.2V per cell cause erratic measurements. Replace batteries if the low-power indicator illuminates.
Step 3: Enter Calibration Mode
Access the calibration function through the meter's menu system. Most digital testers use a "CAL" button held for 3 seconds. The display shows "CAL" or a buffer icon. Consult the manual for model-specific sequences.
Step 4: First Buffer Calibration (pH 7.0)
Immerse the probe tip 1 inch into fresh pH 7.0 buffer solution. Swirl gently to eliminate air bubbles trapped on the glass bulb. Wait for the reading to stabilize. Most meters require 30-90 seconds. When the display stops fluctuating (tolerance within 0.02 pH units for 10 seconds), press "Confirm" or "Enter." The meter stores this neutral reference point.
Pro-Tip: Buffer solutions expire. Discard any buffer showing discoloration, cloudiness, or that has been opened for more than 6 months.
Step 5: Rinse and Blot
Remove the probe from pH 7.0 buffer. Rinse with distilled water for 15 seconds. Blot the probe tip with a tissue. Do not wipe aggressively, as this generates static charge that skews readings.
Step 6: Second Buffer Calibration (pH 4.0 or 10.0)
Select the buffer closest to your typical testing range. For acidic soils (blueberries, azaleas, rhododendrons), use pH 4.0. For alkaline soils (lavender, clematis), use pH 10.0. Immerse the probe, stabilize, and confirm. The meter now calculates slope between two points, establishing accurate readings across the pH spectrum.
Step 7: Optional Third-Point Calibration
High-precision applications benefit from three-point calibration using pH 4.0, 7.0, and 10.0 buffers in sequence. This maps probe response across the full measurement curve. Agricultural research and greenhouse production operations should perform three-point calibration.
Pro-Tip: Calibration slope values between 92-102% indicate healthy probe function. Values outside this range signal electrode aging or contamination requiring replacement.
Step 8: Verification Test
Test the calibrated meter against your control soil sample or a fresh buffer solution not used in calibration. Readings within 0.1 pH units confirm successful calibration. Record the date, slope percentage, and offset values in your maintenance log.
Troubleshooting
Symptom: Meter displays "Err" or refuses to calibrate.
Solution: Check for cracked or dried electrode bulb. Ensure buffer solutions are fresh and at correct temperature. Clean electrode junction with 0.1 M KCl solution.
Symptom: Readings drift more than 0.2 pH units during measurement.
Solution: Replace contaminated buffer solutions. Soak probe in pH 4.0 buffer overnight to rejuvenate the reference junction. Check for low battery voltage.
Symptom: Calibration slope below 85%.
Solution: Electrode has reached end of service life. Order replacement probe. Clean existing probe with pepsin-HCl solution as temporary measure.
Symptom: Meter calibrates successfully but field readings seem incorrect.
Solution: Verify soil sample preparation. Mix 1 part soil with 1 part distilled water, let settle 10 minutes, then test slurry. Compacted soil produces false readings.
Symptom: Display shows correct pH in buffer but freezes in soil.
Solution: Soil particulates blocking junction. Use slurry method instead of direct insertion. Install probe in a PVC sleeve with porous ceramic bottom.
Maintenance
Rinse the probe with distilled water after every use. Store in pH 4.0 storage solution with the protective cap secured. Replace storage solution monthly. Never store probes in distilled water, as osmotic pressure damages the glass membrane.
Clean the probe monthly with enzymatic cleaner (1 g pepsin in 100 mL 0.1 M HCl) for 30 minutes. Rinse thoroughly and recalibrate. Inspect the glass bulb for cracks or cloudiness under magnification.
Replace electrodes every 12-24 months in professional applications, 24-36 months in home garden use. Keep backup batteries and buffer solutions stocked. Check buffer expiration dates quarterly.
Protect the meter from temperature extremes. Operating range for most digital testers spans 32-122°F. Freezing damages internal reference solutions. Store indoors during winter months in temperate zones.
FAQ
How often should I recalibrate my pH meter?
Calibrate every 30 days during active use, weekly in commercial settings, and immediately after measuring extreme pH values or after long storage periods.
Can I reuse buffer solutions?
No. Each calibration requires fresh buffer from a sealed container. Used buffer becomes contaminated with ions from the probe, shifting pH values by 0.1-0.3 units.
Why does my meter need two-point calibration?
Single-point calibration only adjusts offset. Two-point calibration corrects both offset and slope, accounting for electrode aging and temperature effects across the measurement range.
What causes pH probe failure?
Desiccation of the glass membrane, protein buildup on the junction, crystal formation in the reference electrolyte, or physical damage from dropping. Proper storage and cleaning extend probe life 200%.
Do I need three-point calibration for vegetable gardens?
Two-point calibration (pH 4.0 and 7.0) provides sufficient accuracy for most horticultural applications. Reserve three-point calibration for research, hydroponic nutrient management, or when testing spans pH 3-10.