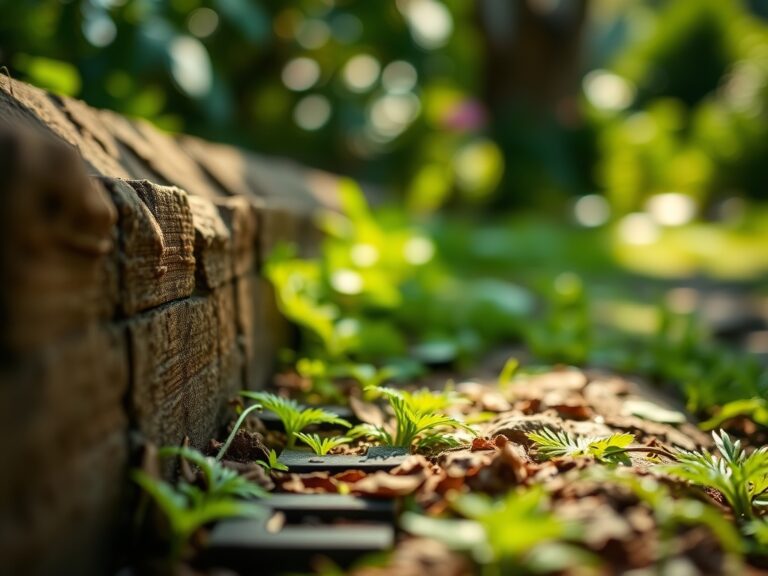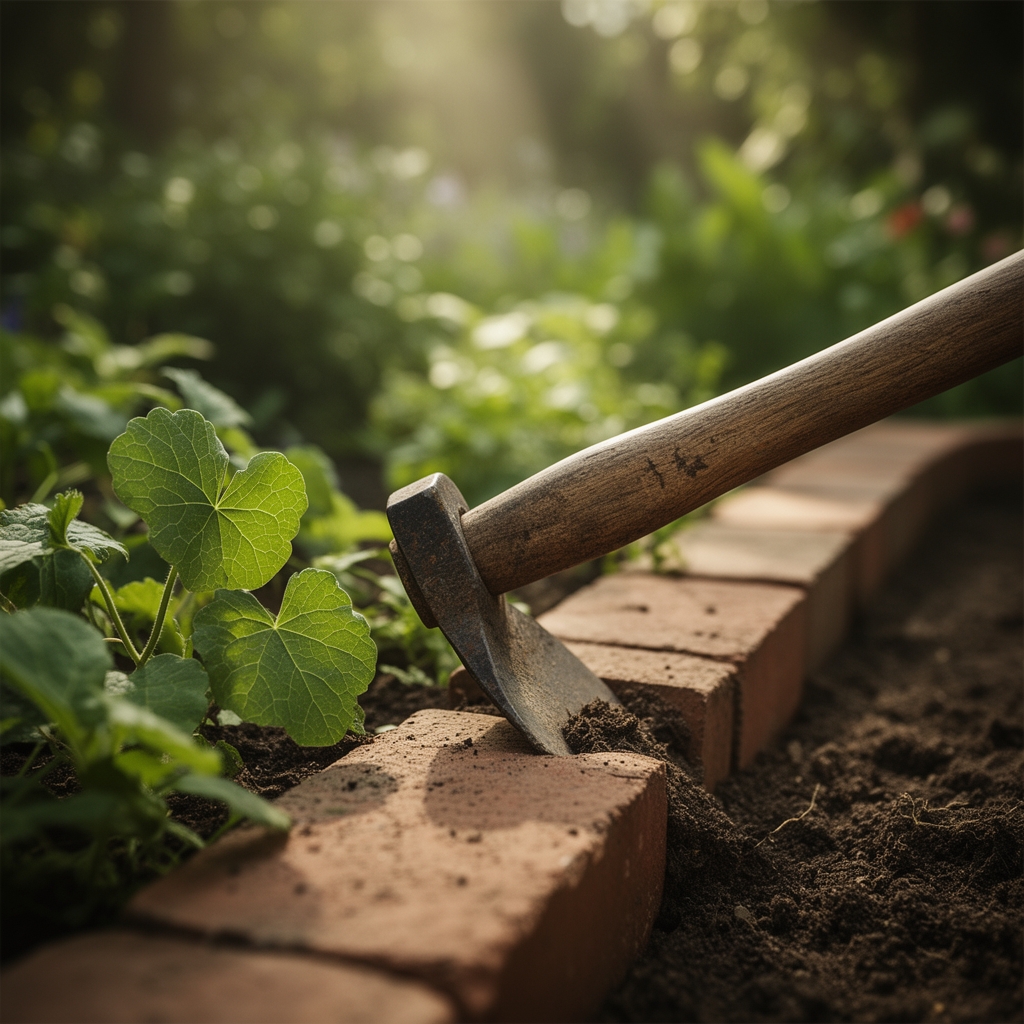
6 Steps to Install a Classic Brick Garden Border
The warm terracotta surface of fired clay bricks radiates heat into the soil beneath, creating a microclimate that extends the growing season by 3-7 days along bed perimeters. Each brick weighs approximately 4.5 pounds and measures 7.625 by 3.625 by 2.25 inches in standard modular dimensions. When set in a soldier course or header pattern, these units define planting zones while preventing lateral rhizome invasion from aggressive perennials. The steps for installing a brick garden border require attention to drainage gradient, soil compaction resistance measured at 200-250 psi, and thermal expansion coefficients that shift 0.0000033 inches per degree Fahrenheit.
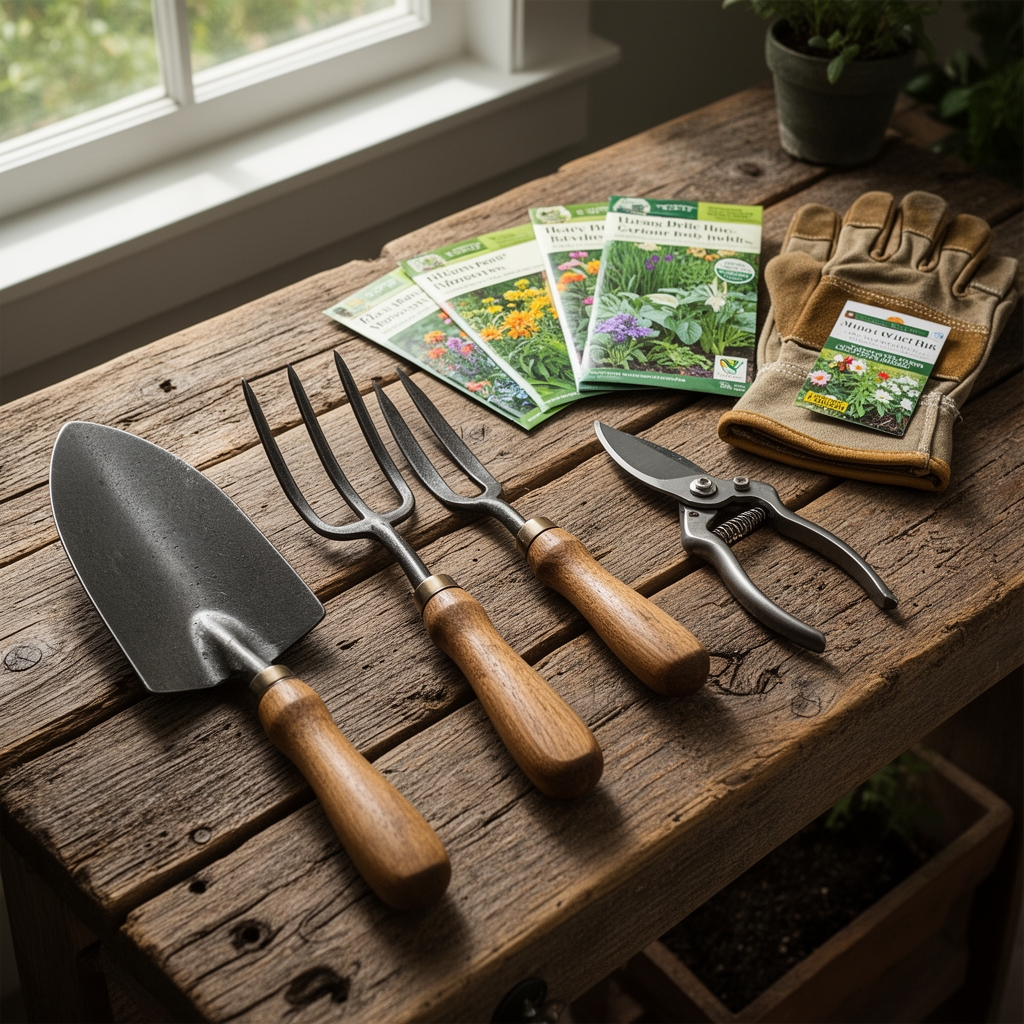
Materials
Select bricks rated SW (severe weathering) for freeze-thaw cycle tolerance. Each 100 square feet of border requires approximately 60-72 bricks depending on pattern selection. Quarry sand with particle sizes between 0.5-2.0 mm provides bedding layer stability without moisture retention that promotes efflorescence.
Crushed limestone at 1.5 inches depth raises soil pH by 0.3-0.5 units while improving cation exchange capacity to 12-15 meq/100g. This base layer prevents heaving in Zones 3-6 where frost penetration reaches 36-48 inches.
Edging spade with a blade width of 8 inches cuts clean vertical profiles through established turf. Rubber mallet at 16 ounces delivers sufficient force to seat bricks without fracturing surface glaze. Four-foot carpenter's level ensures 1-2% slope for drainage, preventing water accumulation that leaches calcium and magnesium.
Polymeric sand for joints contains Portland cement activated by misting. Once cured at 24 hours, it resists ant colonization and weed germination while maintaining 15% porosity for gas exchange.
Timing
Install brick borders during soil temperatures of 50-65°F when ground remains workable but not saturated. In Zone 5, this window opens mid-April through May 15. Zone 7 gardeners can work from March 10 through April 30, while Zone 9 allows installation from February 1 through March 20.
Avoid periods within 48 hours of rainfall exceeding 0.5 inches. Saturated soil compacts to bulk densities above 1.6 g/cm³, restricting root penetration and oxygen diffusion rates below the 20% threshold required for mycorrhizal fungi colonization.
Fall installation works in Zones 6-9 from September 20 through October 31, before soil temperatures drop below 45°F. This timing allows three freeze-thaw cycles to settle the base before spring planting.
Phases

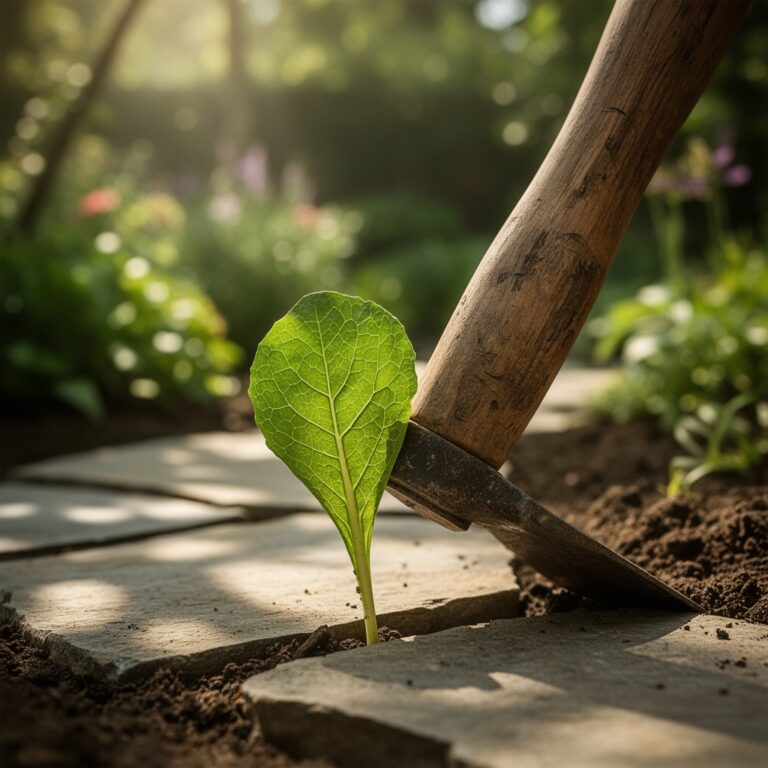
Step 1: Layout and Excavation
Drive stakes at 4-foot intervals along the proposed border path. Connect with mason's line pulled to 20-pound tension for accuracy within 0.25 inches over 10 feet. Mark the line with marking paint containing titanium dioxide pigment for 6-week visibility.
Excavate a trench 6 inches deep and 10 inches wide using the edging spade at 90-degree angles. Remove soil in 2-inch lifts to preserve structure. Screen extracted soil through 0.5-inch hardware cloth to remove stones larger than 1 inch diameter that create settling pockets.
Pro-Tip: Slope trench bottoms at 1.5% grade away from building foundations to prevent hydrostatic pressure exceeding 30 pounds per square foot against basement walls.
Step 2: Base Preparation
Compact trench bottom with a hand tamper delivering 10 passes at 40 pounds of force. Target soil density of 90-92% maximum dry density measured by Proctor test standards. Pour crushed limestone to 2-inch depth, then compact to 1.5 inches.
Add coarse sand layer at 1.5 inches depth. Rake level, then compact to 1 inch. This dual-layer system distributes loads across 150% more surface area than sand alone while maintaining drainage rates of 4-6 inches per hour.
Pro-Tip: Mix Bacillus subtilis biological inoculant into the sand layer at 2 tablespoons per linear foot to suppress Pythium and Phytophthora along the moisture-rich border interface.
Step 3: Brick Placement
Set first brick at the highest elevation point. Check level both perpendicular and parallel to border path. Subsequent bricks follow in running bond pattern with 0.375-inch joints. Tap each brick with rubber mallet using 3-4 strikes at 2-pound force.
Every sixth brick requires level verification. Adjust by adding or removing sand in 0.125-inch increments beneath individual units. Maintain consistent 0.25-inch reveal above finished grade to prevent soil splash that introduces Botrytis spores.
Pro-Tip: Orient bricks with holes facing down. This inverted position prevents water accumulation that accelerates freeze damage and provides 20% greater compressive strength under vertical loads.
Step 4: Joint Filling
Sweep polymeric sand across surface in diagonal passes. Fill joints flush using push broom with 3-inch natural bristles. Remove excess with soft brush to prevent surface hazing that reduces aesthetic appeal.
Mist joints with fine spray delivering 0.1 gallons per linear foot. Water activates polymers over 15 minutes. Allow 24-hour cure before second application fills settlement gaps.
Pro-Tip: Add zeolite granules at 10% by volume to polymeric sand. These aluminosilicate minerals buffer pH fluctuations and retain ammonium ions, delivering sustained nitrogen at 0.3 pounds per 100 square feet annually.
Step 5: Backfilling
Mix excavated soil with compost at 1:1 ratio targeting 4.5% organic matter content. This percentage supports 800-1200 pounds per acre of beneficial earthworms while maintaining soil structure that drains at 0.5-1.0 inches per hour.
Pack amended soil against brick interior face in 1-inch layers, tamping lightly. Final grade should slope 2% away from border into planting beds. This creates positive drainage preventing anaerobic conditions that halt auxin distribution to root tips.
Pro-Tip: Incorporate rock phosphate at 2 pounds per 10 linear feet during backfilling. Slow-release phosphorus at 0-3-0 supports mycorrhizal colonization increasing water absorption capacity by 40-60%.
Step 6: Edging Definition
Cut sod or mulch line 1 inch from brick exterior using a half-moon edger penetrating 3 inches deep. This gap prevents organic matter decomposition acids from etching brick surfaces and provides thermal expansion clearance during summer temperatures exceeding 95°F.
Apply 2-inch mulch layer of shredded hardwood bark with particle sizes between 0.5-1.5 inches. Maintain 1-inch clearance from brick faces to allow air circulation that prevents efflorescence salt migration to surfaces.
Pro-Tip: Install landscape fabric with 3.5-ounce weight beneath mulch only in high-weed-pressure areas. Excess fabric reduces gas exchange by 35% and interferes with beneficial ground beetle populations that consume 60-80 slug eggs per square yard annually.
Troubleshooting
Symptom: Brick heaving with 0.5-2 inch vertical displacement after winter.
Solution: Excavate and increase base depth to 4 inches with 2 inches crushed stone and 2 inches sand. Ensure drainage slope exceeds 1% to prevent water accumulation that expands 9% upon freezing.
Symptom: White crystalline deposits on brick surfaces (efflorescence).
Solution: Reduce irrigation within 18 inches of border to 0.75 inches weekly. Apply siloxane sealer at 150 square feet per gallon after acid-washing with 5% muriatic acid solution, then neutralizing with sodium bicarbonate.
Symptom: Joint sand erosion creating gaps exceeding 0.5 inches.
Solution: Remove remaining sand to 1-inch depth. Refill with resin-modified polymeric sand containing 15% acrylic binder. Activate with mist totaling 0.15 gallons per linear foot applied over 20 minutes.
Symptom: Ant colonies excavating 1-3 inch diameter chambers beneath bricks.
Solution: Apply diatomaceous earth at 2 tablespoons per linear foot into joints. Silica particles penetrate insect exoskeletons causing 8-12% moisture loss within 48 hours. Reapply after rainfall exceeding 0.25 inches.
Symptom: Brick edge crumbling with 0.125-0.25 inch spalling.
Solution: Replace damaged units with SW-rated bricks showing water absorption below 3% by weight. Seal cut edges during installation with masonry sealer penetrating 0.0625 inches to prevent moisture infiltration through exposed clay matrix.
Maintenance
Sweep joints monthly during growing season to remove organic debris that decomposes into humic acids, dropping local pH to 5.5-6.0 and mobilizing aluminum ions toxic to roots at concentrations above 2 ppm.
Rinse brick surfaces quarterly with water at 40-50 psi to prevent algae films that retain moisture and harbor springtail populations exceeding 10,000 per square foot. Avoid pressure washing above 1000 psi, which erodes mortar joints at 0.03 inches per application.
Reapply polymeric sand every 36-48 months as UV degradation reduces binding capacity by 60-70%. October application allows winter freeze-thaw action to seat material before spring growth begins.
Edge the interior boundary twice annually in May and August, maintaining the 1-inch gap. This practice severs perennial rhizomes before energy reserves in roots exceed 40% of total plant biomass, the threshold where regeneration occurs within 14 days.
Apply granular pre-emergent herbicide containing prodiamine at 0.5 pounds active ingredient per 1000 square feet along exterior edge in March when soil temperatures reach 55°F. This treatment prevents crabgrass germination for 120-150 days without affecting established ornamentals beyond 6 inches from application zone.
FAQ
How deep should the trench be for a brick border?
Excavate 6 inches in Zones 7-9 and 8 inches in Zones 3-6 where frost heaving risk increases. Add 2 inches crushed stone and 1-2 inches sand base layers.
Can I install bricks without a sand base?
Direct soil contact creates 70% more settling and allows weed penetration through joints within 8-12 months. Sand distributes loads across 3-4 times more surface area while draining at 6 inches per hour.
What is the best brick orientation for garden borders?
Soldier course with bricks standing vertically on 3.625-inch edge provides 7.625-inch height and uses 40% fewer units than rowlock orientation. This pattern resists lateral soil pressure up to 85 pounds per square foot.
How do I prevent grass from growing between bricks?
Use polymeric sand with polymer content above 12% by weight. Proper activation creates resin bonds that reduce weed emergence by 85-90% compared to standard masonry sand over 36 months.
Should I seal brick garden borders?
Apply penetrating siloxane sealer only in regions receiving more than 40 inches annual precipitation or where winter de-icing salt contact occurs. Sealer reduces water absorption by 60-75% while maintaining 15% vapor permeability for freeze protection.