7 Tough Steps to Sharpen Loppers with a Whetstone
Crushed xylem and torn cambium emit a distinct, sharp scent of herbaceous distress when a dull blade mangles a branch. Proper maintenance ensures the plant maintains high turgor pressure and seals wounds rapidly to prevent pathogen entry. Mastering the steps for sharpening a garden lopper with a stone is a fundamental requirement for any serious horticulturist aiming to preserve the structural integrity of woody perennials. A clean cut allows the plant to allocate energy toward callous formation rather than fighting off opportunistic fungi that thrive in ragged, bruised tissue.
Precision pruning requires a blade that shears through cellulose and lignin with minimal resistance. When the bevel of a lopper loses its factory edge, the tool begins to crush the vascular bundles of the plant. This mechanical failure disrupts the flow of water and nutrients through the sapwood. To prevent this, the gardener must intervene with a systematic sharpening protocol. By utilizing a whetstone, you restore the specific geometry required to bypass the anvil or counter-blade with microscopic clearance. This technical process transforms a blunt instrument into a surgical tool capable of maintaining the long-term health of the orchard or ornamental border.
Materials:
While tool maintenance is mechanical, the environment in which the plants grow dictates the frequency of sharpening. Plants grown in **friable loam** with a **pH of 6.5** often develop dense, silica-rich cell walls. If your soil profile shows a high **Cation Exchange Capacity (CEC)**, your plants likely possess robust structural tissues that dull blades faster. High-nitrogen environments, characterized by an **NPK ratio of 20-10-10**, produce rapid vegetative growth with softer tissue, whereas a balanced **10-10-10** ratio or a high-potassium **5-10-15** blend encourages thicker, woodier stems.
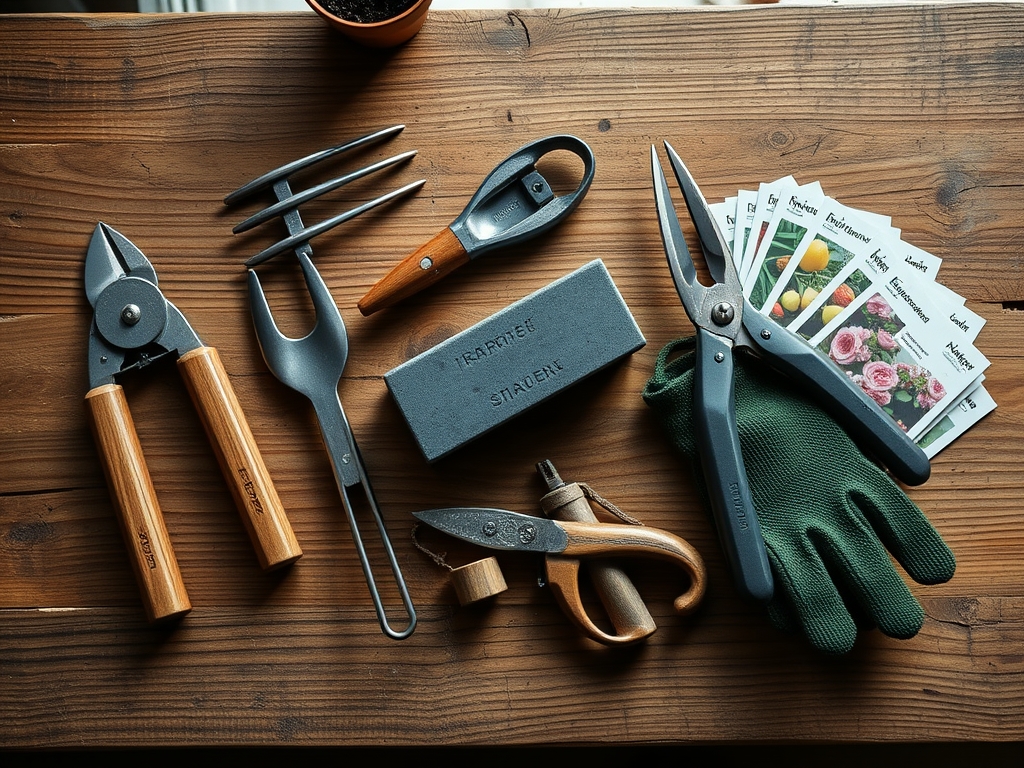
Essential tools for this procedure include:
- A dual-grit whetstone (400/1000 grit).
- Honing oil or water for lubrication.
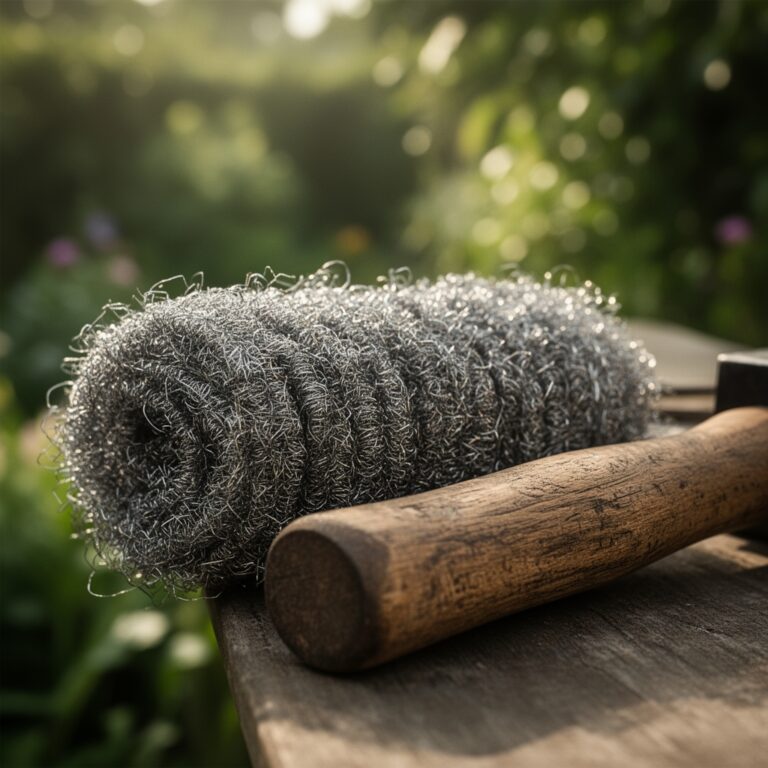
- Steel wool (0000 grade) for oxidation removal.
- A bench vice or soft-grip clamps.
- Microfiber cloth.
Timing:
In Hardiness Zones 5 through 8, the primary window for tool restoration occurs during the dormant season, typically between the first hard frost and the emergence of spring buds. This period coincides with the plant's lowest metabolic activity. Sharpening loppers before the "Biological Clock" shifts from dormancy to the vegetative stage ensures that the first cuts of the season are clean. As the photoperiod increases and temperatures rise above 50 degrees Fahrenheit, the plant begins to push sap toward the apical meristems. Pruning with a dull tool during this transition can cause excessive sap bleeding and hinder the development of the first seasonal flush of growth.
Phases:

Sowing the Foundation: Cleaning and Inspection
Before the stone touches the steel, remove all organic debris and resin. Use a wire brush or steel wool to strip away dried sap and rust. Inspect the pivot bolt; a loose pivot causes the blades to twist, leading to "tearing" rather than "shearing." Tighten the nut until there is no lateral play, but the handles still move freely.
Pro-Tip: Removing resin prevents the stone from "glazing." Glazing occurs when organic compounds fill the pores of the whetstone, reducing its abrasive efficiency and preventing the heat dissipation necessary to maintain the steel's temper.
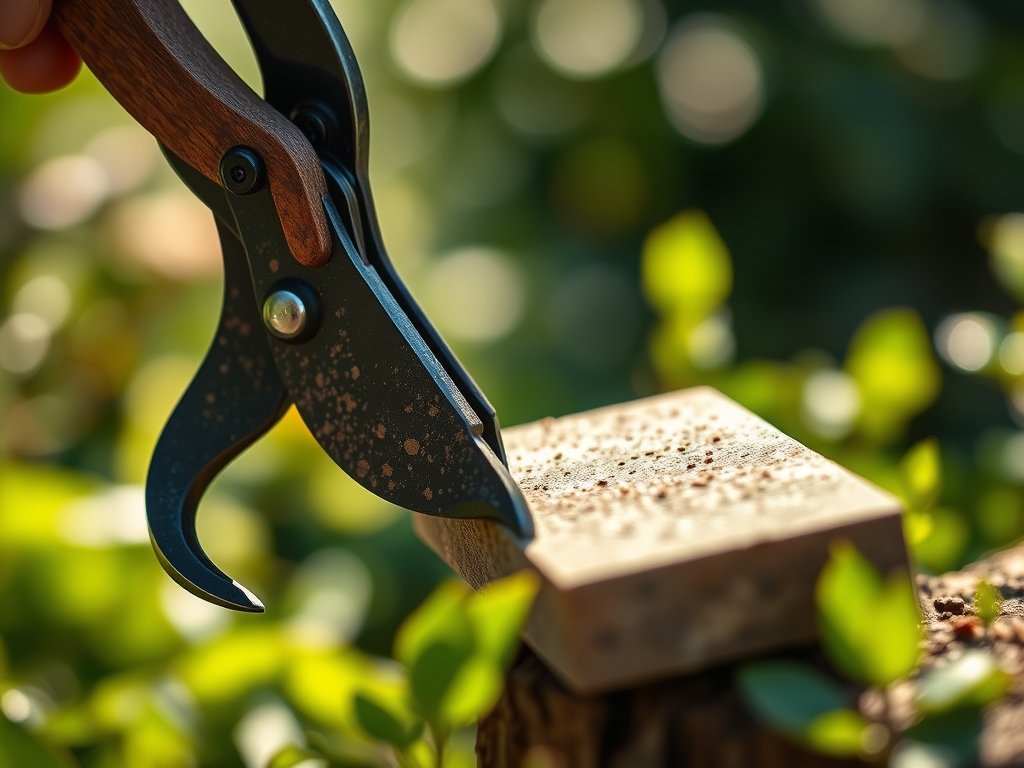
Transplanting the Edge: The Sharpening Process
Secure the loppers in a vice with the beveled edge facing upward. Apply lubrication to your stone. Hold the whetstone at a 20-degree angle, matching the factory bevel. Move the stone in a smooth, circular motion from the base of the blade to the tip. Perform 15 to 20 passes with the coarse grit before switching to the fine grit for polishing.
Pro-Tip: Always sharpen toward the edge. This technique prevents the formation of a "wire edge" or burr that can break off inside the plant tissue, causing microscopic necrotic spots where bacteria can colonize.
Establishing the Finish: Honing and Testing
Once the bevel is sharp, flip the lopper over. Lay the stone flat against the back of the blade. Perform two light strokes to remove any remaining burrs. The back must remain perfectly flat to ensure the bypass action works without a gap. Test the sharpness on a piece of paper; it should slice cleanly without snagging.
Pro-Tip: Maintaining a flat back-side is essential for auxin suppression. A clean cut allows for the proper distribution of auxins, which maintain apical dominance and prevent the "witch's broom" effect caused by ragged, stressed pruning sites.
The Clinic:
Even with sharp tools, plants may exhibit signs of distress. Monitor for these physiological disorders:
- Symptom: Ragged bark stripping after a cut.
- Solution: Check the bypass clearance. If the gap exceeds 0.05 mm, the loppers will chew the bark. Tighten the pivot bolt immediately.
- Symptom: Interveinal chlorosis (yellowing between leaf veins).
- Solution: This indicates a Magnesium deficiency. Apply Epsom salts (Magnesium Sulfate) at a rate of 1 tablespoon per foot of plant height.
- Symptom: Necrosis at the pruning site.
- Solution: This is often a sign of "dirty" tools. Sanitize blades with 70% isopropyl alcohol between every plant to prevent the spread of fire blight or verticillium wilt.
- Fix-It for Nitrogen Chlorosis: If older leaves turn pale yellow, the plant lacks Nitrogen. Apply a quick-release high-N fertilizer (21-0-0) to restore chlorophyll production.
Maintenance:
Post-sharpening care is as critical as the sharpening itself. Apply a thin layer of mineral oil to the blades to prevent oxidation. In the field, carry a hori-hori knife for root work and bypass pruners for smaller stems, reserving the sharpened loppers for branches between 1 and 2 inches in diameter.
Irrigation management is the second half of the maintenance equation. Ensure your plants receive 1.5 inches of water per week, delivered directly to the drip line. Use a soil moisture meter to verify that the root zone at a 6-inch depth remains consistently moist but not saturated. Proper hydration maintains the internal pressure required for the plant to push out "wound wood" and seal the cuts made by your sharpened loppers.
The Yield:
When harvesting fruit or woody ornamentals, timing is governed by sugar content and cellular maturity. For pome fruits, harvest when the base color shifts from green to yellow-green. Use your sharpened loppers to cut the pedicel without jarring the branch. For woody floral stems, harvest in the early morning when turgor pressure is at its peak. Immediately plunge the cut ends into 110-degree Fahrenheit water to clear air bubbles from the xylem, ensuring the stems remain hydrated and provide a long vase life.
FAQ:
How often should I sharpen my garden loppers?
Sharpen your loppers every 10 to 15 hours of heavy use or at the start of every pruning season. If you notice the blade sliding off branches or crushing the wood, sharpen them immediately to prevent plant tissue damage.
Can I use a file instead of a whetstone?
A mill file is acceptable for removing large nicks in the metal, but it is too coarse for a finished edge. Always follow filing with a medium and fine-grit whetstone to achieve the necessary surgical precision for plant health.
What is the best lubricant for a sharpening stone?
Use honing oil for oil stones or plain water for water stones. Lubrication floats away metal filings (swarf) and prevents the stone's pores from clogging. Never use a stone dry, as it generates excessive heat that can ruin the steel's temper.
Why is my lopper still tearing the bark?
Tearing usually results from a loose pivot bolt or a bent bypass blade. If the blades have a gap between them, they will fold the bark instead of cutting it. Ensure the blades are flush and the pivot is tight.