8 Tips to Use a Rotary Tool for Intricate Sharpening
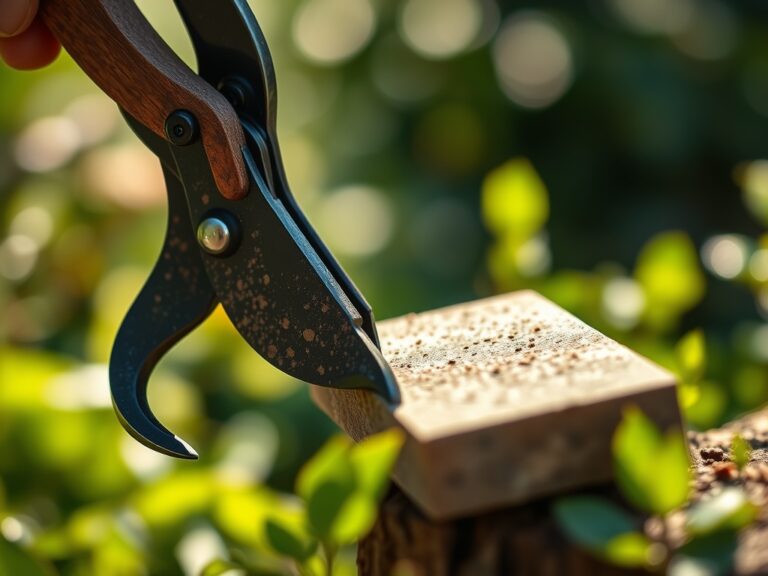
The first pass of a rotary bit across dulled steel produces a cascade of orange sparks and the sharp smell of friction-heated metal. Using a rotary tool for intricate tool sharpening transforms gardening implements that tear plant tissue into surgical instruments that make clean cuts, reducing pathogen entry points and promoting faster callus formation. A pruner that crushes stems rather than slices them creates ragged wounds where Botrytis and Pseudomonas colonies establish within hours.
Materials
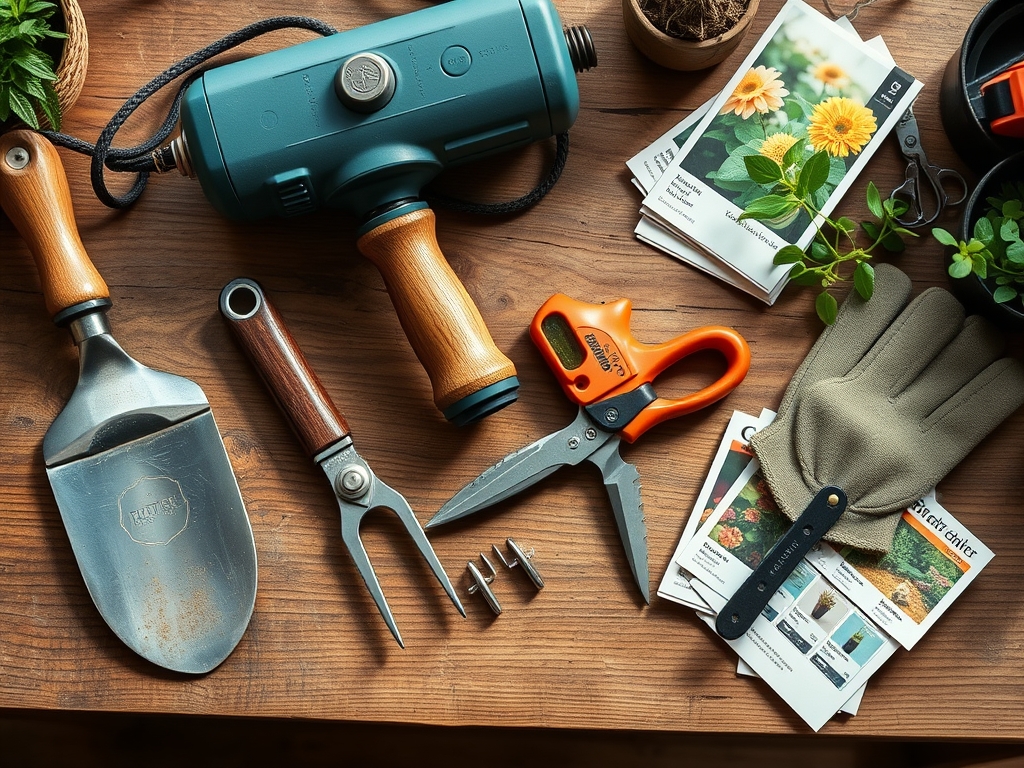
The rotary tool itself requires variable speed control between 5,000 and 35,000 RPM. For horticultural implements, aluminum oxide grinding stones in 60-grit to 120-grit grades remove damaged edges without overheating the temper line. Silicon carbide bits work for carbide-tipped tools. Diamond-coated wheels sharpen ceramic blades common in grafting knives.
A bench vise with rubber-lined jaws prevents tool movement during sharpening. Oil-based cutting fluid reduces friction heat that can alter the crystalline structure of tool steel. Safety equipment includes polycarbonate face shields rated for ANSI Z87.1+ impact resistance and nitrile gloves with cut-resistant Kevlar liners.
For post-sharpening treatment, apply food-grade mineral oil to carbon steel blades. Stainless implements benefit from a 10 percent citric acid solution to remove grinding residue, followed by a thin coat of camellia oil, which has a cation exchange capacity that protects against oxidation without interfering with plant tissue.
Timing
Sharpen all cutting tools in USDA Hardiness Zones 3-7 during the dormant window between first hard freeze and bud break, typically November through February. This period precedes the spring flush when auxin distribution drives rapid shoot elongation, and clean cuts become critical for training young growth.
In Zones 8-10, sharpen tools before the winter pruning season in December and again before summer monsoon rains trigger secondary growth flushes. Tools used for propagation require sharpening every 40-50 cuts through green wood. Grafting knives need edge renewal after 15-20 grafts, as sap resins accumulate and create micro-serrations invisible to the naked eye but devastating to cambium layers.
Plan rotary tool sharpening sessions two weeks before major garden tasks. The temper line in quality pruners sits 0.8-1.2 mm below the cutting edge. Excessive heat from rushed grinding sessions can migrate into this zone, reducing hardness from HRC 55-58 down to HRC 45, where the blade retains edges poorly.
Phases
Assessment and Setup
Examine each tool under 10x magnification. Chips larger than 0.5 mm require aggressive 60-grit aluminum oxide wheels. Rolled edges, where metal has folded rather than fractured, need progressive grinding from 80-grit through 120-grit to restore geometry. Mark the existing bevel angle with a permanent marker to track material removal.
Mount the tool securely with the blade edge perpendicular to your dominant hand's natural motion. Set rotary speed to 15,000 RPM for initial grinding. Higher speeds generate heat faster than the thermal mass of small tools can dissipate.
Pro-Tip: Dip blades in ice water every 8-10 seconds of grinding contact. This thermal cycling actually refines grain structure in high-carbon steels, similar to interrupted quenching in bladesmithing.
Grinding and Edge Formation
Move the rotary bit across the bevel in consistent 2-inch strokes, traveling from heel to tip. Maintain 3-5 pounds of pressure, equivalent to the weight of this guide printed and bound. The grinding stone should contact the entire bevel face simultaneously, not just the apex.
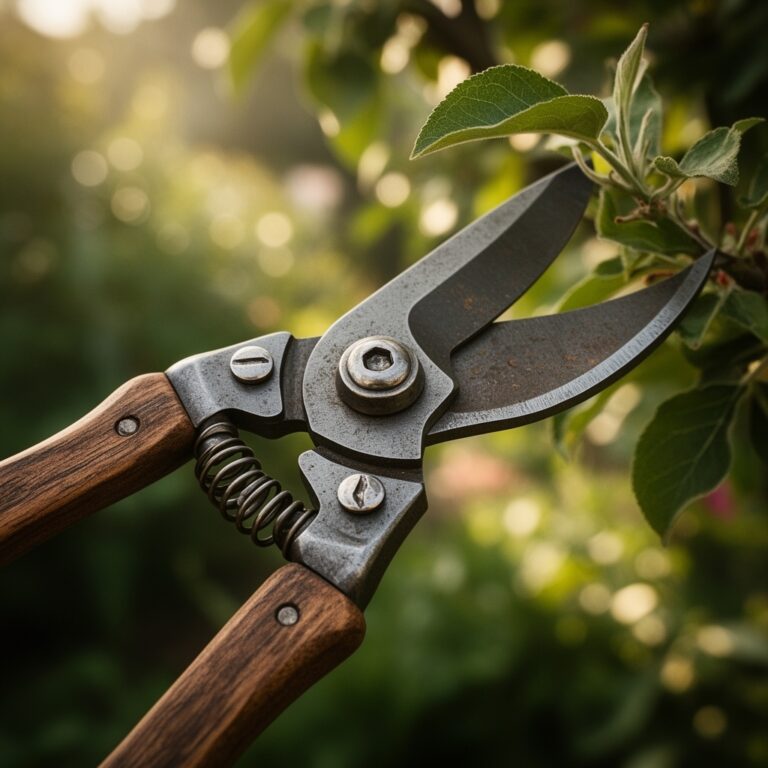
Bypass pruners require asymmetric sharpening. Only the outer curved blade receives grinding. The flat inner blade needs polishing with 400-grit silicon carbide paper to remove burrs without altering its geometry. Anvil pruners need both surfaces ground to maintain parallel contact.
Pro-Tip: For secateurs used in mycorrhizal fungi inoculation work, finish with 0.3-micron diamond paste. This mirror polish prevents microscopic soil particle adhesion that can transfer antagonistic bacteria between root zones.
Deburring and Honing
Flip the tool to expose the back face. A wire wheel attachment at 20,000 RPM removes the burr, the thin metal curl formed by grinding pressure. Follow with a felt polishing wheel charged with green chromium oxide compound, which brings edges to 0.5-micron smoothness.
Test sharpness on newsprint held vertically. A properly sharpened blade slices paper with no tearing or deflection. For grafting knives, the edge should part a suspended human hair with gravity alone.
Pro-Tip: Coat fresh edges with 4-4-4 organic kelp meal slurry, then wipe clean. Trace elements in kelp create a sacrificial oxidation layer that prevents flash rust during the first 72 hours post-sharpening.
Troubleshooting
Symptom: Blue or purple discoloration on the cutting edge after grinding.
Solution: The steel temperature exceeded 450°F, destroying temper. Re-grind to remove discolored metal, then send the tool for professional heat treatment or replace it. Prevent this by reducing RPM to 10,000 and using constant water cooling.
Symptom: Edge chips within 10-15 cuts after sharpening.
Solution: The bevel angle is too acute for the material being cut. Woody stems over 12 mm diameter require 20-25 degree bevels. Herbaceous material allows 15-18 degrees. Re-grind to the appropriate angle geometry.
Symptom: Tool vibrates excessively during sharpening.
Solution: The grinding stone has loaded with metal particles or developed an eccentric wear pattern. Dress the stone with a silicon carbide stick, or replace stones that show more than 3 mm of runout when spinning.
Symptom: Burr reforms within 24 hours.
Solution: Incomplete deburring leaves a micro-fold that stress-hardens during use, then fractures. Repeat the wire wheel deburring process, followed by stropping on leather charged with 1-micron diamond paste.
Symptom: Blades cut poorly despite appearing sharp.
Solution: The primary and secondary bevels meet at an angle rather than forming a clean apex. This creates a "wire edge" that folds during cutting. Regrind using a guide jig that maintains consistent angle throughout each stroke.
Maintenance
Sharpen pruners after every 4 hours of cutting time in softwood species, 2 hours in hardwoods. Clean grinding stones after each tool with a pencil eraser-style dressing stick. Replace stones when they reach 60 percent of original diameter.
Store rotary tool bits in a humidity-controlled case below 40 percent relative humidity. Collets require cleaning every 20 hours of use with acetone to remove grinding dust that causes bit slippage and runout.
Apply 0.5 ml of light machine oil to rotary tool bearings monthly. Brushes in brushed motors last 80-120 hours. Brushless models eliminate this maintenance but cost 40 percent more initially.
FAQ
How often should garden tools be sharpened with a rotary tool?
Pruners need sharpening every 40-50 cuts through living wood. Hoes and cultivators require edge renewal every 15-20 hours of soil contact. Grafting knives should receive attention after 15-20 grafts.
What RPM setting works best for sharpening?
Start at 15,000 RPM for initial grinding, reduce to 10,000 RPM for final edge refinement. Speeds above 25,000 RPM generate excessive heat in tools with blades thinner than 2 mm.
Can stainless steel tools be sharpened the same way as carbon steel?
Stainless requires 20 percent longer grinding time due to chromium content. Use aluminum oxide stones rather than silicon carbide. Cooling cycles become even more critical as stainless dissipates heat 30 percent slower than carbon steel.
What angle should pruner blades be ground to?
Bypass pruners: 20-23 degrees on the curved blade only. Anvil pruners: 22-25 degrees on both surfaces. Grafting knives: 15-18 degrees for single-bevel designs.
How do you prevent overheating during rotary tool sharpening?
Use 8-10 second grinding intervals followed by 5-second water cooling. Reduce pressure to 3-5 pounds maximum. Lower RPM to 10,000 for thin blades under 1.5 mm thickness. Stop immediately if you see discoloration developing.