7 Steps to Prepare a Tool Sharpening Station
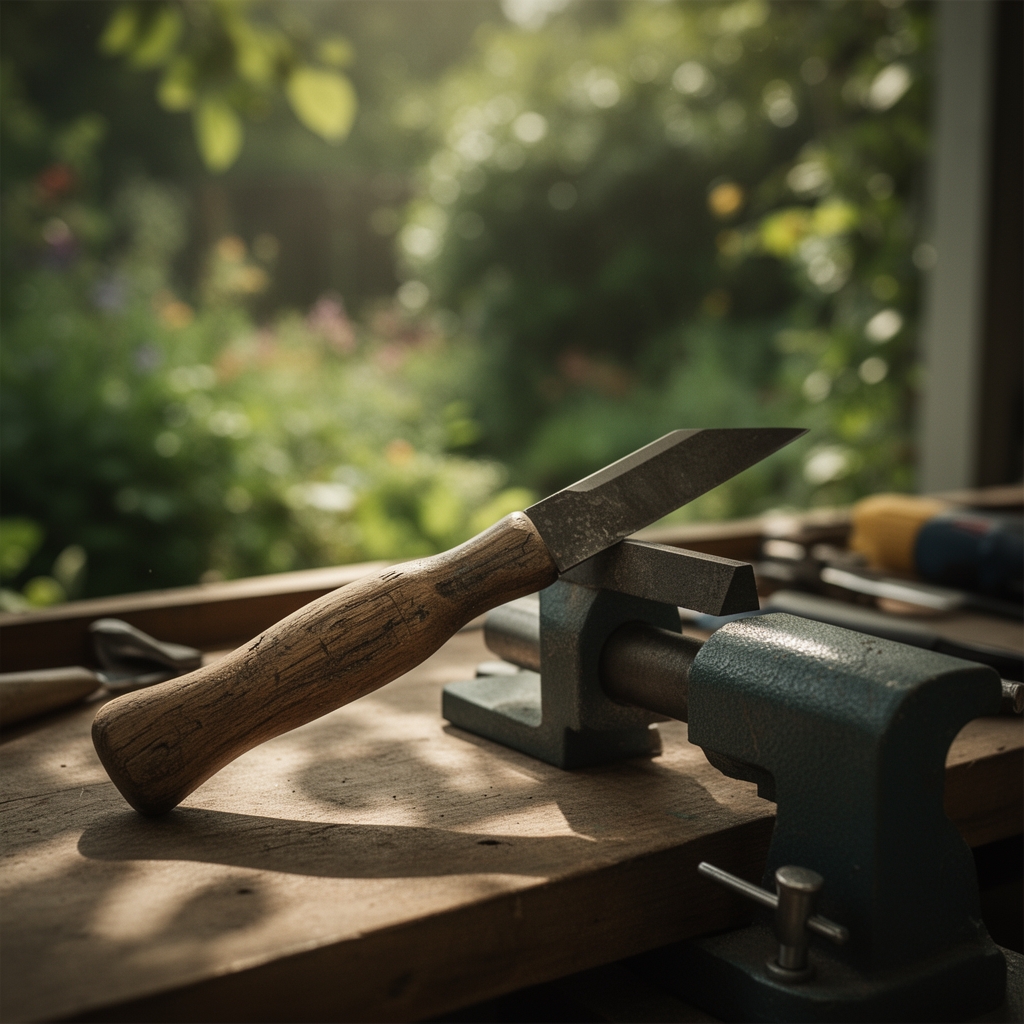
Preparing a tool sharpening station in the garage transforms a cluttered corner into a precision maintenance hub where pruners, spades, and hoes regain their original cutting geometry. The metallic rasp of a file against steel, the glint of a freshly honed edge, and the faint scent of honing oil mark the space where garden tools receive the care they deserve. A well-organized sharpening station reduces the physical effort required during soil cultivation, improves the clean cuts necessary for proper auxin distribution in pruned stems, and extends tool lifespan by decades.
Materials
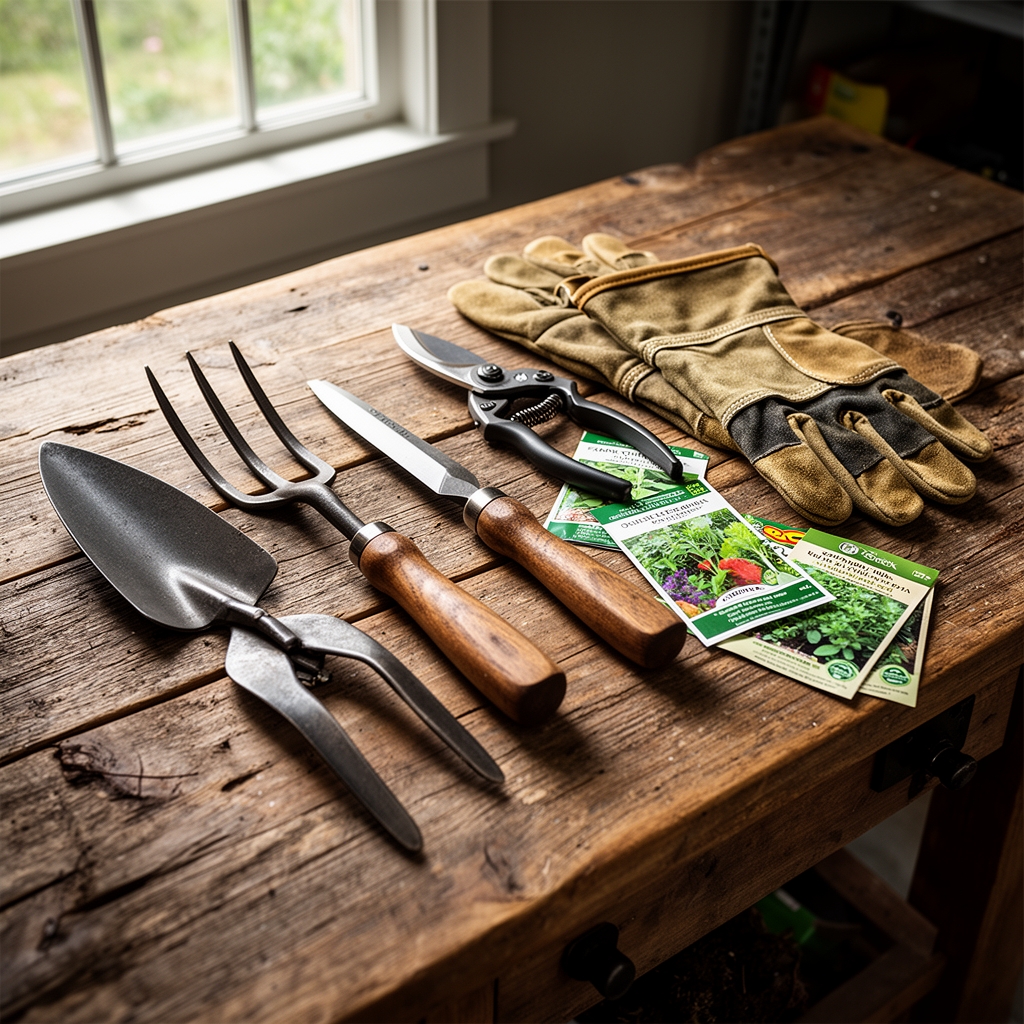
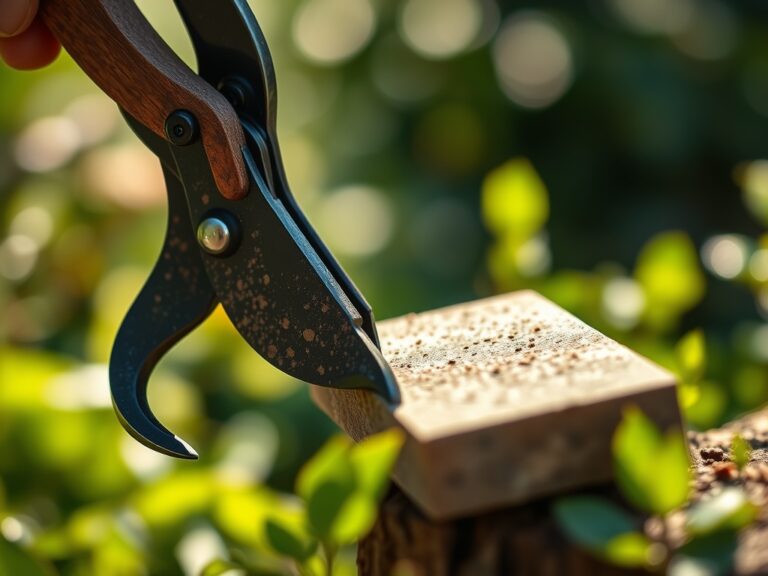
Preparing a tool sharpening station in the garage begins with selecting materials based on abrasive grit classification and substrate chemistry. A 10-inch mill bastard file (coarse cut, 26 teeth per inch) handles initial shaping of spade edges and hoe blades dulled by contact with clay soils of high cation exchange capacity. Medium-grit diamond stones (600 grit) refine the bevel angle to 20-25 degrees for pruners and loppers, ensuring cuts that minimize pathogen entry points. Fine Arkansas stones (1000 grit) polish the final edge.
Honing oil, typically a light mineral oil with a viscosity of 90-120 SUS at 100°F, suspends metal particles and prevents stone clogging. A 12-inch bench grinder (3450 RPM, 1/2 HP) with an aluminum oxide wheel (36 grit for rough work, 80 grit for finishing) accelerates initial bevel establishment. Leather strops loaded with chromium oxide compound (0.5 micron) complete the polishing sequence.
A stable workbench anchored to wall studs prevents vibration during file strokes. Install a 48-inch fluorescent shop light (5000K color temperature) directly above the work surface to reveal micro-serrations and burrs. Organize files, stones, and oils in a wall-mounted tool rack constructed from 3/4-inch plywood with routed slots spaced at 2-inch intervals. Safety equipment includes Z87+ rated safety glasses, leather work gloves, and a NIOSH-approved N95 respirator for grinding dust.
Timing
Hardiness zone considerations apply indirectly to tool sharpening schedules. In zones 3-5, sharpen tools in late winter (February-March), 4-6 weeks before last frost date, when garden dormancy permits thorough equipment assessment. Mid-season sharpening in zones 6-8 occurs in July, between spring cultivation and fall planting surges. In zones 9-11, where year-round gardening continues, establish a quarterly sharpening rotation aligned with solstice and equinox dates.
Prepare the sharpening station during periods of low humidity (below 50% relative humidity) to prevent rust formation on freshly exposed metal surfaces. Avoid sharpening during temperature extremes below 40°F, when honing oils thicken and reduce stone effectiveness, or above 95°F, when excessive heat causes premature oil evaporation.
Phases
Sowing (Station Assembly): Anchor a 60-inch workbench to garage wall studs using 3/8-inch lag bolts at 16-inch intervals. Position the bench 36 inches above the floor to allow standing work posture that reduces lumbar strain. Mount the bench grinder to the right side (for right-handed operators) with a 6-inch overhang for comfortable tool presentation angles.
Install a magnetic tool bar 18 inches above the bench surface to hold files during multi-tool sessions. Position a water basin (minimum 2-gallon capacity) within arm's reach for cooling ground edges. The basin prevents temper loss in high-carbon steel tools, maintaining Rockwell hardness values between 55-60 HRC.
Pro-Tip: Apply paste wax to exposed workbench surfaces to create a hydrophobic barrier against water splashes and oil spills, similar to mycorrhizal fungi establishing protective zones around root hairs.
Transplanting (Workflow Optimization): Arrange sharpening tools in a left-to-right progression matching the grit sequence: coarse files, medium stones, fine stones, leather strop. This layout mimics the natural root-to-shoot nutrient transport pathway and eliminates wasted motion. Position a parts tray at the workflow start point to hold fasteners removed during tool disassembly.
Mount a swing-arm task lamp with a 100-watt equivalent LED bulb on an articulating bracket to eliminate shadows across the working edge. Proper lighting reveals the burr formation critical to confirming complete edge apex refinement.
Pro-Tip: Install a shop vacuum hose bracket near the grinder wheel to capture 90% of airborne particles at the source, maintaining air quality comparable to a greenhouse with proper ventilation rates of 1 CFM per square foot.
Establishing (Maintenance Protocols): Mark file handles with colored tape indicating their dedicated purposes: green for garden hoes, red for pruning tools, yellow for digging implements. This prevents cross-contamination of handle oils and preserves file tooth geometry. Clean files after every 30 minutes of use by drawing a file card across the teeth at a 45-degree angle, removing embedded metal particles.
Flatten water stones on 220-grit wet/dry sandpaper affixed to a glass plate every fifth use to maintain planar geometry. A stone with a concave wear pattern of more than 0.010 inches produces inconsistent bevel angles, similar to how uneven soil pH (varying more than 0.5 units across a bed) creates nutrient uptake disparities.
Pro-Tip: Store Arkansas stones in a sealed container with desiccant packets to maintain 30-35% relative humidity, the same range optimal for storing seeds of most vegetable species.
Troubleshooting
Symptom: File skates across metal without cutting.
Solution: The file is loaded with metal particles or worn smooth. Clean with a file card, working parallel to tooth rows. If cleaning fails, the file has reached end-of-life (typically after 40-60 hours of use). Replace with a new file of the same cut and bastard designation.
Symptom: Grinding wheel produces blue discoloration on tool edge.
Solution: Excessive heat has drawn temper from the steel, reducing hardness below 45 HRC. Grind away discolored metal until clean steel appears. Reduce grinding pressure to under 3 pounds and immerse tool in water every 3 seconds of grinding contact.
Symptom: Honed edge fails after first soil contact.
Solution: The bevel angle exceeds 35 degrees, creating a fragile edge with insufficient material support. Re-establish the bevel at 20-25 degrees for pruners, 25-30 degrees for spades. Verify angle with a digital protractor accurate to 0.1 degrees.
Symptom: Burr remains on backside of blade after stropping.
Solution: Insufficient alternating strokes on the stone have failed to equalize metal displacement. Return to medium stone and execute 10 strokes per side, alternating after each stroke, until a wire edge forms consistently along the entire cutting length.
Symptom: Water stone develops hollow in center.
Solution: Inconsistent pressure distribution mimics soil compaction patterns in high-traffic garden areas. Flatten stone using the lapping process on 220-grit abrasive. Mark stone surface with pencil cross-hatching to track material removal until the entire surface shows fresh abrasion.
Maintenance
Preparing a tool sharpening station in the garage requires ongoing maintenance protocols matching the precision of soil amendment schedules. Apply 1/4 teaspoon of honing oil per 8 square inches of stone surface before each use. This thin film prevents loading while maintaining lubricating properties equivalent to proper soil moisture at field capacity.
Clean work surfaces with mineral spirits on a lint-free cloth after every sharpening session. Remove metal filings from bench crevices using a 2-inch chip brush reserved exclusively for this purpose. Inspect grinder wheels for cracks by suspending the wheel on a dowel and tapping with a wooden mallet. A clear ring indicates structural integrity; a dull thud signals internal fractures requiring immediate wheel replacement.
Lubricate bench vise screws with white lithium grease every 90 days, applying 1/8 teaspoon to the screw threads. This maintenance interval matches the frequency of soil testing in intensive production systems. Verify workbench stability monthly by applying 50 pounds of lateral force at the furthest corner. Movement exceeding 1/8 inch requires re-tightening lag bolts to 30 foot-pounds of torque.
Rotate file positions in the storage rack every six months to prevent handle deformation. This rotation mimics crop rotation principles that prevent pathogen buildup and nutrient depletion. Inventory consumable supplies (honing oil, sandpaper, abrasive compounds) quarterly and reorder when stock reaches 25% capacity.
FAQ
How often should garden tools be sharpened?
Sharpen pruners and loppers every 8 hours of active cutting, spades after 40 hours of digging in mineral soils, and hoes every 20 hours of cultivation. Clay soils with particles smaller than 0.002mm accelerate edge wear by 40% compared to sandy loam textures.
What bevel angle works best for different tools?
Pruning shears require 20-23 degrees for clean cuts that promote callus formation. Spades and shovels perform optimally at 25-30 degrees, balancing edge retention with penetration force. Hoes demand 25-28 degrees for efficient weed severing at the soil interface where root competition for nutrients occurs.
Can stainless steel tools be sharpened like carbon steel?
Stainless steel alloys (400-series martensitic grades) sharpen similarly to carbon steel but require 30% more file strokes due to chromium carbide hardness. Austenitic stainless (300-series) used in some trowels resists sharpening and should be ground only, never filed.
How do you prevent rust on sharpened edges?
Apply a thin film (0.001 inch) of camellia oil or mineral oil immediately after sharpening. This treatment creates a hydrophobic barrier similar to the waxy cuticle on leaf surfaces that regulates transpiration rates. Reapply every 30 days during storage.
What safety precautions apply to bench grinders?
Maintain 1/8-inch clearance between grinding wheel and tool rest. Position the rest 2-3 degrees below the wheel centerline to prevent tool jamming. Wear Z87+ impact-rated safety glasses and ensure grinder guards cover 180 degrees of wheel circumference. Never grind on wheel sides, only on the peripheral face where structural integrity matches the rotational forces.