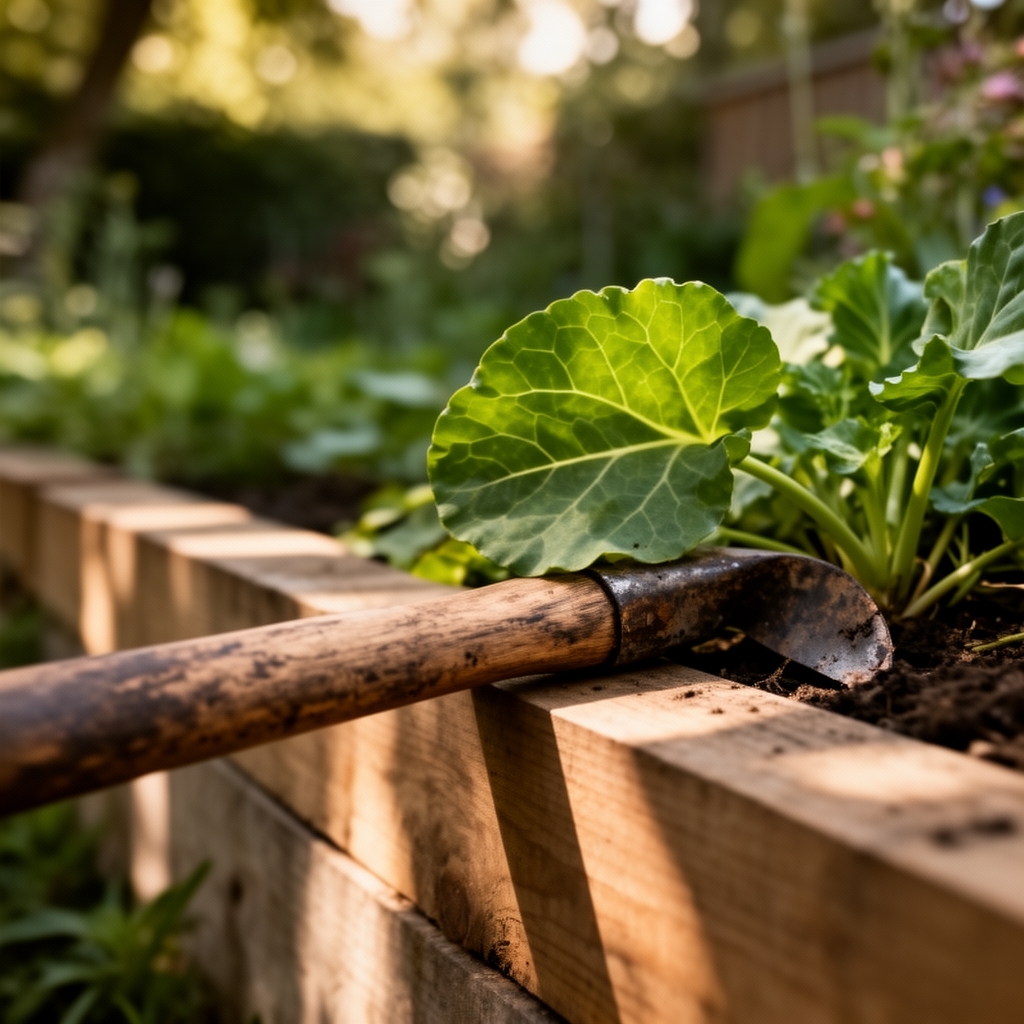
6 Steps to Build a Durable Wooden Retaining Wall
The sound of soil slumping after heavy rain signals a hillside losing its structure. Wooden retaining walls transform unstable slopes into productive terraced gardens, and the steps for building a wooden retaining wall require the same precision as amending soil for optimal cation exchange capacity. Pressure-treated timber, gravel drainage, and proper anchoring create structures that hold tons of earth while resisting decay for decades. This construction parallels root development: surface work matters less than what happens below grade.
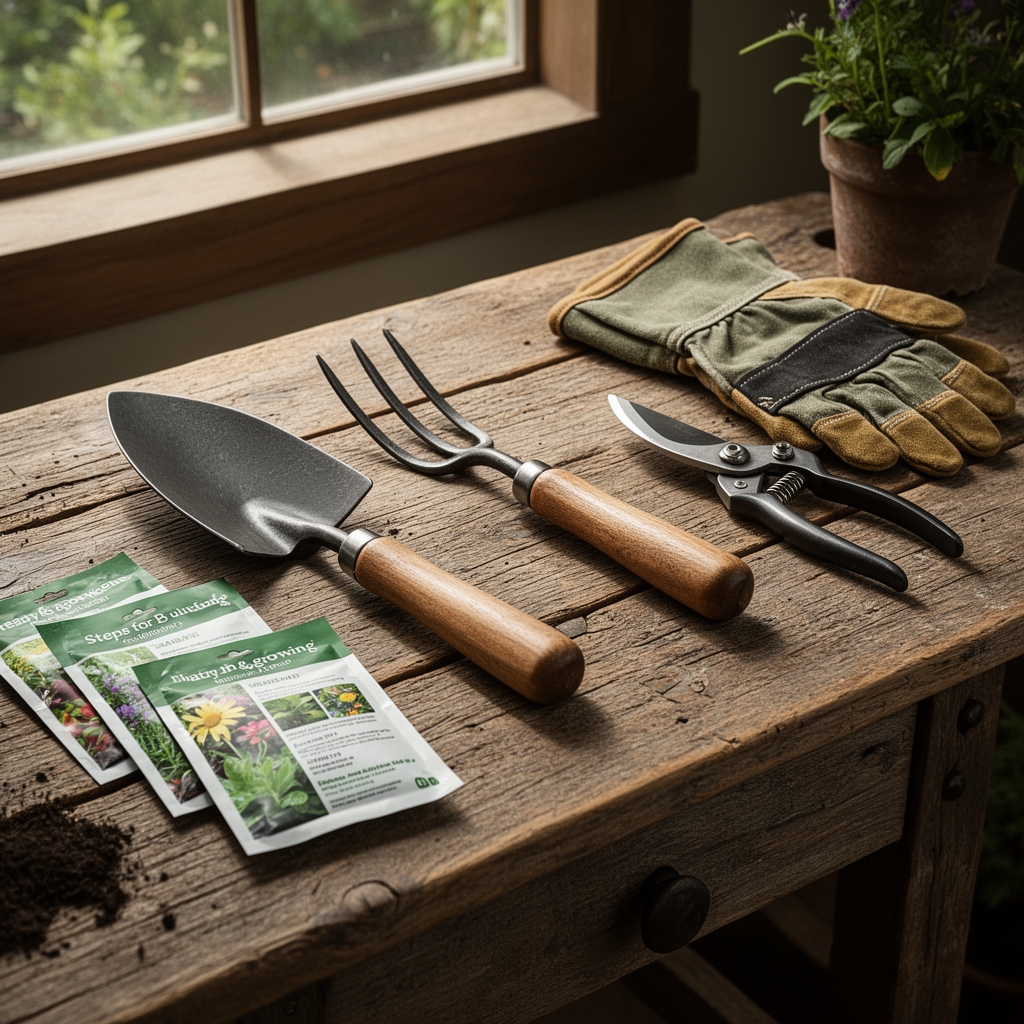
Materials
Pressure-treated 6×6 timbers rated for ground contact serve as the primary structural members. Select lumber with a minimum retention of 0.40 PCF (pounds per cubic foot) of preservative. The chemical treatment creates a pH of approximately 5.5 to 6.0 in surrounding soil, similar to conditions favoring ericaceous plants.
Three-quarter-inch rebar, cut to 36-inch lengths, anchors each timber course. Use two pins per timber for walls under 3 feet, three pins for taller structures. Galvanized landscape spikes, 10 inches long, secure vertical joints. The spacing ratio mirrors NPK balance: one spike every 12 inches horizontally equals the precision of applying a 4-4-4 organic amendment at 2 pounds per 100 square feet.
Crushed three-quarter-inch drainage rock fills the void behind the wall. This aggregate maintains porosity comparable to a growing medium with 40 percent pore space. Four-inch perforated drain pipe, wrapped in geotextile fabric, evacuates water like xylem tissue transporting moisture from roots to leaves.
Deadman anchors, constructed from 4-foot sections of 4×4 timber, extend perpendicular into the hillside every 6 feet horizontally. These behave like tap roots, distributing lateral load deep into stable soil strata.
Timing
Begin construction during Hardiness Zones' dry season, typically June through September in Zones 5 through 8. Soil moisture content below 15 percent allows proper compaction of backfill material. This window matches the period when auxin distribution in woody plants slows, reducing active growth.
Avoid building within two weeks of projected heavy rainfall. Saturated soil exerts hydrostatic pressure exceeding 100 pounds per square foot at 4-foot depths. The timing precision resembles vernalization requirements: 40 degrees Fahrenheit for 800 hours cannot be approximated.
Complete foundation preparation before the first frost date. Freeze-thaw cycles disrupt unfinished grade work, creating voids that compromise bearing capacity. In Zone 6, finish excavation by October 15. Zone 4 requires completion by September 20.
Phases

Excavation Phase: Cut into the slope to create a level trench 8 inches deep and 12 inches wider than timber width. Remove all organic material, including roots larger than one-quarter inch diameter. Compact the trench bottom to 95 percent density using a plate compactor. This foundation mimics how mycorrhizal fungi colonize only firm soil interfaces.
Pro-Tip: Check level every 4 feet using a laser level accurate to one-sixteenth inch over 100 feet. Deviations compound exponentially in upper courses.
Base Course Installation: Fill the trench with 6 inches of crushed rock. Compact in 2-inch lifts. Place the first timber course on this base, checking level along both axes. Drill 5/8-inch holes through each timber at predetermined rebar locations. Drive 36-inch rebar pins through the timber, leaving 3 inches exposed above.
Pro-Tip: Offset rebar holes 3 inches from timber edges to prevent splitting, similar to pruning cuts made one-quarter inch above lateral buds to direct auxin flow.
Stacking and Backfilling: Position the second course with joints offset 2 feet from lower joints. Drill and pin with rebar through both courses. Before adding the third course, install the first deadman anchor. Drill a 5/8-inch hole 6 inches from the timber end, insert a 12-inch spike through the wall timber into the deadman, oriented perpendicular to the wall.
Backfill behind each completed course with drainage rock to within 2 inches of the timber top. Slope backfill away from the wall at 2 percent grade. This drainage gradient mirrors the water potential difference that drives capillary action in soil, approximately 0.3 bars per foot.
Pro-Tip: Tamp backfill in 4-inch lifts using a hand tamper. Uncompacted material settles 15 to 20 percent, creating voids that reduce wall stability.
Drainage Installation: Place perforated drain pipe at the base of the rock backfill, 2 inches above the original grade. Slope the pipe 1 inch per 8 feet toward a daylight outlet. Wrap all pipe sections in non-woven geotextile to prevent sediment clogging, functioning like root hairs filtering soil solution.
Troubleshooting
Symptom: Timbers bowing outward at mid-height. Solution: Insufficient deadman anchors. Retrofit by removing backfill, drilling through existing courses, and installing additional anchors at 4-foot intervals. The correction resembles staking a specimen with multiple ties rather than a single point of contact.
Symptom: Water pooling behind the wall. Solution: Blocked drainage pipe or inadequate rock backfill. Excavate to expose the pipe, flush with high-pressure water, and verify 12-inch minimum rock depth. Poor drainage creates anaerobic conditions comparable to waterlogged root zones.
Symptom: End timbers rotating outward. Solution: Missing or inadequate corner bracing. Install 4×4 perpendicular bracing every 8 feet on walls exceeding 16 feet in length. This addresses torsional stress like calcium deficiency causing blossom-end rot.
Symptom: Separation between timber courses. Solution: Insufficient or corroded fasteners. Re-pin with new galvanized spikes at 8-inch intervals. Metal degradation proceeds at rates proportional to soil pH and moisture, similar to nutrient availability curves.
Maintenance
Inspect walls twice annually, in early spring and late fall. Check for timber movement exceeding one-quarter inch and rebar exposure. Apply a clear wood preservative every 36 months to exposed timber faces at a rate of 100 square feet per gallon.
Clear drain outlets each spring. Insert a plumber's snake 10 feet into drain pipes to remove sediment buildup. Verify water flow by pouring 5 gallons into the system and observing discharge within 45 seconds.
Add 2 inches of fresh drainage rock every five years as backfill material migrates through settling. This replenishment matches the rate of organic matter decomposition in typical garden soil, approximately 2 to 5 percent annually.
Monitor vegetation within 3 feet of the wall. Remove woody plants with root systems exceeding 1-inch diameter. Roots exert pressures of 200 to 400 PSI, sufficient to displace timbers. Shallow-rooted groundcovers with fibrous root mats, similar to fine feeder roots, stabilize surface soil without structural risk.
FAQ
How deep should the base course sit? Six inches of compacted gravel below grade, plus the first timber thickness. This totals approximately 12 inches for standard 6×6 construction.
Can I use untreated lumber? No. Untreated wood in ground contact decays within 18 to 36 months. Pressure treatment extends service life to 20-plus years, comparable to the productive lifespan of dwarf fruit tree rootstock.
What wall height requires engineering? Walls exceeding 4 feet in most jurisdictions need professional design. Load increases geometrically with height, similar to how water potential decreases exponentially with soil depth.
Should I use landscape fabric behind the wall? Yes, but only non-woven geotextile. Woven types clog like compacted clay, reducing infiltration rates below 0.1 inches per hour.
How far apart should deadmen be installed? Six feet horizontally, starting at the third course. This spacing distributes load like proper plant spacing optimizes resource competition, preventing localized stress concentration.