8 Best Methods for Staking Tall Tomato Plants: Tools and Support
The snap of a brittle stem under the weight of a ripening tomato cluster releases a burst of that unmistakable green, earthy scent into the humid summer air. That sharp tang is the smell of broken plans and lost yield. Understanding the steps for staking tall tomato plants transforms that moment of failure into a season of heavy harvests, where every indeterminate vine climbs skyward with purpose, each fruit suspended in perfect sunlight.
Materials and Supplies
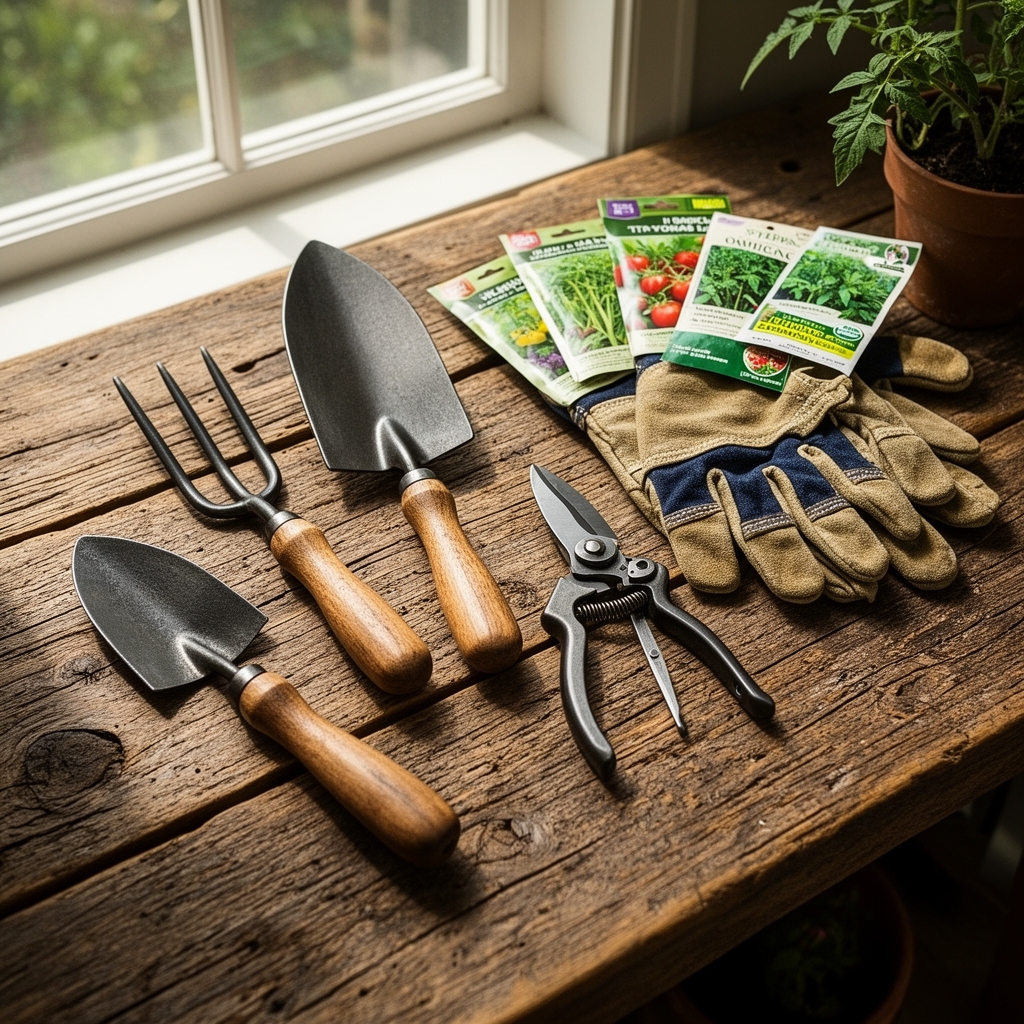
The right equipment separates amateur gardeners from those who harvest 40-pound yields per plant. Organize your supplies into three categories.
Structural Support
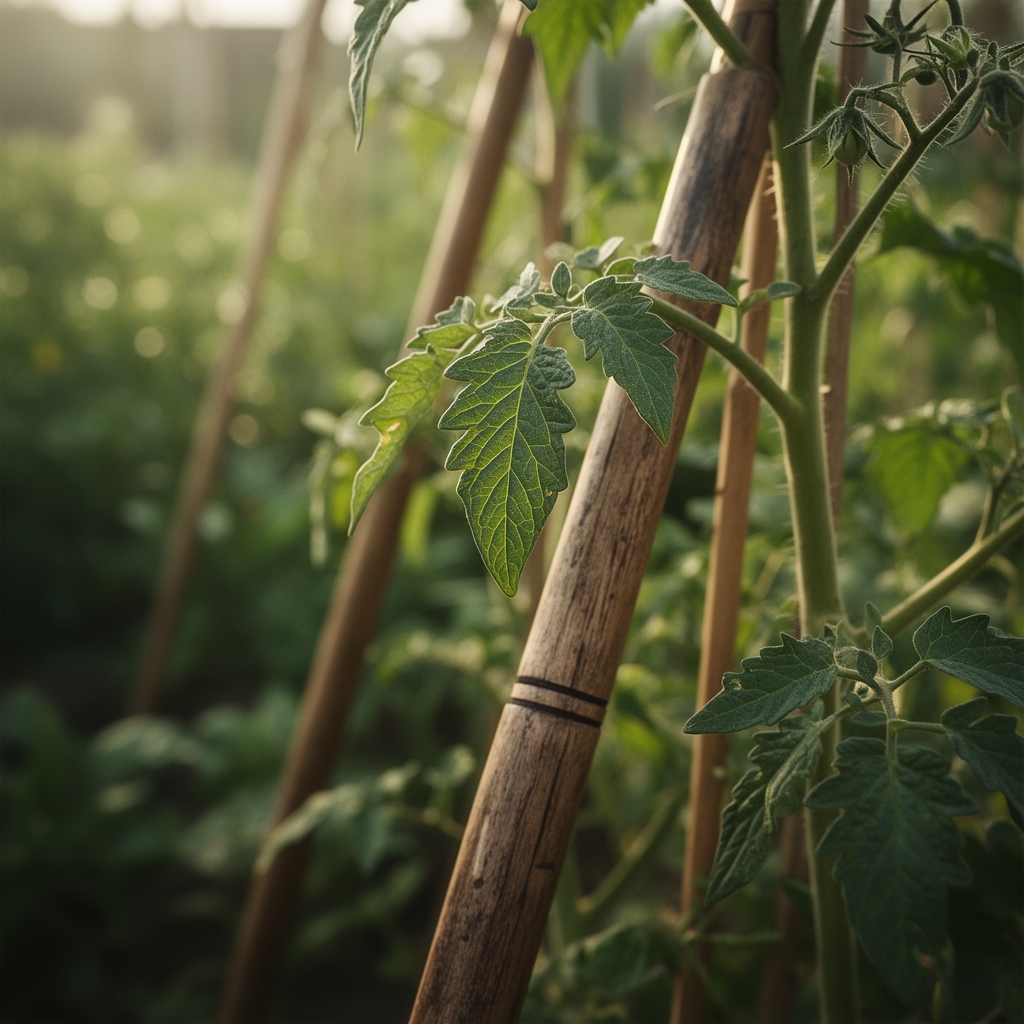
- Bamboo stakes (6 to 8 feet tall, 1-inch diameter minimum)
- Hardwood stakes (oak or cedar, 8 feet for indeterminate varieties)
- Rebar stakes (1/2-inch diameter, 6 feet, powder-coated to prevent rust)
- Welded wire panels (6×16 feet, 4-inch mesh)
- Cattle panels (16 feet long, perfect for high-volume gardens)
Fastening Materials
- Soft fabric plant ties (biodegradable jute or cotton strips)
- Tomato clips (reusable plastic clips that expand as stems thicken)
- Hook-and-loop tape (1-inch wide, cut into 8-inch lengths)
- Garden twine (never use wire or thin string that cuts into tissue)
Soil and Nutrition
- Compost (aged 6 months minimum, pH 6.0 to 6.8)
- Bone meal (phosphorus-rich 3-15-0 NPK for root development)
- Fish emulsion (5-1-1 NPK for vegetative growth)
- Kelp meal (1-0.1-2 NPK for trace minerals and disease resistance)
- Mycorrhizal inoculant (apply at transplant for 40% better nutrient uptake)
Soil pH should rest between 6.2 and 6.8 for optimal calcium absorption. Without adequate calcium, blossom end rot will destroy your bottom trusses no matter how perfect your staking system.
Timing and Growing Schedule
Hardiness Zones 3 to 5: Start seeds indoors 6 to 8 weeks before last frost. Transplant when nighttime temperatures stabilize above 55°F.
Hardiness Zones 6 to 8: Start seeds 5 to 7 weeks before last frost. Transplant 1 to 2 weeks after last frost date.
Hardiness Zones 9 to 11: Direct sow in fall (September to October) for winter harvest. Spring plantings require shade cloth by June.
Days to Maturity: Indeterminate varieties require 70 to 90 days from transplant to first ripe fruit. Staking must occur within 14 days of transplanting for best results.
Install stakes or cages before roots spread beyond 12 inches. Attempting to drive stakes near established plants severs feeder roots and stresses vines during critical flowering periods.
Step-by-Step Instructions
Phase 1: Initial Stake Installation (Days 0 to 14)
Drive stakes 12 inches deep into soil, positioning them 4 inches from the transplant. Angle stakes slightly away from the plant at 80 degrees to create tension as vines grow. For single-stake systems, use 8-foot stakes for indeterminate varieties like 'Brandywine' or 'Cherokee Purple.'
Pro-Tip: Water the planting hole before driving stakes. Moist soil creates less root disturbance and allows stakes to penetrate without creating air pockets that dry out root zones.
Phase 2: First Tying (Weeks 2 to 4)
When plants reach 12 inches tall, create the first tie point 8 inches above soil level. Loop fabric ties in a figure-eight pattern: one loop around the stake, one around the stem. Leave 1/2 inch of slack to accommodate stem expansion.
Pro-Tip: Always tie below a leaf node or fruit cluster. Ties placed mid-internode slide down as stems grow, creating pressure points that restrict vascular flow.
Phase 3: Ongoing Support (Weeks 4 to 20)
Add new ties every 10 to 12 inches of vertical growth. Remove suckers below the first fruit cluster completely. Above the first cluster, prune suckers to two leaves to maintain photosynthetic capacity while controlling lateral spread.
Pro-Tip: Prune in morning after dew evaporates but before midday heat. Open wounds seal faster in these conditions, reducing bacterial entry points.
Phase 4: Top Management (Weeks 16 to 24)
When vines reach stake tops, pinch terminal growth 4 weeks before first expected frost. This redirects energy toward ripening existing fruit rather than producing flowers that won't mature.
Pro-Tip: For Florida Weave systems, add horizontal twine every 8 inches, alternating sides of stakes with each pass. This creates a self-supporting wall that distributes weight across multiple plants.
Nutritional and Environmental Benefits
Properly staked tomatoes produce fruit with 25% higher lycopene concentrations compared to ground-grown alternatives. Vertical growing improves air circulation, reducing foliar diseases by 60% and eliminating fungal spores that splash from soil onto leaves.
Staked plants create vertical habitat corridors. Mason bees (Osmia species) prefer the sheltered spaces between stake and stem for temporary resting spots during pollen-collection flights. Ground beetles patrol the mulched base, consuming cutworms and slug eggs.
Calcium content increases in staked fruit due to consistent water uptake. Ground-grown tomatoes experience irregular moisture patterns that disrupt calcium transport, while elevated fruit maintains steady hydration.
Advanced Methods
Small Space Solutions
Use 5-gallon fabric pots with single bamboo stakes for balcony gardens. Choose compact indeterminate varieties like 'Jaune Flamme' or 'Black Cherry.' Space-saving spiral stakes support 15 pounds of fruit in 2 square feet.
Permaculture Integration
Plant nitrogen-fixing cover crops like hairy vetch between tomato rows. Terminate vetch when tomatoes reach 18 inches, leaving roots to decompose and feed nitrogen-fixing bacteria (Rhizobium species). This living mulch provides 40 pounds of nitrogen per 1,000 square feet.
Season Extension
Install 6-foot T-posts at row ends. String 10-gauge wire horizontally 7 feet high. When frost threatens, drape row cover over wire, creating a protective tunnel that extends harvest 3 to 4 weeks.
Troubleshooting
Symptom: Stakes leaning or collapsing under fruit weight.
Solution: Replace single stakes with tripod systems. Lash three 8-foot stakes together at tops, spreading bases 18 inches apart. This configuration supports 50 pounds per plant.
Symptom: Stem constriction with yellow leaves above tie points.
Solution: Ties were too tight or used rigid materials. Replace with 2-inch-wide fabric strips, ensuring 1/2-inch minimum slack. Remove constricting ties immediately and retie 2 inches higher.
Symptom: Fruit cracking despite regular watering.
Solution: Inconsistent soil moisture causes rapid cellular expansion. Install drip irrigation with timers, delivering 1 inch weekly in two 30-minute sessions. Mulch base with 3 inches of straw to regulate soil temperature.
Symptom: Lower leaves yellowing and dropping.
Solution: Nitrogen deficiency. Apply fish emulsion (diluted to 1 tablespoon per gallon) every 14 days during vegetative growth. Reduce frequency once first flowers open.
Symptom: Plants growing faster than tying schedule allows.
Solution: Switch to tomato clips that attach and adjust in seconds. Install one clip every 8 inches during peak growth (mid-June through July).
Storage and Maintenance
Watering Protocol: Deliver 1 to 1.5 inches weekly through drip irrigation or soaker hoses. Water at soil level between 6 AM and 10 AM to minimize foliar diseases. Increase to 2 inches weekly during fruit ripening (weeks 12 to 20).
Feeding Schedule:
- Weeks 0 to 4: Apply 5-10-10 granular fertilizer, 2 tablespoons per plant, worked into top 2 inches of soil.
- Weeks 4 to 8: Switch to 5-1-1 liquid fish emulsion, applied every 14 days.
- Weeks 8 to 20: Use 2-4-6 bloom formula every 10 days to support fruit development.
Post-Harvest Stake Care: Remove all plant debris by cutting stems at soil level (never pull, as this disturbs beneficial fungi). Brush dried soil from stakes. Sanitize wooden stakes in 10% bleach solution for 10 minutes. Store vertically in a dry location. Metal stakes require wire-brush cleaning to remove rust before storage.
Fruit Storage: Harvest when fully colored but still firm. Store at 55°F to 60°F, never in refrigerators below 50°F (cold damages cell membranes and destroys flavor compounds). Properly stored tomatoes maintain peak flavor for 7 to 10 days.
Success Blueprint
Master the steps for staking tall tomato plants by installing supports within two weeks of transplanting, tying stems every 10 inches with flexible materials, and maintaining consistent moisture through drip irrigation. This systematic approach produces 30 to 50 pounds of fruit per plant while preventing the stem breakage and disease pressure that plague unstaked vines. Vertical growing concentrates your garden's productive capacity into manageable rows that simplify harvest and maintenance.
Share your staking methods and heirloom variety recommendations in your local seed-savers group. Community knowledge exchange builds regional expertise that benefits everyone's harvest.
Expert FAQs
What is the strongest staking method for 8-foot indeterminate tomatoes?
Install 8-foot T-posts every 4 feet along rows. String 10-gauge wire horizontally at 1-foot intervals. Train vines vertically using tomato clips attached to wires. This commercial system supports 60 pounds per plant and withstands wind gusts to 40 mph.
When should I start tying tomato plants to stakes?
Begin tying when plants reach 12 inches tall, typically 10 to 14 days after transplanting. The first tie should sit 8 inches above soil level, positioned just below the lowest leaf cluster. Early staking prevents wind damage during root establishment.
Can I reuse tomato stakes year after year?
Wooden stakes last 5 to 7 years with proper maintenance. Sanitize in 10% bleach solution after each season, air-dry completely, and store vertically in a covered location. Inspect for splinters and rot before reuse. Metal stakes last indefinitely if cleaned and stored dry.
How do I stake tomatoes in containers?
Use 6-foot bamboo stakes or spiral stakes in containers 18 inches or larger. Drive stakes to container bottom before adding soil mix. For 5-gallon fabric pots, single stakes support compact varieties producing 10 to 15 pounds. Larger determinate types require two stakes per container.
What is the difference between staking and caging tomatoes?
Staking uses single vertical supports with manual tying every 10 inches, ideal for indeterminate varieties requiring heavy pruning. Caging employs wire cylinders that self-support branches, better suited for determinate or patio varieties. Stakes produce larger individual fruits; cages yield higher total numbers of smaller fruits.