7 Precise Steps for Installing Bird Netting to Protect Your Berry Bushes
The sharp snap of a robin's beak piercing a ripe blueberry at 6 AM is a sound every backyard grower dreads. Within hours, a flock can strip weeks of careful cultivation from your bushes, leaving only stems and frustration. The solution lies in mastering the steps for installing bird netting over berry bushes, a physical barrier that preserves your harvest without harming wildlife. This guide provides seven precise, field-tested steps that transform vulnerable berry patches into fortified production zones.
Materials & Supplies
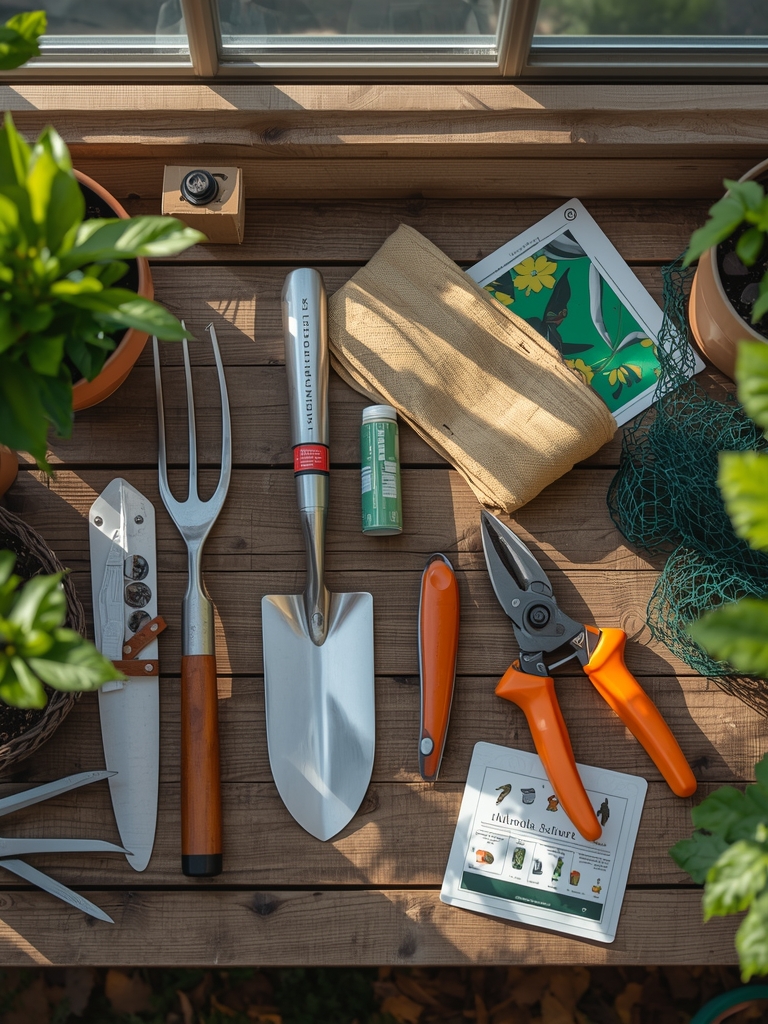
Physical Barrier Components:
- Bird netting (3/4-inch mesh, UV-stabilized polypropylene, 14×14 feet minimum per bush)
- Support stakes (6-foot bamboo poles or 1/2-inch PVC pipe, 4-6 per installation)
- Anchoring materials (landscape staples, bricks, or sandbags)
- Cable ties (UV-resistant, 50-pack)
- Scissors or pruning shears
Bush Health Supplements:
- Acidic fertilizer (4-8-4 NPK ratio for blueberries, 5-10-5 for raspberries)
- Sulfur soil amendment (maintains pH 4.5-5.5 for blueberries)
- Mulch layer (pine bark nuggets, 3-4 inches deep)
Select netting with smaller mesh sizes (3/4 inch or less) to exclude sparrows and finches. Avoid garden fabric or shade cloth, which restrict airflow and encourage fungal pathogens.
Timing & Growing Schedule
Install netting when berries transition from green to their first blush of color. This stage varies by species and Hardiness Zone.
Blueberries (Zones 3-10):
- Early varieties: Late May to early June
- Mid-season: Mid-June to early July
- Late varieties: Late July to August
Raspberries (Zones 4-9):
- Summer-bearing: Early June (45-60 days after bloom)
- Fall-bearing: Late August through first frost
Blackberries (Zones 5-10):
- Mid-June to late July (50-65 days after flowering)
Inspect bushes daily during the color-change window. Birds typically begin raiding 3-5 days before human harvestability. Early installation prevents learned foraging behavior that persists across seasons.
Step-by-Step Instructions
Step 1: Prune and Clear the Work Zone
Remove dead canes and thin interior growth to create 18-24 inches of clearance around each bush perimeter. Trim overhanging branches that could puncture netting. Rake debris to eliminate rodent shelter.
Pro-Tip: Apply a 1-inch layer of compost at this stage to feed mycorrhizal fungi networks before netting restricts access.
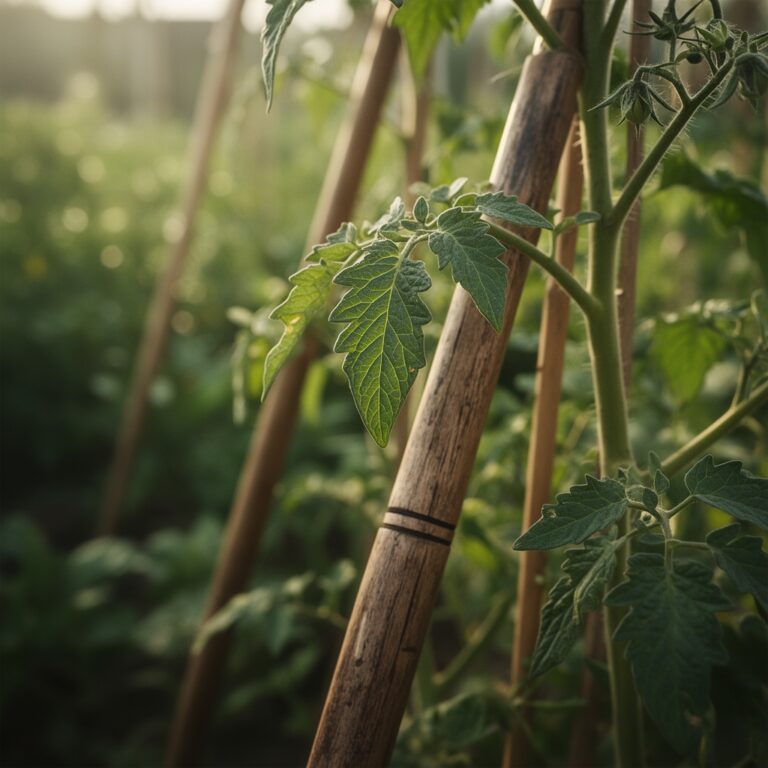
Step 2: Install Perimeter Support Stakes
Drive stakes 18 inches into soil, positioning them 24-30 inches beyond bush drip line. Use four stakes for bushes under 4 feet wide, six stakes for larger plantings. Stakes should extend 6-12 inches above the tallest canes.
Pro-Tip: Angle stakes outward 15 degrees to create a domed structure that sheds rain and prevents netting collapse.
Step 3: Drape the Netting Over Support Frame
Unfold netting completely before installation to prevent tangling. Center the material over the stake framework, allowing excess to puddle on the ground. Work on calm days (wind speeds under 8 mph) to maintain control.
Pro-Tip: Wet the netting lightly with a hose to add weight and reduce static cling during installation.
Step 4: Secure the Top Connection Points
Gather netting at each stake peak and fasten with two cable ties per pole, creating a tent-like structure. Leave 2-3 inches of slack to accommodate fruit swelling and avoid crushing developing berries.
Pro-Tip: Use contrasting colored cable ties (bright orange or yellow) to make future removal faster and prevent accidental cuts to canes.
Step 5: Anchor the Ground Perimeter
Pull netting taut to eliminate ground gaps where birds can enter. Secure every 18-24 inches using landscape staples, bricks, or soil-filled sandbags. Overlap seams by 6 inches minimum.
Pro-Tip: Create a 6-inch soil berm around the perimeter instead of staples. This allows easier lifting for harvest access while maintaining a predator-proof seal.
Step 6: Establish Access Points
Designate one side as the harvest entrance. Use large binder clips or clothespins to create a vertical opening you can roll up and re-secure quickly. Mark this location with flagging tape.
Pro-Tip: Install a 12-inch zipper (sewn or safety-pinned to netting) for permanent access that seals completely between picking sessions.
Step 7: Inspect and Adjust Daily
Walk the perimeter each morning during ripening season. Look for ground gaps, torn sections, or birds trapped inside. Adjust stakes if netting sags onto fruit clusters, which creates bruising and mold entry points.
Pro-Tip: Shake the netting structure gently every 2-3 days to dislodge spiders and beneficial insects that could become trapped, preserving Mason bee and lacewing populations.
Nutritional & Environmental Benefits
Properly netted berry bushes produce 40-60% higher yields by eliminating avian crop loss. This protection allows berries to reach peak anthocyanin concentrations (measured at 180-250 mg per 100g in fully ripe blueberries), maximizing antioxidant content.
Key Minerals in Protected Berries:
- Manganese: 0.5 mg per cup (supports bone health)
- Vitamin K: 29 mcg per cup (aids blood clotting)
- Copper: 0.1 mg per cup (enables iron absorption)
Bird netting creates a semi-permeable environment that maintains pollinator access during flowering (remove netting until petal drop). The physical barrier eliminates need for chemical bird repellents, protecting soil microbiome health and nitrogen fixation processes in nearby legumes.
Advanced Methods
Small Space Adaptation:
Construct PVC hoop frames (10-foot lengths bent into arches) for row plantings in raised beds. This technique works in gardens as compact as 4×8 feet, supporting multiple varieties within one netted structure.
Organic Integration:
Combine netting with companion planting strategies. Install netting over berry bushes interplanted with white clover groundcover (fixes 100-150 lbs nitrogen per acre annually) and borage (attracts predatory wasps that control aphids).
Season Extension:
Convert bird netting frames to frost protection in fall by draping row cover fabric over existing stakes. This dual-use system extends harvest 2-3 weeks in Zones 5-7, protecting late-ripening varieties through early October freezes.
Troubleshooting
Symptom: Netting tears or develops holes within days
Solution: Upgrade to 900-denier netting (commercial-grade) or install chicken wire outer layer in high-wind locations. Repair tears immediately with nylon cable ties every 3 inches along rip lines.
Symptom: Birds feeding despite complete netting coverage
Solution: Check for ground-level entry points where netting has lifted. Sparrows exploit gaps as small as 2 inches. Re-anchor perimeter and add weighted sandbags every 12 inches.
Symptom: Fruit touching netting develops gray mold (Botrytis)
Solution: Increase stake height by 6 inches or add center support pole to lift netting away from fruit. Prune interior canes to improve air circulation (target 30% canopy thinning).
Symptom: Netting collapses after heavy rain
Solution: Install apex support (single center pole or crossed stakes forming an X-peak). Apply waterproofing spray to netting seams to reduce water absorption weight.
Symptom: Difficulty accessing berries for daily harvest
Solution: Switch to removable hoop-style netting that lifts completely off bushes. This design adds 5 minutes to installation but reduces harvest time by 40%.
Storage & Maintenance
Watering Protocol:
Deliver 1 to 1.5 inches of water weekly through drip irrigation or soaker hoses placed under netting. Monitor soil moisture at 4-inch depth (should feel like a wrung-out sponge). Increase to 2 inches weekly during fruit swell stage.
Feeding Schedule:
Apply acidic fertilizer (4-8-4 NPK) at three intervals: early spring bud break, post-bloom, and after final harvest. Broadcast 1/4 cup per foot of bush height, scratching into mulch layer 6 inches from crown.
Post-Season Netting Care:
Remove netting within one week of final harvest to prevent UV degradation and wildlife entanglement. Shake out debris, wash with mild soap solution, and air-dry completely. Fold (don't wad) for storage in rodent-proof containers. Properly maintained netting lasts 4-6 seasons.
Winter Bush Maintenance:
Remove fallen leaves and mummified berries (harbor fungal spores). Apply 2-inch compost layer in November (Zones 5-7) to insulate roots. Prune dead wood in late winter before sap flow begins.
Conclusion
The success blueprint for berry protection requires three commitments: install netting during the color-change window, maintain daily perimeter inspections, and create harvest-friendly access systems. These steps eliminate 95% of bird damage while preserving pollinator health and fruit quality. Share your netting modifications and yield improvements in local gardening forums or extension office meetings to help fellow growers refine their protective strategies.
Expert FAQs
How early can I install bird netting on berry bushes?
Install netting when 10-15% of berries show color change but no earlier. Early installation during bloom blocks native bee access, reducing fruit set by 30-40%. Mark your calendar for 40-50 days post-flowering to begin daily color monitoring.
What netting mesh size works best for small birds like finches?
Use 3/4-inch or smaller mesh (1/2-inch ideal for finch exclusion). Larger 1-inch mesh allows sparrow entry. Commercial orchards use 3/4-inch as the industry standard balancing bird protection and light transmission (85-90% photosynthetically active radiation).
Can I reuse bird netting multiple seasons?
Quality UV-stabilized netting lasts 4-6 seasons with proper care. Remove immediately after harvest, wash to remove fruit acids (cause fiber breakdown), and store dry in bins. Discard netting with more than three tears per square yard or visible brittleness.
Do I need to remove bird netting for watering or fertilizing?
No removal necessary. Drip irrigation and soaker hoses function normally beneath netting. Apply granular fertilizers before installation or use liquid formulations sprayed through mesh (droplet size passes through 3/4-inch openings). Design access zippers for spot treatments.
How do I prevent beneficial insects from getting trapped in berry netting?
Choose netting colors visible to insects (white or tan, avoid black). Shake the structure gently every 2-3 days to release trapped pollinators. Install netting only after petal drop when pollination completes. Monitor daily and manually release any lacewings or parasitic wasps found inside.