9 Detailed Steps to Prepare a Tool Care Manual
The smell of damp earth after a cold front indicates more than just moisture; it signals the chemical transition of the rhizosphere. When the turgor pressure of a succulent stem reaches its peak, the resistance against a sharp blade determines the precision of the cellular seal. Learning how to prepare a garden for a tool care manual requires understanding that the state of the vegetation dictates the maintenance of the steel. A clean cut on a woody perennial prevents the jagged tearing of vascular tissue, which otherwise invites pathogens into the xylem. By aligning your maintenance schedule with the physiological needs of the plant, you ensure that every edge, hinge, and handle performs at its peak mechanical efficiency during high-stress seasonal transitions.
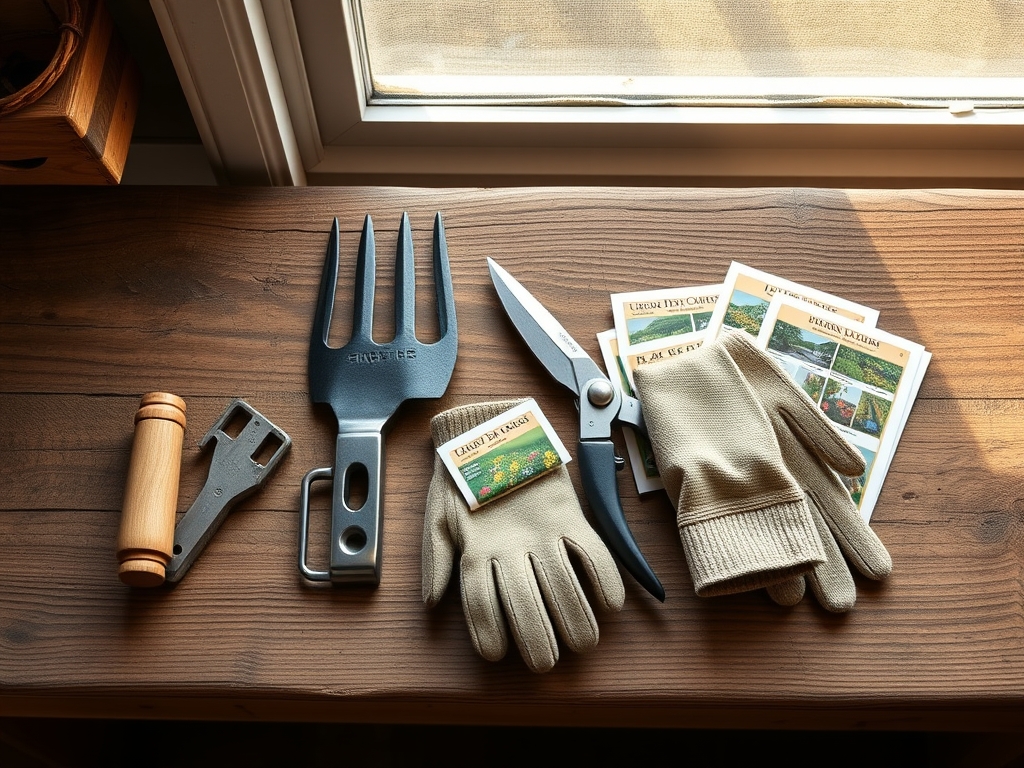
Materials:
Successful cultivation begins with a **friable loam** substrate characterized by a balanced distribution of sand, silt, and clay. This physical texture ensures a high **Cation Exchange Capacity (CEC)**, allowing the soil to hold and release essential nutrients. For most temperate crops, maintain a **soil pH between 6.2 and 6.8**.
Specific nutrient requirements vary by growth stage. During the initial vegetative phase, utilize an NPK ratio of 10-5-5 to prioritize nitrogen for chlorophyll production. As plants transition to reproductive cycles, shift to a 5-10-10 ratio to provide the phosphorus and potassium necessary for root strength and floral development. Ensure the substrate contains at least 5 percent organic matter to facilitate microbial activity and improve water retention without sacrificing aeration.
Timing:
The biological clock of the garden is governed by the photoperiod and the local frost-date window. In USDA Hardiness Zones 5 through 7, the primary growing season spans from the last frost in May to the first frost in October. You must track the transition from vegetative to reproductive stages by monitoring the accumulation of Growing Degree Days (GDD).
Vegetative growth occurs when soil temperatures consistently exceed 50 degrees Fahrenheit. Once the photoperiod shifts and the plant detects a change in light quality, it triggers senescence in annuals or dormancy in perennials. Timing your tool maintenance to coincide with these shifts ensures that your bypass pruners are sharpest when the plant is most vulnerable to infection during the late-winter pruning window.
Phases:
Sowing
Direct sow seeds at a depth exactly three times the diameter of the seed. Maintain a consistent soil temperature of 65 to 70 degrees Fahrenheit for optimal germination rates. Use a fine-mist sprayer to prevent seed displacement and maintain surface humidity.
Pro-Tip: Monitor the imbibition phase, where the seed coat absorbs water to activate metabolic processes. Rapid hydration is essential for breaking dormancy, but excess water will lead to anaerobic conditions and fungal decay of the embryo.
Transplanting
Move seedlings when they have developed at least two sets of true leaves. Ensure the root ball remains intact to protect the delicate root hairs responsible for water uptake. Dig a hole twice the width of the root ball and set the plant at the same depth it occupied in its container.
Pro-Tip: Minimize transplant shock by maintaining high humidity for 48 hours post-transplant. This reduces the transpiration rate, allowing the plant to re-establish hydraulic conductance between the roots and the soil without losing turgor.
Establishing
During the first 21 days, focus on root expansion rather than top-growth. Apply a kelp-based liquid fertilizer to encourage mycorrhizal symbiosis. This fungal relationship extends the reach of the root system, increasing the surface area for phosphorus absorption.
Pro-Tip: Practice auxin suppression by pinching back the terminal buds of certain species. This redirects the plant's hormonal energy from apical dominance to lateral branching, resulting in a sturdier, more productive architecture.
The Clinic:
Physiological disorders often mimic infectious diseases but result from environmental or nutritional imbalances.
-
Symptom: Interveinal chlorosis in young leaves.
-
Solution: This indicates a Manganese or Iron deficiency. Check soil pH; if it exceeds 7.0, these micronutrients become chemically locked and unavailable to the plant.
-
Fix-It: Apply a chelated mineral foliar spray and amend the soil with elemental sulfur to lower the pH to 6.5.
-
Symptom: Blossom end rot on fruit.
-
Solution: This is caused by a Calcium localized deficiency within the fruit tissue.
-
Fix-It: Ensure consistent irrigation. Calcium moves through the plant via the transpiration stream; irregular watering stops this flow even if the soil has sufficient calcium.
-
Symptom: Purpling of older foliage.
-
Solution: This is a classic sign of Phosphorus deficiency, often occurring in cold, wet soils.
-
Fix-It: Increase soil temperature using black mulch and apply a high-phosphorus starter fertilizer directly to the root zone.
Maintenance:
Precision irrigation is the foundation of plant health. Deliver 1.5 inches of water per week directly at the drip line. Avoid overhead watering to prevent the spread of foliar pathogens. Use a soil moisture meter to verify that the moisture has penetrated at least 6 inches into the soil profile.
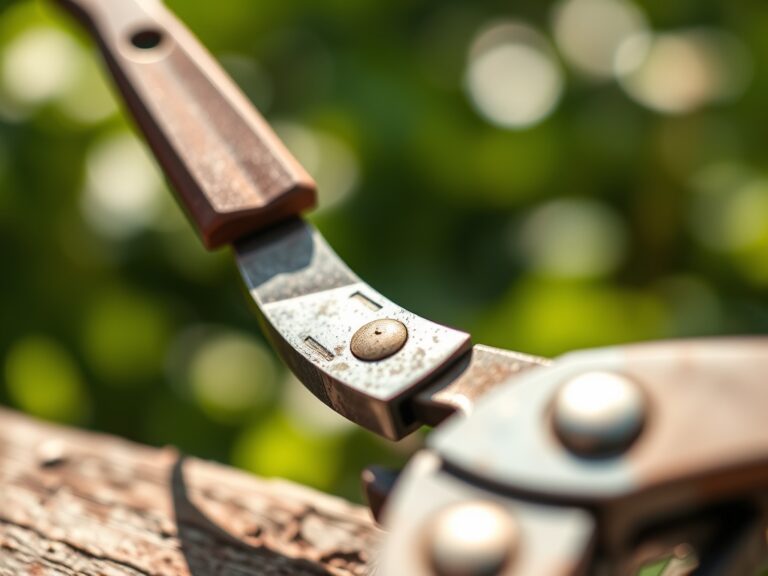
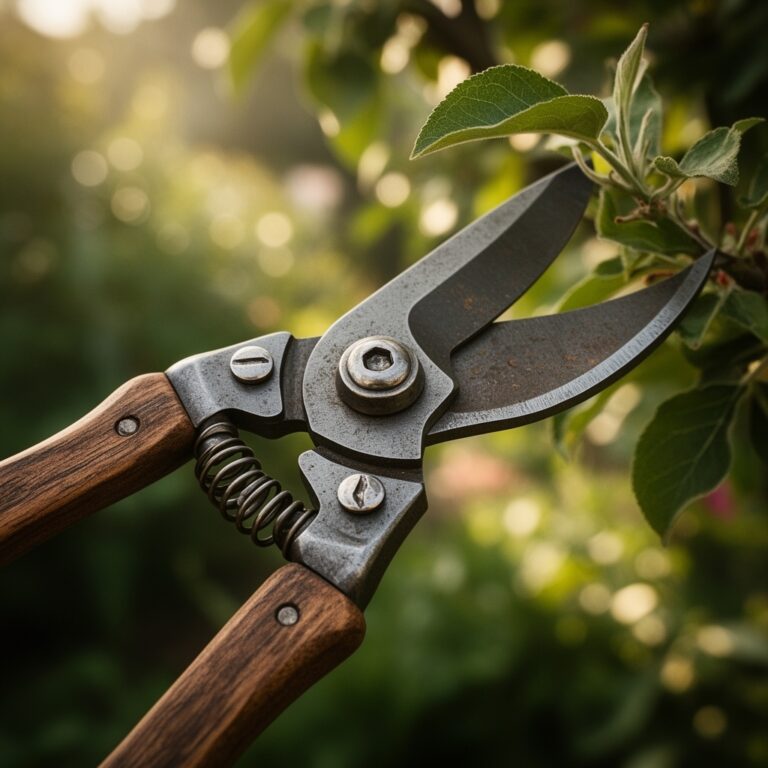
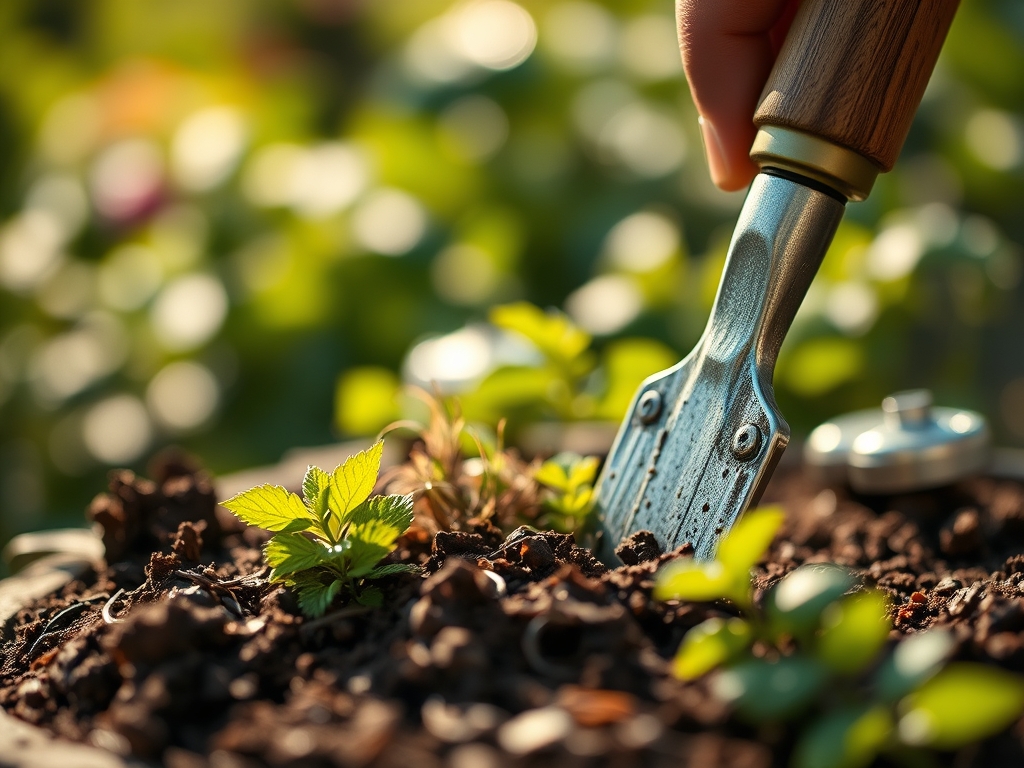
Keep your hori-hori knife clean by wiping the blade with a 70 percent isopropyl alcohol solution after every use. This prevents the cross-contamination of soil-borne pathogens like Fusarium. Inspect the tension of your bypass pruners weekly; a loose pivot bolt causes the blades to twist, resulting in a crushed stem rather than a clean shear. For wooden handles, rub with linseed oil twice a season to prevent desiccation and splintering.
The Yield:
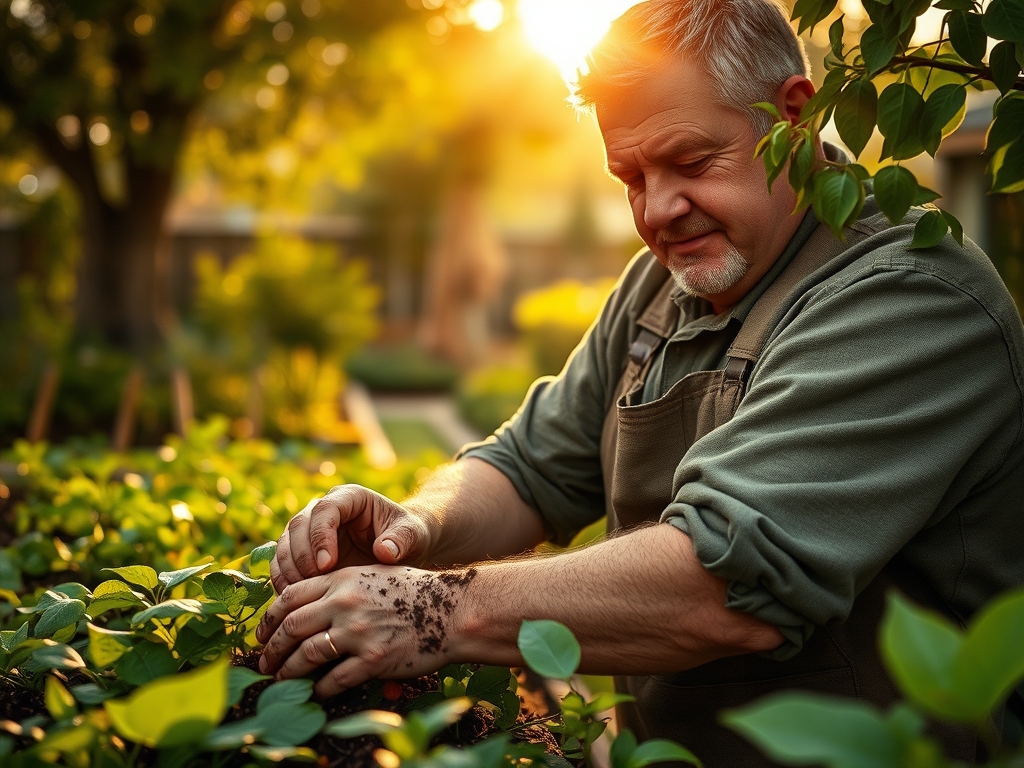
Harvesting is a surgical process. For leafy greens, harvest in the early morning when turgor pressure is at its maximum. This ensures the crispest texture and longest shelf life. Use a sharpened harvesting knife to make a single, clean cut through the base of the stem.
For fruiting crops, monitor the Brix level or color change to determine peak ripeness. Once harvested, remove the field heat immediately by placing the produce in a shaded, cool environment. This slows down the respiration rate and preserves the sugars and volatile compounds that define flavor. For woody herbs, never remove more than one-third of the total biomass at a single time to ensure the plant has enough photosynthetic surface area to recover.
FAQ:
What is the best way to clean garden tools?
Scrub tools with a stiff brush to remove organic debris. Disinfect with 70 percent isopropyl alcohol to kill pathogens. Dry thoroughly and apply a light coat of mineral oil to prevent oxidation on carbon steel surfaces.
How do I prevent rust on my pruners?
Store tools in a dry environment with low humidity. After use, remove all sap and moisture. Apply a silicone-based lubricant to the spring and pivot point to maintain smooth mechanical action and provide a moisture barrier.
When should I sharpen my garden hoe?
Sharpen the leading edge when you notice increased resistance while slicing through weeds. A 30-degree bevel is ideal for most weeding tools. Use a mill file, moving only in one direction away from the body.
How does soil pH affect my garden tools?
High-acidity soils (pH below 5.0) can accelerate the corrosion of metal tool heads if they are not cleaned immediately after use. Always rinse tools after working in acidic or salt-heavy soils to protect the integrity of the metal.