10 Ways How to Sprout Seed Potatoes
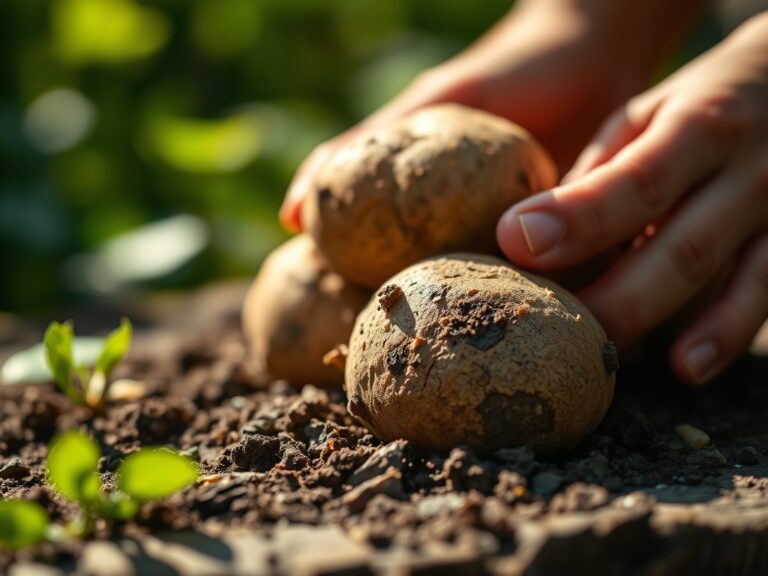
The smell of damp earth and the firm turgor of a healthy tuber signal the beginning of the potato cycle. Success in the field depends entirely on the physiological state of your starting material. Learning how to sprout seed potatoes, a process technically known as chitting, ensures that the plant bypasses the slow awakening phase in cold soil. By forcing apical dominance to break in a controlled environment, you initiate early stolon development and increase total caloric yield per square foot.
A high quality seed potato should feel dense and resist compression. If the tuber is soft or shriveled, the starch reserves are depleted; this leads to weak stems and poor cellular respiration. The goal of chitting is to produce short, dark green, "tough" sprouts roughly 1 inch in length. These sturdy sprouts withstand the mechanical stress of planting far better than the long, brittle, white sprouts that form in total darkness. Proper preparation shortens the time to harvest by up to three weeks.
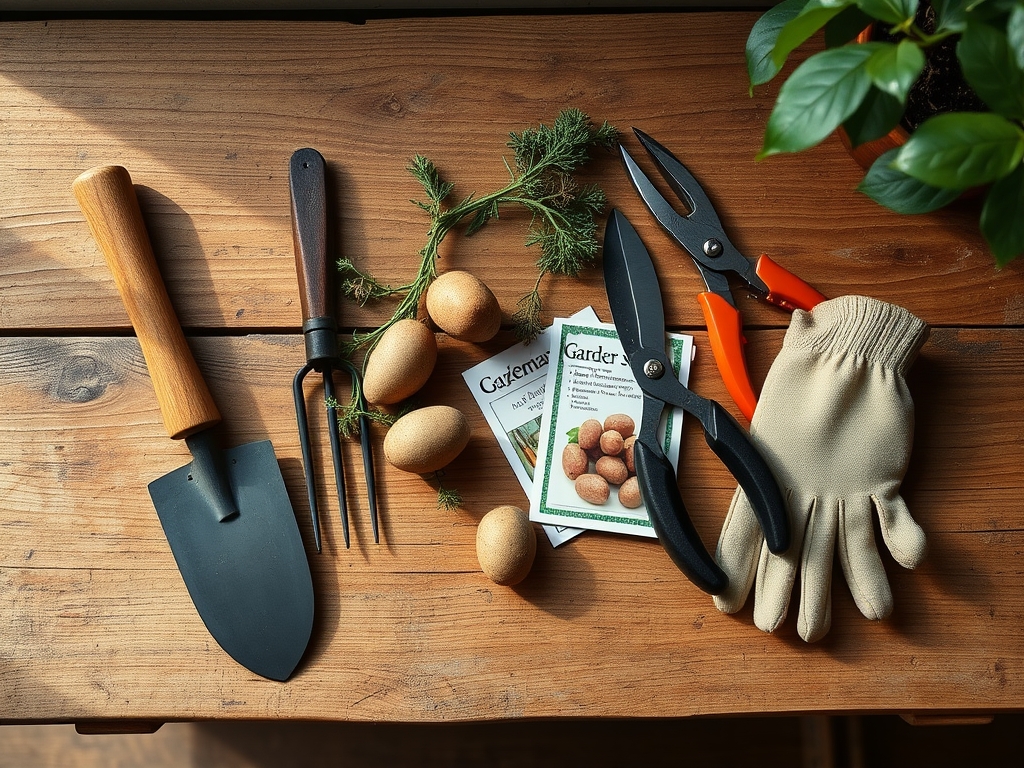
Materials:
Substrate selection is secondary to the chemical composition of the tuber itself, but for those starting in containers, a friable loam with a pH between 5.0 and 6.0 is mandatory. High pH levels above 7.0 increase the risk of Streptomyces scabies. If pre-planting in a medium, use a mix with an NPK ratio of 5-10-10. Excessive nitrogen at this stage promotes lush foliage at the expense of tuber initiation.
The Soil Cation Exchange Capacity (CEC) should be high enough to retain potassium, which is vital for osmotic regulation within the sprout. Use egg cartons or shallow wooden crates to hold the tubers upright. You will also need a soil moisture meter to ensure the ambient humidity remains near 85 percent to prevent desiccation of the exposed "eyes."
Timing:
Hardiness Zones 3 through 5 should begin the sprouting process in late March or early April. In warmer Zones 7 through 9, this occurs in January or February. The biological clock of the potato is governed by the transition from endo-dormancy to eco-dormancy. This shift is triggered when the tuber experiences a consistent temperature rise to 50 to 60 degrees Fahrenheit.
Plan to start the process 4 to 6 weeks before your local last frost date. Planting occurs when the soil temperature at a 4-inch depth reaches a consistent 45 degrees Fahrenheit. If you plant too early, the metabolic rate of the rhizosphere slows, making the seed piece vulnerable to fungal pathogens. If you plant too late, the high heat of summer will induce heat stress and halt tuber bulking.
Phases:

Sowing and Selection
Arrange the seed potatoes in a single layer within your crates. Ensure the "rose end," which contains the highest density of eyes, faces upward. Place the crates in a room with bright, indirect light and a steady temperature of 55 to 60 degrees Fahrenheit. Avoid direct sunlight, which can overheat the tissue and cause internal necrosis.
Pro-Tip: Light exposure triggers the production of chlorophyll and solanine in the sprouts. This is a biological defense mechanism that strengthens the cell walls of the sprout through lignification, making them less palatable to soil-borne herbivores.
Transplanting and Cutting
Once sprouts reach 0.5 to 1 inch, large tubers can be sliced into pieces. Each piece must weigh at least 2 ounces and contain at least two viable sprouts. Use a sterilized hori-hori knife or sharp bypass pruners to make clean cuts. Allow the cut surfaces to callous over for 48 hours at room temperature before they touch the soil.
Pro-Tip: Callousing prevents "seed piece decay" by allowing the plant to form a specialized layer of suberin. This waxy biopolymer acts as a structural barrier against pathogens while preventing the loss of internal moisture.
Establishing in the Field
Dig trenches 6 inches deep, spacing seed pieces 12 inches apart. Cover with 3 inches of soil initially. As the plant grows, continue "hilling" soil around the base. This protects the developing stolons from light exposure, which would otherwise cause them to convert back into vegetative stems.
Pro-Tip: Hilling maximizes the volume of the rhizosphere available for tuber expansion. It also utilizes gravitropism, ensuring that the plant focuses its energy on downward and lateral root development rather than just vertical height.
The Clinic:
Symptom: Spindly, White Sprouts (Etiolation)
Solution: This is caused by a lack of light. Move the tubers to a location with higher lumen output. The plant is stretching to find a light source to begin photosynthesis.
Symptom: Blackened Tips on Sprouts
Solution: This indicates calcium deficiency or "sub-oxidation" due to poor airflow. Increase ventilation and ensure the storage area is not overcrowded.
Symptom: Tuber Softening and Wrinkling
Solution: The humidity is too low. Mist the tubers lightly or place a tray of water nearby to increase ambient moisture to 80 percent.
Fix-It: Nutrient Deficiencies
If the initial growth shows Nitrogen chlorosis (yellowing of older leaves), apply a water-soluble fertilizer with a higher N ratio, such as 10-5-5, but only until the plant reaches 6 inches in height. For purple-tinted stems indicating Phosphorus deficiency, ensure the soil pH is not below 5.0, as acidic conditions lock out phosphorus.
Maintenance:
Precision is required for maximum starch accumulation. Provide 1.5 inches of water per week at the drip line. Use a soil moisture meter to verify that the moisture has penetrated to a depth of 8 inches. Fluctuating moisture levels cause "knobby" tubers or internal hollow hearts.
Keep the area weed-free using a hori-hori knife for deep-rooted perennials. Avoid deep cultivation near the base of the plant to prevent damaging the shallow lateral roots. Monitor for the presence of the Colorado Potato Beetle; if found, manually remove them or use botanical oils to disrupt their life cycle without affecting the plant's vascular system.
The Yield:
Harvesting "new" potatoes occurs shortly after the plant flowers, usually 60 to 70 days after planting. For storage potatoes, wait until the foliage undergoes senescence (turns yellow and dies back). Cut the vines at the soil line and wait 10 to 14 days before digging. This "curing" period allows the skin to toughen.
Use a garden fork to lift the tubers, working from the outside of the hill inward to avoid piercing the skins. Handle the tubers like eggs; even minor bruising leads to enzymatic browning. For "day-one" freshness, store them in a dark, cool location at 40 to 45 degrees Fahrenheit with high humidity. Do not wash them until immediately before use.
FAQ:
Can I sprout potatoes from the grocery store?
Commercial potatoes are often treated with chlorpropham, a growth regulator that inhibits sprouting. Use certified disease-free seed potatoes to ensure high vigor and to prevent introducing viruses like Potato Leafroll Virus into your garden soil.
What happens if the sprouts get too long?
Sprouts longer than 3 inches become brittle and drain the tuber's energy. If this occurs, carefully trim them back to 0.5 inches and immediately increase light exposure to encourage sturdier, more compact growth before planting in the field.
Do I need to sprout them in soil?
No. Chitting is typically done in "air." The tuber contains all the water and nutrients required for the initial sprout development. Soil is only necessary once you are ready for the plant to develop a permanent root system.
Is light necessary for sprouting?
Light is essential for producing high quality, green sprouts. While potatoes will sprout in the dark, those sprouts will be weak, white, and highly susceptible to breakage during the planting process. Use indirect fluorescent or natural light.