7 Steps to Tighten Loose Rivets on Hand Pruners
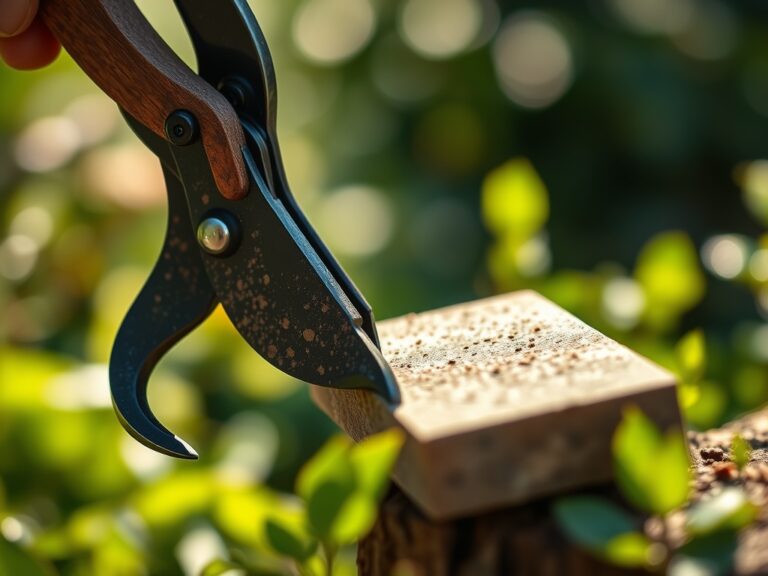
The metallic click of bypass blades tells the story before the plant stem shows damage. Rivets loosen through seasonal expansion, metal fatigue, and the mechanical stress of thousands of cuts through woody tissue. Learning proper steps for tightening loose rivets on pruners preserves blade alignment, prevents torn cuts that invite pathogen entry, and extends tool life by years. Professional orchardists check rivet tension monthly during active pruning seasons to maintain clean shearing action.
Materials
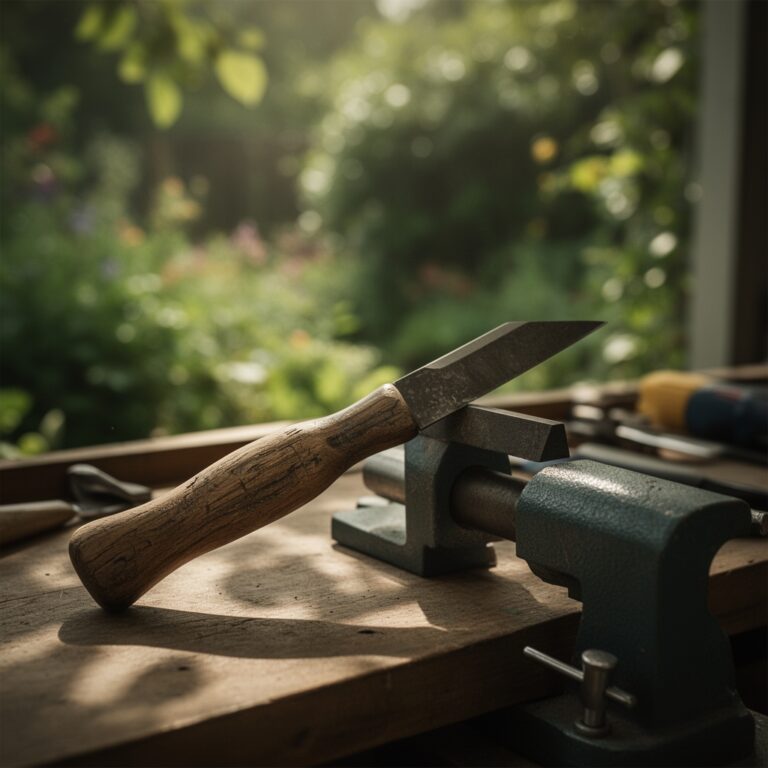
Rivet maintenance requires specific metalworking tools rather than soil amendments. Gather a ball-peen hammer (8-ounce head), a steel bench block or anvil (minimum 2 pounds), a center punch (1/8-inch tip), metal files (fine and medium grit), penetrating oil (WD-40 or equivalent), and safety glasses rated ANSI Z87.1. For pruners with tubular rivets, obtain a rivet setter matched to the rivet diameter (typically 1/8 or 5/32 inch). Clean the pivot area with degreaser to assess rivet condition. Inspect for mushrooming on the rivet head or excessive play exceeding 1/32 inch of lateral movement.
Timing
Address loose rivets immediately when detected, regardless of hardiness zone. Late winter (January through February in zones 6-9) provides optimal scheduling before spring pruning demands intensify. Conduct rivet inspection after fall cleanup when tools transition to winter storage. In commercial operations spanning zones 3-5, December maintenance prevents mid-season failures during dormant pruning of fruit trees. Ambient temperature affects metal malleability. Work in temperatures above 50°F for easier peening without brittleness. Cold-weather repairs below 40°F risk cracking vintage carbon steel components.
Phases

Assessment Phase
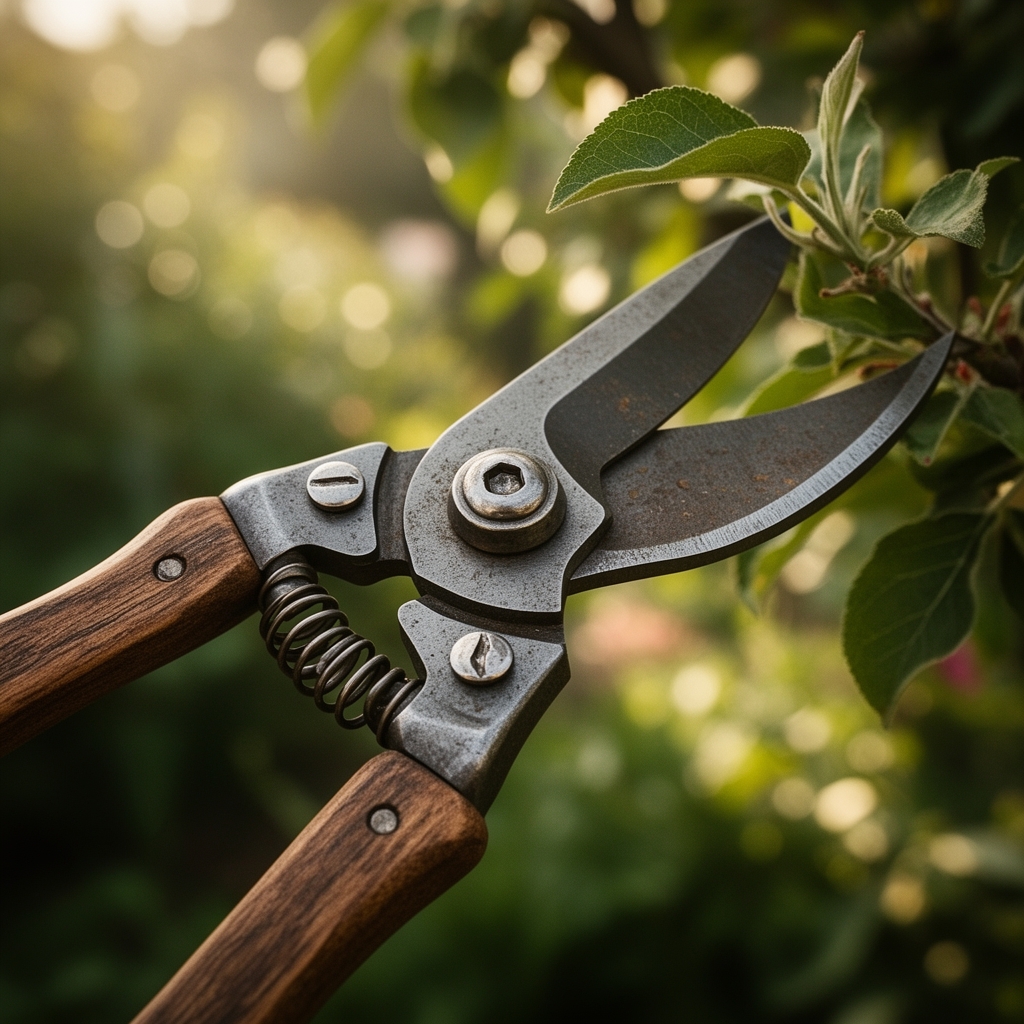
Disassemble the pruner completely. Remove the lock nut or retaining clip securing the rivet shaft. Separate blades and handles to expose the full rivet length. Examine both rivet heads for asymmetrical wear patterns indicating blade misalignment. Measure the rivet shaft diameter with calipers. Standard bypass pruners use 5/32-inch rivets; anvil-style pruners often employ 3/16-inch hardware. Check the rivet hole in both the blade and handle for elongation or wallowing. Holes enlarged beyond 0.010 inch over nominal require bushing installation or replacement blades.
Pro-Tip: Apply penetrating oil 24 hours before disassembly on pruners older than five years to prevent frozen fasteners from shearing.
Peening Phase
Position the pruner blade flat against the bench block with the factory-formed rivet head down. Insert the rivet shaft through both components. The non-mushroomed end should protrude 1.5 times the rivet diameter above the top surface. Place the center punch at the rivet center and strike firmly with the ball-peen hammer to create a pilot dimple. Switch to the ball end of the hammer. Deliver controlled strikes in a circular pattern around the rivet circumference, working outward from center. Each blow compresses the rivet material radially, filling the hole and forming a new head. Rotate the pruner 180 degrees every six strikes to prevent bending the shaft.
Pro-Tip: Anneal work-hardened rivets by heating to dull red with a propane torch, then air cooling before peening to restore malleability.
Finishing Phase
File the newly formed rivet head flat and smooth using the medium file at 45-degree angles. Remove burrs that interfere with blade rotation. Test pivot action by opening and closing the pruner through full range of motion. Acceptable tension allows smooth movement with no lateral play when blades are closed. The cutting blade should not drift away from the anvil blade under finger pressure. Apply one drop of machine oil to the rivet pivot point. Reassemble springs, buffers, and lock mechanisms. Make test cuts on 1/2-inch diameter green willow stems to verify clean shearing with no tearing or crushing.
Pro-Tip: Blacksmiths' flux paste applied during heating prevents scale formation on antique pruners with forged iron components.
Troubleshooting
Symptom: Rivet spins freely without tightening during peening.
Solution: The rivet hole has elongated beyond repair. Drill out the rivet completely. Install an oversized replacement rivet (next diameter increment) or tap the hole for a machine screw and nylock nut assembly rated for shear loads.
Symptom: Blade alignment skews after tightening, causing bypass blades to overlap incorrectly.
Solution: The rivet shaft bent during peening. Disassemble and inspect for lateral deviation using a straightedge. Replace bent rivets. Re-peen using lighter hammer strikes with more frequent rotation.
Symptom: New rivet head cracks or splits during formation.
Solution: Cold-worked metal exceeded its ductility limit. Anneal the rivet end by heating to 1200°F (visible dull cherry red for steel rivets). Allow air cooling to 300°F before peening.
Symptom: Excessive friction after tightening prevents smooth opening.
Solution: Over-peening compressed components beyond design tolerance. File the rivet head thinner in 0.005-inch increments, testing action between passes until smooth operation returns.
Symptom: Rivet loosens again within one week of repair.
Solution: Insufficient material remained to form adequate head retention. Replace with new rivet stock. Original rivet diameter reduced below 80 percent through multiple previous repairs.
Maintenance
Inspect rivet tightness every 40 hours of pruning use. Apply one drop of lightweight machine oil (SAE 20) to pivot points weekly during active seasons. Store pruners with blades closed to maintain rivet compression. Clean sap residue from pivot areas daily using isopropyl alcohol and brass bristle brushes. Re-tighten rivets when lateral play reaches 0.015 inch measured with feeler gauges. Professional tools in commercial orchards require rivet assessment every 200 cuts through hardwood species exceeding 3/4-inch diameter. Replace rivets entirely after three peening cycles to prevent metal fatigue failures.
FAQ
How tight should pruner rivets be?
Blades should pivot smoothly without binding while showing zero lateral movement when closed. Optimal tension allows one-handed opening with moderate thumb pressure.
Can I use a drill press for rivet replacement?
No. Drill presses remove material. Rivets require compression through peening or setting tools that displace metal rather than cutting it.
What causes rivets to loosen repeatedly?
Cutting loads exceeding pruner design capacity (stems over 3/4 inch for standard bypass models) create impact stress that fatigues rivets. Corrosion from inadequate cleaning also degrades retention.
Should I oil rivets before or after tightening?
After. Oil during repair attracts filing debris into the pivot interface. Clean thoroughly post-repair, then lubricate.
When should I replace rather than repair loose rivets?
Replace when rivet holes elongate beyond 0.010 inch oversize, blades show cracks within 1/4 inch of pivot holes, or handles exhibit stress fractures near rivet bosses.