7 Advantages of How to Use a Soil Blocker for More Efficient Seed Starting
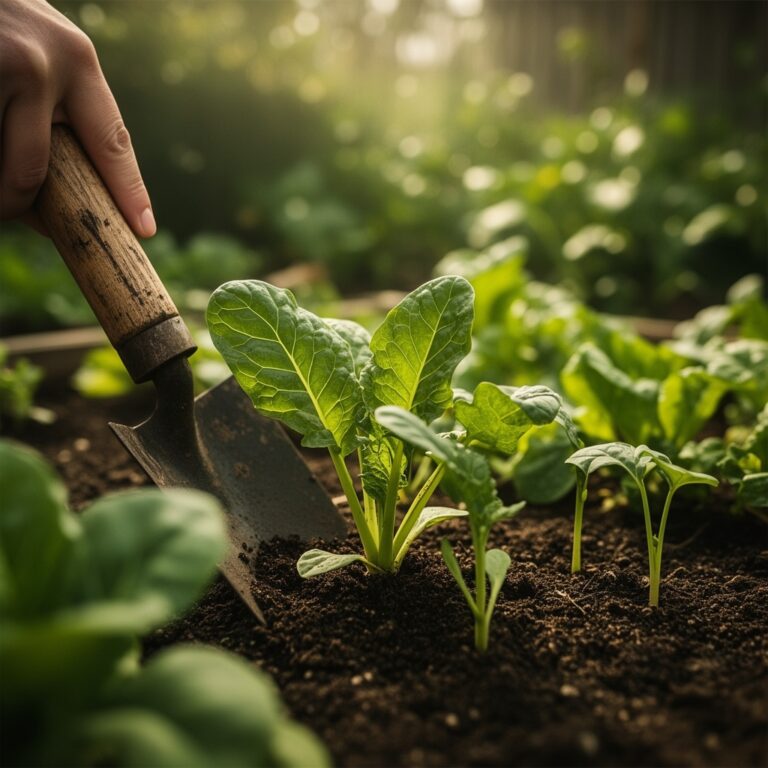
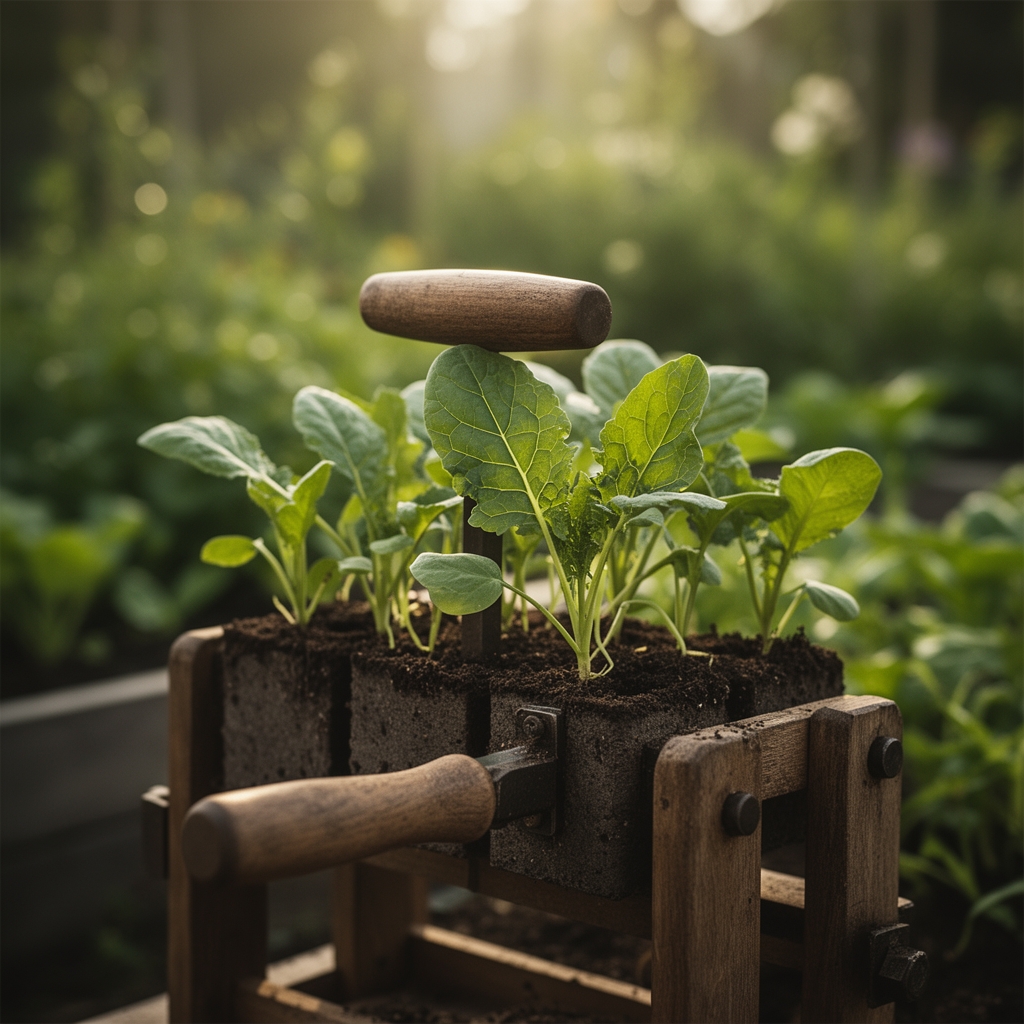
Wet potting mix clings to your fingers as you compress it into the metal chamber, releasing that earthy scent of peat and compost. The spring-loaded plunger ejects a perfect cube of soil onto the tray, no plastic pot in sight. This is the reality of using a soil blocker for seed starting, a method that transforms hundreds of seedlings from a chaotic mess of containers into organized, root-healthy transplants. Commercial growers and backyard gardeners alike have discovered that soil blocks eliminate transplant shock, reduce plastic waste, and produce stronger seedlings with air-pruned roots that establish faster in the garden.
Materials & Supplies
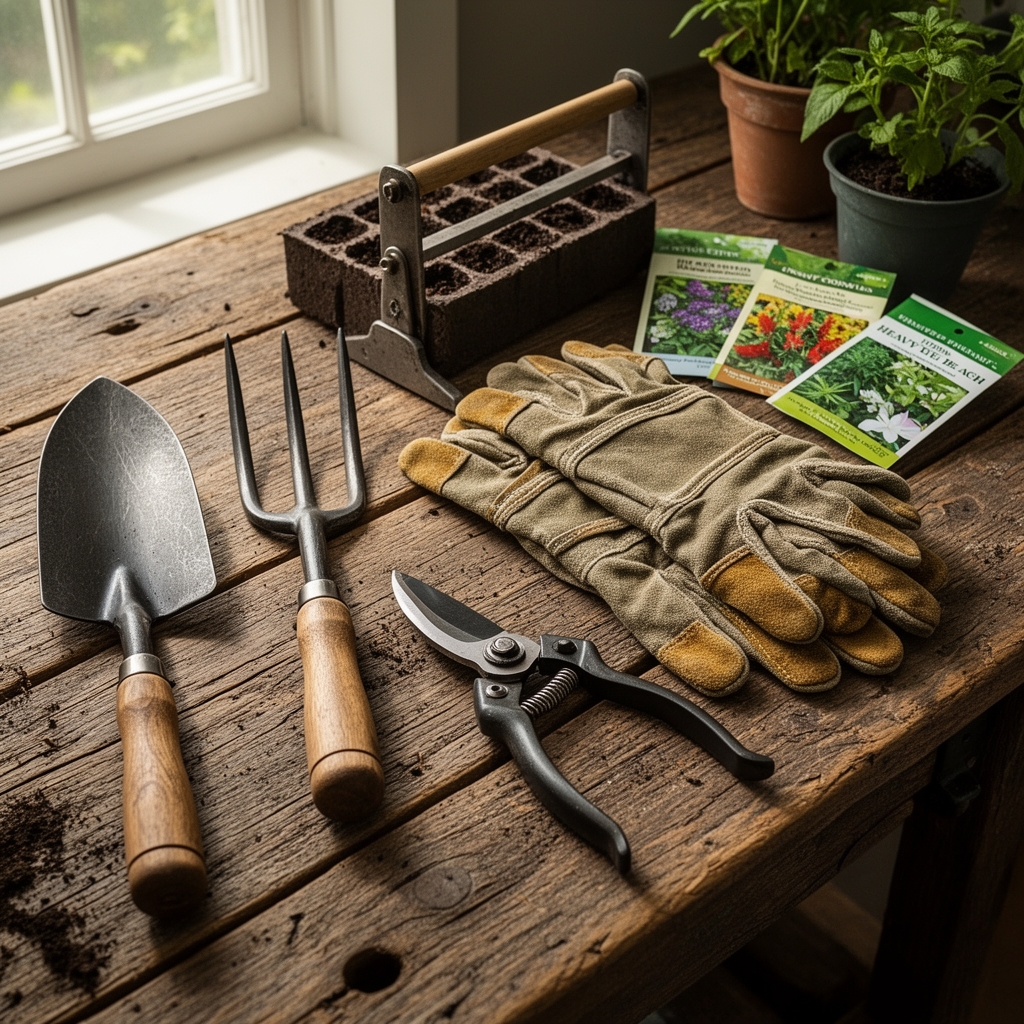
Blocking Equipment
Select a 2-inch soil blocker for standard seedlings or a 3/4-inch micro blocker for tiny seeds like lettuce and onions. The Ladbrooke or Paperpot brands offer durable stainless steel construction that lasts decades. Purchase a blocking tray with drainage holes (standard 1020 size works perfectly).
Blocking Mix Components
Create a mix that holds shape without commercial binders. Combine 3 parts screened compost (pH 6.5-7.0), 2 parts peat moss or coco coir, 2 parts perlite, and 1 part vermiculite. Add 1 cup of azomite mineral powder per 5-gallon batch for trace elements. Mix in 1/2 cup of organic fertilizer (5-3-3 NPK ratio) to feed seedlings through their first three weeks.
Seeds & Amendments
Store seeds in airtight containers at 40°F with silica gel packets. Inoculate legume seeds with Rhizobium bacteria before blocking. Keep granular mycorrhizal fungi on hand to dust into root zones during transplanting.
Watering System
Bottom watering prevents block collapse. Use capillary matting or shallow trays filled with 1/4 inch of water. Install a misting nozzle for initial moisture without disturbing blocks.
Timing & Growing Schedule
Calculate your seed starting date by counting backward from your last frost date. Check your USDA Hardiness Zone (find yours at planting.usda.gov) to determine timing windows.
Zone 5-6: Start tomatoes and peppers 8 weeks before last frost (typically April 15-30). Begin brassicas 6 weeks prior. Cool-season crops like lettuce and spinach can start 10 weeks before last frost for early spring harvest.
Zone 7-8: Add two weeks to indoor growing time since transplant dates arrive earlier (March 15-April 1 for last frost). Succession planting every 14 days extends harvests.
Days to Maturity listed on seed packets count from transplant date, not seeding date. Add your indoor growing period (6-8 weeks for most vegetables) to calculate true harvest timing.
Step-by-Step Instructions

Phase 1: Mixing & Blocking
Moisten your blocking mix 24 hours before use. The proper consistency feels like a wrung-out sponge, holding together when squeezed but not dripping. Overly wet mix creates mushy blocks that collapse; too dry produces crumbly blocks that fall apart.
Pack the blocker firmly into the mix. Compress with steady downward pressure, twist 90 degrees, then eject onto your tray. Space blocks 1/4 inch apart for air circulation. Create a seed divot in each block using your pinky finger or a dibber.
Pro-Tip: Add 1 tablespoon of liquid kelp per gallon of water when moistening mix. The natural cytokinins in kelp promote explosive root development in the first week.
Phase 2: Seeding & Germination
Drop 1-2 seeds per block at the depth listed on the packet (generally 2x the seed diameter). Cover with a pinch of fine vermiculite to maintain moisture while allowing light penetration for light-dependent germinators like lettuce.
Bottom water immediately to settle seeds. Cover trays with humidity domes or plastic wrap until germination occurs. Most vegetables germinate at 70-75°F soil temperature. Use a seedling heat mat to maintain consistent warmth.
Remove covers at first sign of sprouting. Place under grow lights 2-3 inches above foliage for 14-16 hours daily. Fluorescent T5 bulbs or full-spectrum LEDs (6500K color temperature) prevent leggy, weak stems.
Pro-Tip: Thin to one seedling per block by snipping extras with scissors rather than pulling. This prevents root disturbance to the keeper plant.
Phase 3: Hardening Off & Transplanting
Begin hardening off 7-10 days before transplant date. Move blocks outdoors to a shaded, wind-protected spot for 1 hour on day one. Increase exposure by 2 hours daily until blocks spend full days outside.
Transplant when roots appear as white threads around block edges (typically 6-8 weeks for fruiting crops, 4-6 weeks for greens). The air-pruned roots of soil blocks produce dense, fibrous root systems rather than circling pot-bound roots.
Dig transplant holes 1 inch deeper than block height. Set blocks at soil level or slightly deeper for tomatoes (bury stems up to first true leaves). Water with transplant solution (1 tablespoon fish emulsion per gallon) to reduce shock.
Pro-Tip: Dust mycorrhizal fungi directly onto block sides before planting. These beneficial fungi colonize roots and increase phosphorus uptake by 40%.
Nutritional & Environmental Benefits
Soil blocking eliminates plastic waste from your seed-starting operation. A single season of 200 transplants would require 200 plastic cells or pots. Over a decade of gardening, that's 2,000 containers diverted from landfills.
The air-pruning effect creates superior root architecture. When fine roots hit air at block edges, they naturally stop growing and branch internally. This produces a dense root ball with 3x more feeder roots than pot-grown transplants.
Healthier roots mean better nutrient uptake. Seedlings access higher levels of calcium, magnesium, and iron from blocking mix. Transplants establish in half the time, reaching harvest 7-10 days earlier than stressed, pot-bound plants.
Your garden ecosystem benefits from stronger plants. Vigorous transplants resist pest pressure better, reducing need for interventions. Their deeper, faster-growing roots improve soil structure and support populations of beneficial organisms like Mason bees and ground beetles that patrol for aphids and cucumber beetles.
Advanced Methods
Small Space Solutions
Stack blocking trays vertically using wire shelving units with grow lights mounted under each shelf. A 2×4 foot footprint accommodates six trays (288 blocks in 2-inch size). Rotate trays daily for even light exposure.
Organic & Permaculture Techniques
Replace peat moss with coco coir for a renewable alternative. Create blocking mix from homemade compost, worm castings, and biochar (10% by volume). Biochar houses beneficial bacteria and improves water retention by 18%.
Integrate cover crop residue into blocking mix. Grind dried hairy vetch or crimson clover into fine particles. These legume residues release nitrogen slowly as they decompose, feeding seedlings through transplant stage.
Season Extension
Start fall crops in soil blocks during July and August heat. Bottom water with chilled water (50-55°F) to keep root zones cool. Germinate heat-sensitive crops like lettuce and spinach in air-conditioned spaces or basements.
Use 3/4-inch micro blocks for winter microgreens. Harvest at 10-14 days when first true leaves appear. These nutrient-dense greens contain 40x more vitamins than mature plants by weight.
Troubleshooting
Symptom: Blocks crumble and fall apart after ejection.
Solution: Mix is too dry. Add water in 1/4 cup increments and rest 10 minutes between additions. Proper mix should hold a fingerprint when pressed.
Symptom: Seedlings develop yellow lower leaves (chlorosis) after two weeks.
Solution: Nitrogen deficiency indicates insufficient fertilizer in mix. Side-dress with 1/4 strength liquid fish emulsion (2-3-1 NPK) weekly until transplant.
Symptom: White fungal growth appears on block surfaces.
Solution: Harmless saprophytic fungi feeding on organic matter. Improve air circulation with a small fan on low setting. Reduce watering frequency.
Symptom: Blocks develop green algae coating.
Solution: Excessive moisture and light on soil surface. Allow blocks to dry slightly between waterings. Reduce ambient light reaching trays.
Symptom: Seedlings stretch tall with thin stems (etiolation).
Solution: Insufficient light intensity or duration. Lower lights to 2 inches above foliage. Increase photoperiod to 16 hours daily. Brush seedlings gently twice daily to strengthen stems through mechanical stress.
Storage & Maintenance
Clean blockers after each use by soaking in 10% bleach solution for 10 minutes. Rinse thoroughly and dry completely to prevent rust on spring mechanisms. Store in a dry location.
Blocking trays require different watering approaches than plastic pots. Bottom water when block surfaces appear dry but blocks still feel heavy when lifted. This typically means watering every 2-3 days in heated indoor spaces.
Feed established seedlings (4+ true leaves) weekly with diluted liquid fertilizer. Use 1/4 strength kelp and fish emulsion alternating weeks. This provides both macro and micronutrients without salt buildup.
Monitor EC (electrical conductivity) if growing large quantities. Soil blocks should measure 1.2-1.8 mS/cm. Higher readings indicate salt accumulation; flush with plain water.
After transplanting, store leftover blocking mix in sealed containers. Dried mix stores indefinitely. Remix and remoisten 24 hours before next use.
Conclusion
Your soil blocking success blueprint requires three commitments: proper mix moisture (wrung-out sponge consistency), bottom watering only, and hardening off before transplant. These fundamentals produce transplants with air-pruned roots that establish in half the time of pot-grown seedlings. Share your blocking results with local garden clubs or extension offices to help other growers eliminate plastic waste while improving transplant success rates.
Expert FAQs
Q: Can I reuse blocking mix from previous batches?
A: No. Spent mix loses structure and may harbor pathogens. Compost used blocks and create fresh mix for each seed-starting cycle. The decomposed blocks enrich garden soil with organic matter.
Q: What's the minimum blocking mix recipe for beginners?
A: Combine equal parts screened compost and peat moss (or coco coir) with 10% perlite by volume. Add 2 tablespoons of balanced organic fertilizer (5-5-5 NPK) per gallon. This simplified recipe works for most vegetables.
Q: How do I prevent damping off disease in soil blocks?
A: Use sterile components (heat peat moss to 180°F for 30 minutes). Water with chamomile tea for natural antifungal properties. Maintain air circulation with fans and avoid overwatering. Trichoderma harzianum inoculant suppresses damping off fungi.
Q: Can I start root crops like carrots in soil blocks?
A: Yes, but transplant at 2-3 true leaves before taproots develop. Use 3/4-inch micro blocks for carrots, beets, and parsnips. Transplant carefully to avoid root disturbance that causes forked roots.
Q: Do soil blocks work in humid climates where they won't dry out?
A: Absolutely. Increase perlite to 30% of mix volume for better drainage. Use dehumidifiers in growing spaces to maintain 40-50% relative humidity. Bottom water less frequently and rely on capillary action from moist (not wet) trays.