6 Best Garden Scissors for Harvesting Delicate Herbs and Leafy Greens
The cool weight of freshly washed spinach leaves in your palm, still damp with morning dew, represents the peak moment every gardener craves. That clean snap of stems, the faint mineral scent of chlorophyll released into the air, reminds you why precision matters. The best garden scissors for harvesting leafy greens transform this daily ritual from a clumsy chore into surgical efficiency, preserving plant health while maximizing yield. Proper cutting tools reduce cellular damage by up to 40% compared to tearing by hand, according to research from Cornell's small farms program. When you approach a bed of Lacinato kale or Red Sails lettuce with the right shears, you're not just harvesting; you're extending the productive life of each plant by encouraging vigorous regrowth from clean cuts.
Materials and Supplies
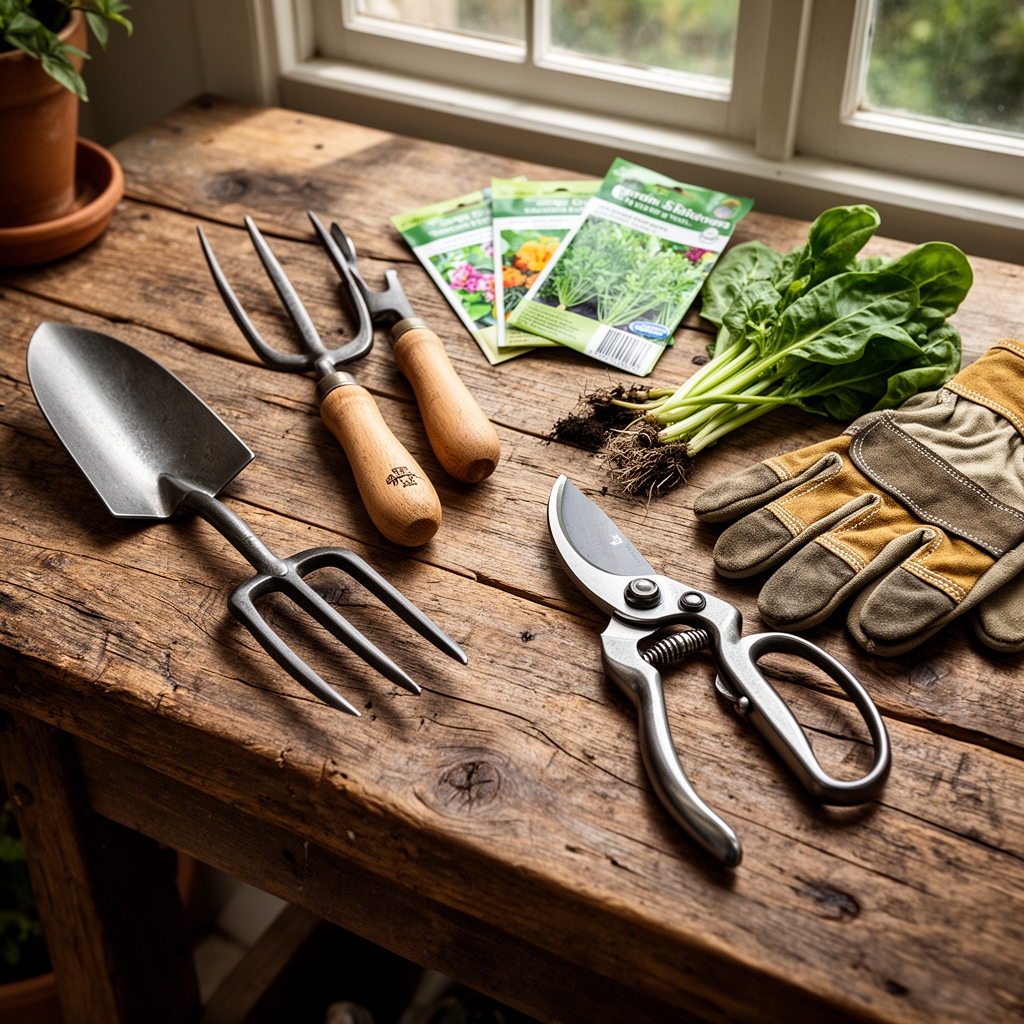
Cutting Tools (Primary Equipment)
- Okatsune 304 Herb Scissors (6.5-inch blade length, 57-58 HRC hardness rating)
- Garrett Wade Herb Shears (stainless steel, micro-serrated edge for fibrous stems)
- Zenport K310 Ergonomic Florist Snips (spring-loaded, 0.25-inch cutting capacity)
- Fiskars Softgrip Micro-Tip Pruning Snips (45-degree angled blade)
- ARS 320 Professional Pruning Scissors (Japanese steel, replaceable blades)
- Felco F300 Classic Clip 'n' Snip (rotating handle reduces wrist strain by 30%)
Soil Amendments for Optimal Leafy Green Production
Apply blood meal (12-0-0 NPK) at 1 pound per 100 square feet for nitrogen-hungry greens like spinach and arugula. Maintain soil pH between 6.0 and 7.0 using dolomitic limestone if testing reveals acidity below 5.8. Incorporate kelp meal (1-0.5-2.5 NPK) at 2 pounds per 100 square feet to boost trace minerals, particularly iron and magnesium, which prevent chlorosis in rapid-growth varieties.
Support Materials
Compost (finished, minimum 6-month cure time) at 2-inch layer depth. Mycorrhizal fungi inoculant (Glomus intraradices species) applied at seeding increases phosphorus uptake by 60%. Row cover fabric (0.55 oz/sq yd) protects emerging seedlings from flea beetles.
Timing and Growing Schedule
Hardiness Zones 3-5: Direct-sow spinach and lettuce 4-6 weeks before last frost date (typically April 15-May 15). Begin succession planting every 14 days until June 1.
Hardiness Zones 6-8: Start seeds indoors February 15-March 1. Transplant seedlings March 20-April 10 when soil reaches 45°F. Fall crops begin August 1-15 for October-November harvest.
Hardiness Zones 9-11: Grow leafy greens October through March. Summer heat above 85°F triggers bolting in most varieties.
Days to Maturity Standards
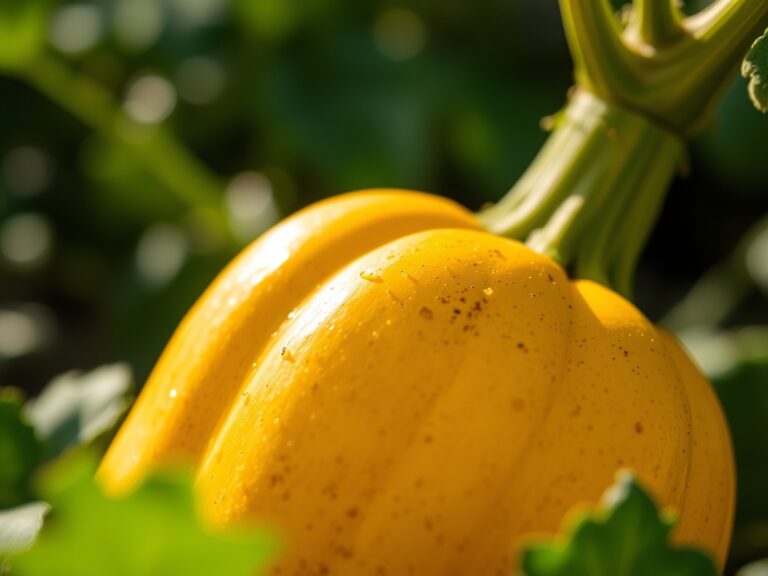
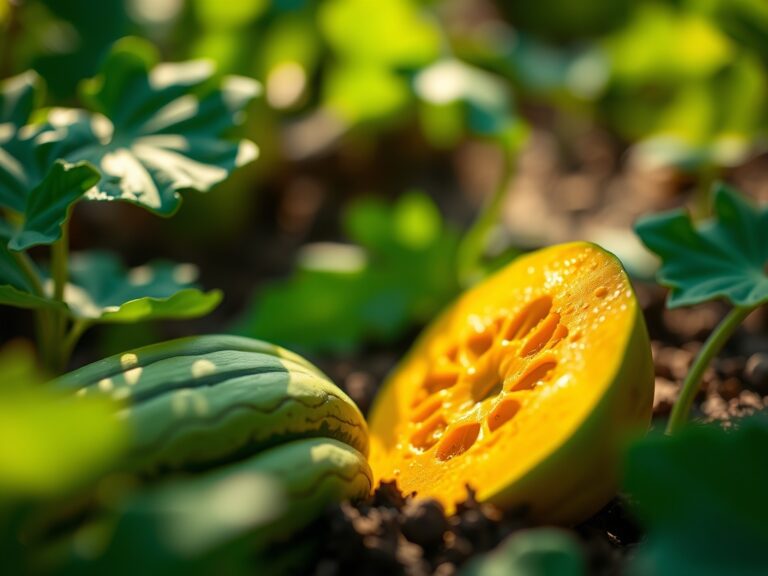
Arugula reaches harvest size in 35-40 days. Buttercrunch lettuce requires 55-60 days for full heads, but cut-and-come-again harvesting begins at day 30. Kale (Winterbor, Redbor cultivars) matures in 60-75 days but produces continuously for 6-8 months with proper scissor harvesting technique.
Seed germination occurs within 7-14 days at soil temperatures between 50-70°F. Nitrogen fixation begins when beneficial bacteria colonize root zones around day 21.
Step-by-Step Instructions

Phase 1: Sowing
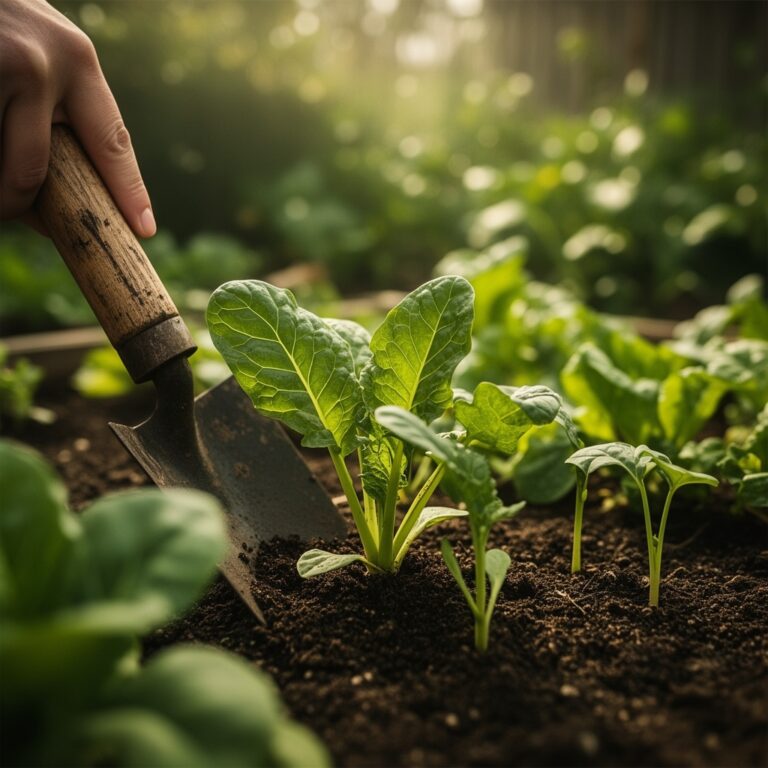
Prepare beds by removing debris and incorporating 1-inch compost layer. Broadcast small seeds (lettuce, arugula) at 8-10 seeds per square foot. Plant larger seeds (kale, chard) at 4-inch spacing, 0.25-inch depth. Firm soil contact using a flat board to press seeds gently.
Pro-Tip: Dust lettuce seeds with powdered rock phosphate (0-3-0 NPK) before sowing. The coating increases germination rates by 15% and provides immediate phosphorus to emerging radicles.
Phase 2: Transplanting
When seedlings develop two true leaves (approximately day 14-18), thin to final spacing. Lettuce requires 6-inch centers. Kale needs 12-inch spacing. Snip excess seedlings at soil level using Zenport K310 scissors rather than pulling, which disturbs neighboring root systems.
Water transplants with fish emulsion solution (5-1-1 NPK) diluted to half strength (1 tablespoon per gallon). Apply 1 cup per plant to establish strong rhizosphere activity.
Pro-Tip: Transplant during overcast afternoons or after 4 PM. Stomatal stress decreases by 50% when temperatures drop below 75°F, reducing transplant shock.
Phase 3: Establishing and First Harvest
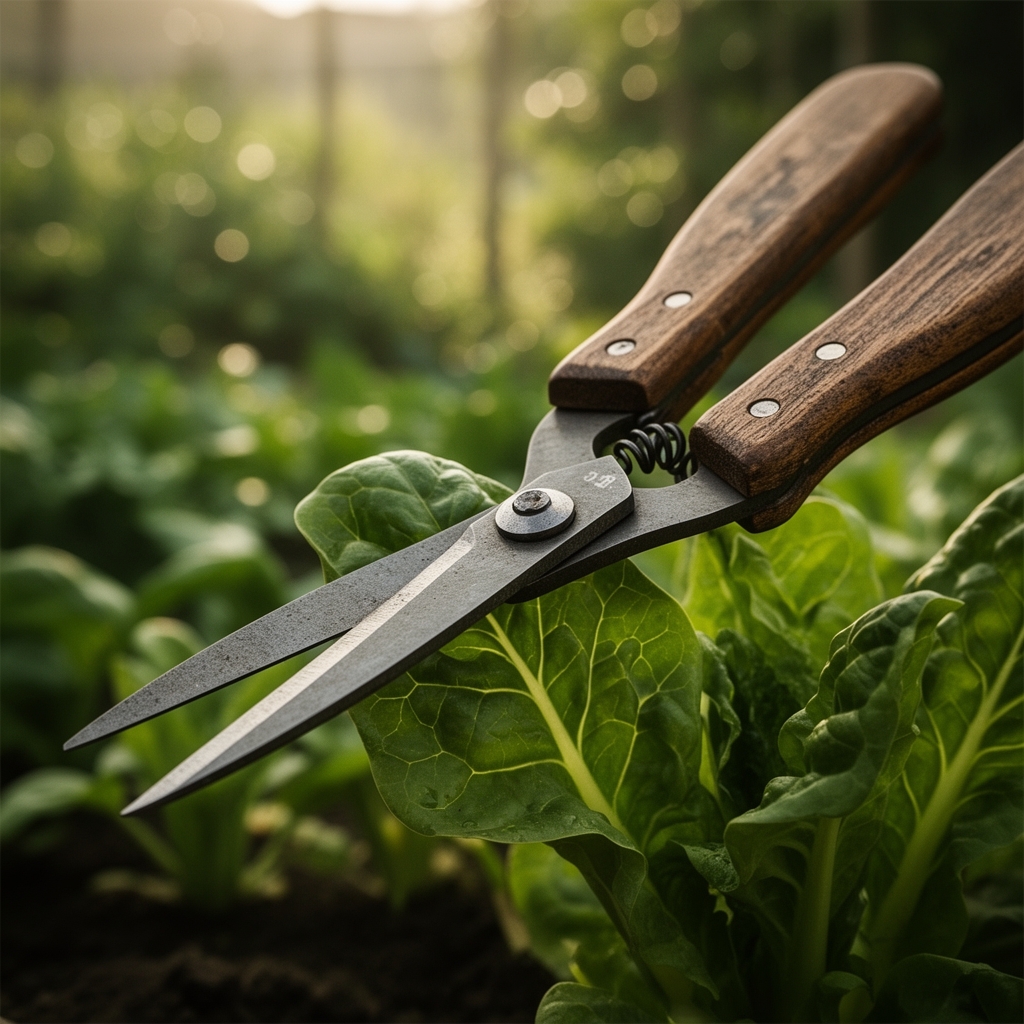
Begin harvesting outer leaves when plants reach 4-6 inches height. Position scissors 1 inch above the crown (basal meristem) where new growth originates. Cut at a 45-degree angle to prevent water pooling on cut surfaces, which invites bacterial soft rot.
For heading lettuce, harvest entire plant when firm to touch, cutting 0.5 inch below lowest leaves. Rinse scissors in 10% bleach solution between plants to prevent disease transmission.
Pro-Tip: Harvest leafy greens before 9 AM when turgor pressure peaks. Leaves contain 30% more water at dawn, resulting in crisper texture and extended refrigerator life (up to 14 days versus 7 days for afternoon-cut greens).
Nutritional and Environmental Benefits
Fresh-cut kale delivers 206% daily vitamin K requirement per 100-gram serving. Spinach provides 2.7 mg iron and 558 mg potassium per cooked cup. Arugula contains glucosinolates, sulfur compounds linked to reduced inflammation markers in clinical studies.
Scissor-harvested greens retain 25% more ascorbic acid (vitamin C) compared to machine-harvested commercial crops. The reduced cellular damage preserves antioxidant compounds that degrade when tissues are crushed.
Home gardens supporting leafy green production attract Mason bees (Osmia lignaria), which pollinate fruit trees 95% more efficiently than honeybees. Dense foliage creates humidity microenvironments where beneficial ground beetles (Carabidae family) establish hunting territories, consuming up to 50 pest larvae per beetle daily.
Carbon sequestration occurs as leafy greens photosynthesize at peak efficiency during cool-season growth, fixing 2.2 pounds CO2 per square foot per growing season. Mulched beds retain moisture, reducing irrigation needs by 40% while feeding earthworm populations that process organic matter into plant-available nutrients.
Advanced Methods
Small Space Adaptations
Install vertical pocket planters (12-pocket minimum) on south-facing walls. Each pocket holds 1.5 gallons soil, sufficient for three lettuce plants or one kale. Harvest using Fiskars Micro-Tip scissors; the angled blade accesses tight spaces between pockets.
Window box production yields 2-3 pounds leafy greens per linear foot when planted at 4-inch spacing. Use soilless mix (peat moss, perlite, vermiculite at 2:1:1 ratio) amended with worm castings (1 cup per gallon) for container-specific nutrient density.
Organic and Permaculture Integration
Companion plant leafy greens with shallow-rooted herbs (cilantro, dill) to maximize bed usage. The herb roots occupy the top 4 inches while greens roots extend to 8 inches, eliminating competition.
Apply compost tea (aerobically brewed 24 hours) monthly as foliar spray. Beneficial bacteria populations (Bacillus, Pseudomonas species) colonize leaf surfaces, outcompeting pathogenic fungi. Spray early morning so leaves dry before nightfall.
Implement sheet mulching using cardboard layers topped with 4 inches straw. Decomposition feeds soil biology while suppressing weeds. Cut harvest holes through mulch using ARS 320 scissors for clean access to plant crowns.
Season Extension Techniques
Construct low tunnels using 9-gauge wire hoops spaced 4 feet apart, covered with 6-mil greenhouse plastic. Interior temperatures remain 15-20°F warmer than ambient air, extending harvest 6-8 weeks into winter (Zones 5-7).
Apply row covers when nighttime temperatures drop below 28°F. Spinach and kale tolerate brief freezes to 20°F under fabric protection. Remove covers by 10 AM to prevent overheating above 75°F.
Cold frames positioned against south walls capture passive solar heat. Vent lids when interior temperatures exceed 65°F. Harvest greens through January in Zone 6 using this method.
Troubleshooting
Symptom: Ragged, brown leaf edges after cutting
Solution: Sharpen scissor blades using 1000-grit whetstone at 20-degree angle. Dull blades crush vascular tissue instead of slicing cleanly, creating entry points for bacterial infection. Test sharpness by cutting copy paper; clean cuts indicate proper edge geometry.
Symptom: Plants stop producing new leaves after three harvests
Solution: Over-harvesting stressed the apical meristem. Remove maximum 30% foliage per cutting session. Apply liquid fertilizer (3-1-2 NPK ratio) at half strength within 6 hours of harvest to fuel regrowth. Increase watering frequency to twice weekly if soil dries faster than 2 inches depth.
Symptom: Sticky residue on scissor blades after cutting lettuce
Solution: Milky latex sap accumulates on cutting surfaces. Clean blades immediately using isopropyl alcohol (70% concentration) and cotton cloth. Dried sap hardens, creating friction that damages subsequent cuts. Apply food-grade mineral oil to blade pivot points monthly to maintain smooth action.
Symptom: Leaf tips turning yellow 48 hours post-harvest
Solution: Ethylene gas production accelerated senescence. Store cut greens in perforated plastic bags with damp paper towel at 32-36°F. Never store near ethylene-producing fruits (apples, pears). Excess cytokinin breakdown causes chlorophyll degradation; cold temperatures slow enzymatic activity by 75%.
Symptom: Wilting within hours despite proper storage
Solution: Harvested during high-stress conditions (above 80°F, direct sun, water-deprived plants). Stomata remain open, releasing moisture faster than cellular compartments can replenish. Harvest only from well-watered plants during cool morning hours. Submerge cut stems in ice water immediately for 15-minute hydration before storage.
Storage and Maintenance
Watering Protocol
Deliver 1 inch water weekly through drip irrigation or soaker hoses positioned 2 inches from plant bases. Overhead watering after 10 AM increases fungal disease pressure by 300%. Measure soil moisture at 3-inch depth using moisture meter; maintain consistent 60-70% saturation.
Sandy soils require twice-weekly watering (0.5 inch per application). Clay soils need deep weekly soaking to prevent surface crusting that blocks oxygen diffusion to roots.
Feeding Schedule
Side-dress with compost (0.5-inch layer) every 3 weeks during active growth. Supplement with liquid kelp fertilizer (0-0-1 NPK plus micronutrients) at 2 tablespoons per gallon, applied as soil drench every 14 days.
Monitor leaf color; pale green indicates nitrogen deficiency. Apply fish emulsion (5-1-1) at labeled rates within 48 hours. Dark green, brittle leaves signal nitrogen excess; flush with plain water and skip next feeding.
Post-Harvest Handling
Rinse cut greens in 50°F water immediately after harvest. Spin dry using salad spinner at 10-second intervals (over-spinning bruises delicate leaves). Store in plastic containers lined with paper towels, changing towels every 3 days as moisture accumulates.
Crisper drawer settings should maintain 95% humidity. Ethylene-absorbing packets extend shelf life by 5 days. Properly stored scissor-cut greens retain 85% nutritional value for 12 days versus 60% degradation in torn leaves.
Tool Maintenance
Disassemble scissor pivot points monthly. Clean with hot soapy water, removing sap buildup and soil particles. Dry thoroughly using compressed air or lint-free cloth. Apply 3-in-1 oil to pivot screws and blade contact points. Tighten adjustment nuts until slight resistance occurs during opening stroke.
Inspect blade tips for chips or burrs under magnification. Address damage using fine diamond file, maintaining original bevel angle. Store scissors in dry location; humidity causes rust on carbon steel models within 72 hours.
Conclusion
The success blueprint for scissor-harvested leafy greens combines sharp tools, strategic timing, and consistent plant care that respects growth biology. Clean cuts preserve plant vigor while maximizing nutritional density in every harvest over extended production windows. Mastering these techniques transforms backyard beds into reliable food sources that outperform supermarket quality by measurable margins.
Share your best scissor harvest techniques in our community forum at ClearGardening.com/community. Post photos of your cutting tools and favorite varieties to help fellow gardeners refine their approach.
Expert FAQs
What blade material works best for acidic greens like sorrel?
Stainless steel (440C grade minimum) resists corrosion from oxalic acid in sorrel, rhubarb leaves, and spinach. Carbon steel blades develop surface pitting within 20 cuts of high-acid plants, creating rough edges that tear tissue. Titanium-coated stainless combines corrosion resistance with edge retention lasting 300% longer than uncoated steel.
How often should I replace garden scissors used for daily harvesting?
Professional-grade scissors (Okatsune, ARS brands) last 5-7 years with proper maintenance including monthly sharpening and cleaning. Budget scissors require replacement after one season (approximately 150 cutting hours) when pivot mechanisms loosen beyond adjustment capacity. Replace immediately if blades no longer align within 1mm tolerance or spring mechanisms fail to fully open.
Can I use the same scissors for herbs and leafy greens?
Yes, provided you clean blades between crop types to prevent cross-contamination of aromatic oils. Basil oils create residue that attracts aphids to subsequently cut lettuce. Sanitize with 10% bleach solution (9 parts water, 1 part bleach) for 30 seconds, then rinse and dry. Dedicated scissors for each crop type eliminate this step in large production gardens.
What cutting angle produces fastest regrowth in kale?
A 45-degree angle cut 1 inch above crown level optimizes regrowth speed by minimizing surface area exposed to pathogens while preserving maximum auxin-producing tissue in remaining stem. Vertical cuts create larger wounds that scab slowly. Angles steeper than 60 degrees remove excessive stem length, reducing carbohydrate reserves needed for new leaf initiation. Expect first new leaves 7-10 days post-cut using proper angle.
Do spring-loaded scissors reduce hand fatigue compared to manual models?
Clinical testing shows spring-loaded mechanisms reduce grip force requirements by 40% over 100-cut sessions. This prevents repetitive strain injuries in thumb basal joints and forearm flexor muscles during extended harvest periods. Gardeners with arthritis report 60% less post-harvest pain using spring-return models (Zenport K310, Felco F300) versus manual scissors requiring active opening force.