8 Ways to Use a Glass Cloche for Humidity-Loving Plants and Propagation
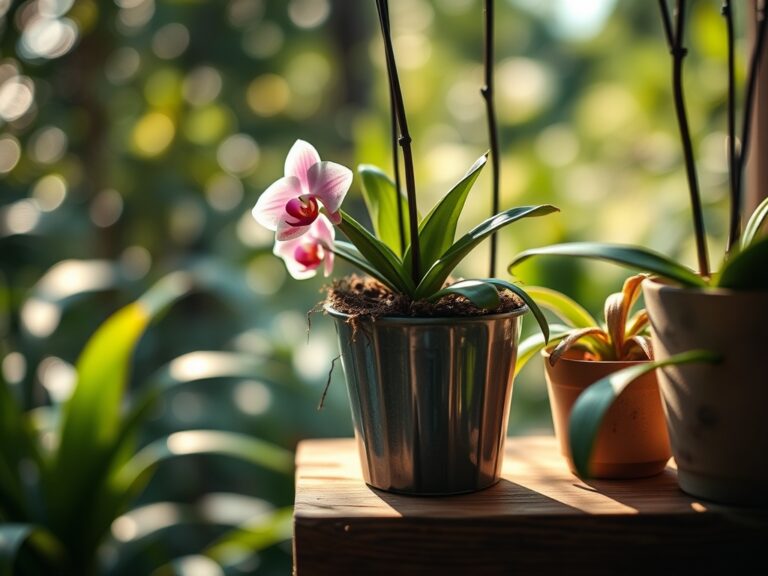
Glass cloches transform windowsills and countertops into microclimates capable of sustaining tropical ferns, begonias, and finicky cuttings that demand 70–90% relative humidity. Learning how to use a glass cloche for humidity-loving plants begins with understanding vapor pressure deficit and gas exchange. A sealed or semi-sealed transparent dome elevates ambient moisture while permitting photosynthetically active radiation to penetrate. The result is an environment where stomata remain open, transpiration slows, and juvenile root systems establish without desiccation stress.
Materials
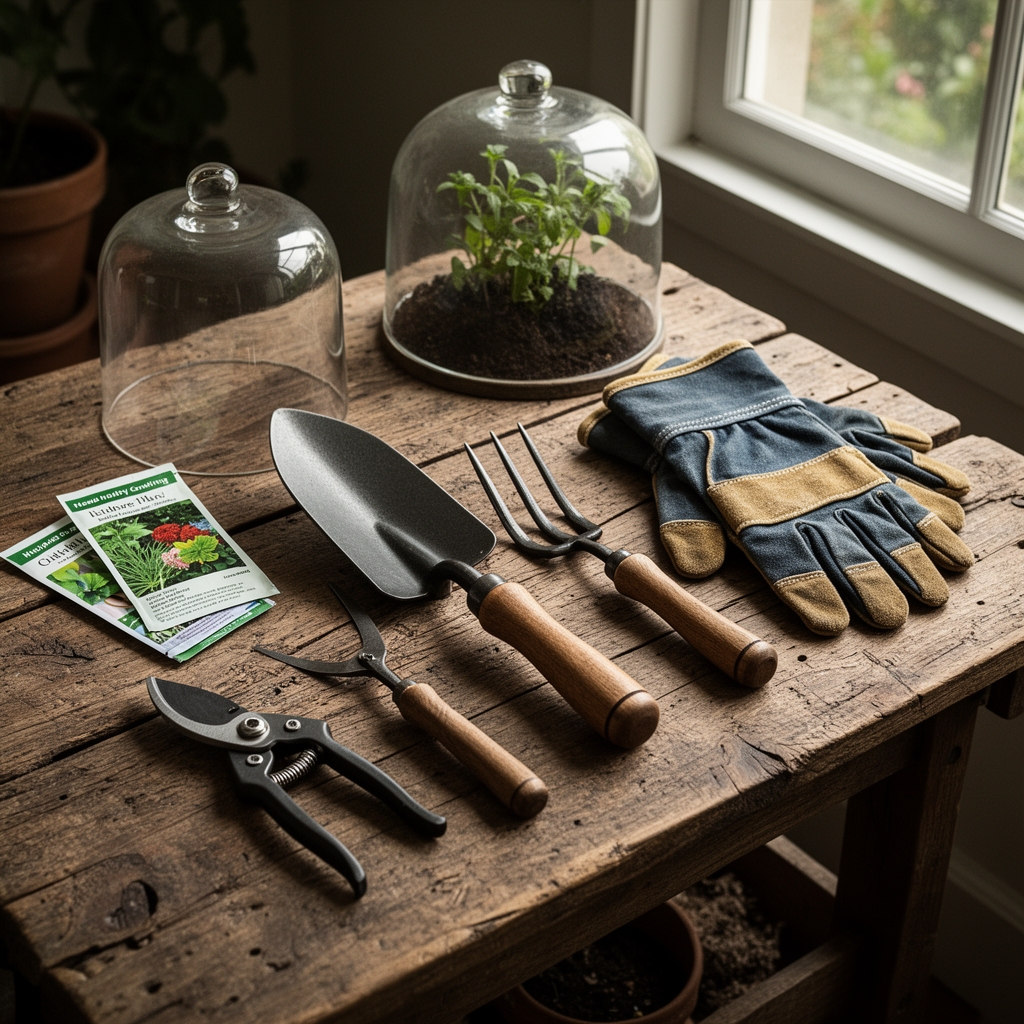
Select a substrate with a cation exchange capacity above 15 meq/100g to buffer nutrient availability. A blend of 2 parts coco coir (pH 5.5–6.5), 1 part perlite, and 1 part worm castings provides aeration and slow-release nitrogen. Incorporate 1 tablespoon of 4-4-4 organic fertilizer per gallon of mix for balanced macronutrient support. Avoid synthetic salts under cloches; accumulated soluble salts burn tender root primordia in high-humidity, low-transpiration conditions.
Choose glass over acrylic for UV-B transmission, which stimulates secondary metabolite production and stronger cuticle formation. A 6- to 10-inch diameter cloche accommodates most 4-inch starter pots. Ensure ventilation capability through a rimmed base or drilled aperture to prevent anaerobic conditions and damping-off pathogens like Pythium and Rhizoctonia.
Stock rooting hormone containing 0.1–0.3% indole-3-butyric acid (IBA) for semi-hardwood cuttings. Mycorrhizal inoculant (Glomus species) colonizes root hairs within 10–14 days, improving phosphorus uptake in low-light propagation setups.
Timing
Execute cutting propagation during active growth phases: late spring through mid-summer in USDA Hardiness Zones 3–7, extending into early autumn in Zones 8–11. Photoperiod length above 13 hours daily maximizes auxin distribution and cell division rates in nodal tissue.
For seed germination under cloches, wait until soil temperature stabilizes at 65–75°F. In Zone 5, this window opens approximately two weeks after the last frost date (typically May 10–20). In Zone 9, year-round cloche use is feasible indoors, but outdoor deployment should avoid summer months when ambient humidity already exceeds 75% and fungal pressure intensifies.
Overwinter tropical epiphytes like Tillandsia and Phalaenopsis under cloches when indoor relative humidity drops below 40% during heating season (November through March in temperate zones).
Phases
Sowing
Fill a 4-inch pot to within 0.5 inches of the rim with pre-moistened substrate. Surface-sow fine seed (e.g., Begonia, Streptocarpus) without covering; press medium seed 0.125 inches deep. Water from below by placing the pot in a tray with 0.5 inches of dechlorinated water for 20 minutes. Position the cloche over the pot, leaving a 0.25-inch gap at the base for air exchange. Maintain substrate temperature at 70–75°F using a seedling heat mat.
Pro-Tip: Dust seed with powdered Trichoderma harzianum before sowing to colonize the rhizosphere and outcompete damping-off fungi.
Transplanting
Once true leaves emerge and roots appear at drainage holes (typically 14–21 days), acclimatize seedlings by removing the cloche for 1 hour daily, increasing by 1 hour increments over seven days. Transplant into 6-inch pots using the same substrate formula, firming gently to eliminate air pockets around the root ball.
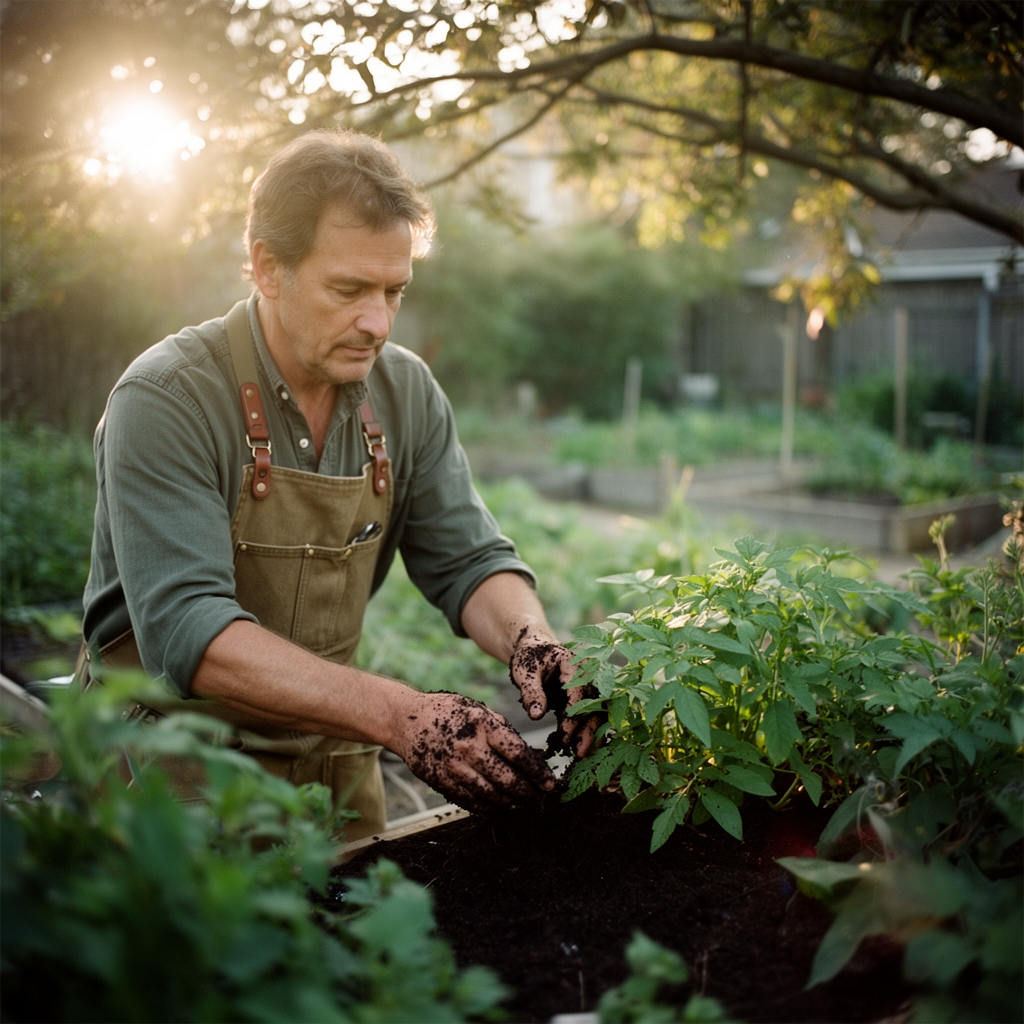
For stem cuttings of Ficus elastica, Monstera, or Peperomia, take 4- to 6-inch sections with at least two nodes. Make cuts at a 45-degree angle with sterilized shears to maximize cambial surface area. Dip cut ends in IBA powder, tap off excess, and insert 1.5 inches into moist substrate. Replace the cloche immediately.
Pro-Tip: Maintain 80–85°F bottom heat for tropical cuttings to accelerate adventitious root initiation by 30–40%.
Establishing
Rooted cuttings exhibit new apical growth within 21–35 days. Once roots reach 2 inches in length, begin the hardening-off protocol. Remove the cloche for 2 hours daily during the first week, 4 hours during the second, and 8 hours during the third. Monitor leaf turgidity; wilting indicates premature exposure.
Feed established plantlets with quarter-strength liquid fertilizer (3-1-2 NPK ratio) every 10 days. Full-strength feeding under cloches concentrates salts and induces tip burn.
Pro-Tip: Prune the apical meristem at a 60-degree angle above the third node to stimulate lateral branching and bushier architecture.
Troubleshooting
Symptom: White, cottony mycelium on soil surface and stem bases.
Solution: Botrytis cinerea thrives in stagnant air. Remove affected tissue with sterilized tools. Increase ventilation gap to 0.5 inches and reduce watering frequency to once per week.
Symptom: Yellow, water-soaked leaf margins progressing to necrotic spots.
Solution: Excessive salinity from overfertilization. Leach substrate with distilled water equal to twice the pot volume. Suspend feeding for 14 days.
Symptom: Blackened, mushy roots with sulfurous odor.
Solution: Anaerobic root rot caused by waterlogged substrate. Unpot, trim necrotic roots, and repot in fresh mix with increased perlite ratio (2:1:1). Ensure drainage holes are unobstructed.
Symptom: Elongated internodes and pale, spindly growth.
Solution: Insufficient light intensity. Position cloche within 12 inches of a south-facing window or supplement with 200–400 µmol/m²/s PAR from LED grow lights for 14 hours daily.
Symptom: Fungus gnats (Bradysia species) emerging from substrate.
Solution: Larvae feed on organic matter and fine roots. Apply Bacillus thuringiensis subspecies israelensis (Bti) drench at label rate. Top-dress with 0.5 inches of horticultural sand to interrupt oviposition cycles.
Maintenance
Water when the top 0.5 inches of substrate feels dry to touch, approximately every 5–7 days under a cloche. Provide 0.25 inches of water per session, allowing excess to drain completely. Wipe interior condensation from glass weekly using a microfiber cloth to prevent lens effects that concentrate solar radiation and scorch foliage.
Rotate pots 90 degrees every three days to ensure even light distribution and prevent phototropic leaning. Inspect undersides of leaves biweekly for spider mites, scale, or mealybugs. Isolate infested plants immediately.
Refresh substrate annually to maintain porosity and prevent cation exchange site saturation. Sterilize glass cloches between uses by soaking in a 10% bleach solution for 10 minutes, then rinsing thoroughly.
FAQ
How long should I keep a cloche over newly planted cuttings?
Maintain full coverage for 10–14 days, then begin gradual acclimatization over three weeks as described in the Establishing phase.
Can I use a cloche for succulents?
No. Succulents require 30–50% relative humidity and rapid soil drying. Cloches promote conditions conducive to rot in xerophytic species.
What is the ideal temperature range under a glass cloche?
Target 68–78°F for most tropical propagation. Temperatures exceeding 85°F denature auxin and inhibit rooting.
Do I need to fertilize plants under a cloche?
Not during the first 21 days. Root systems must establish before metabolizing supplemental nutrients. Begin quarter-strength feeding only after new growth appears.
How do I prevent algae growth on the substrate surface?
Reduce light intensity reaching the soil by positioning the cloche in bright indirect light rather than direct sun. Top-dress with a 0.25-inch layer of fine orchid bark to block photosynthesis.