8 Steps on How to Prepare a Strawberry Planter for a Massive Berry Harvest
The scent of fertile loam mixed with the faint sweetness of decaying pine needles hits you the moment you open a bag of quality potting mix. That smell means living soil, the kind that fuels explosive strawberry growth. Learning how to prepare a strawberry planter for high yield starts with understanding that container-grown berries demand more precision than their in-ground cousins. Every cubic inch of soil matters. Every drainage hole counts. The difference between a disappointing handful of berries and a two-month harvest marathon comes down to prep work done before the first crown touches dirt.
Materials & Supplies
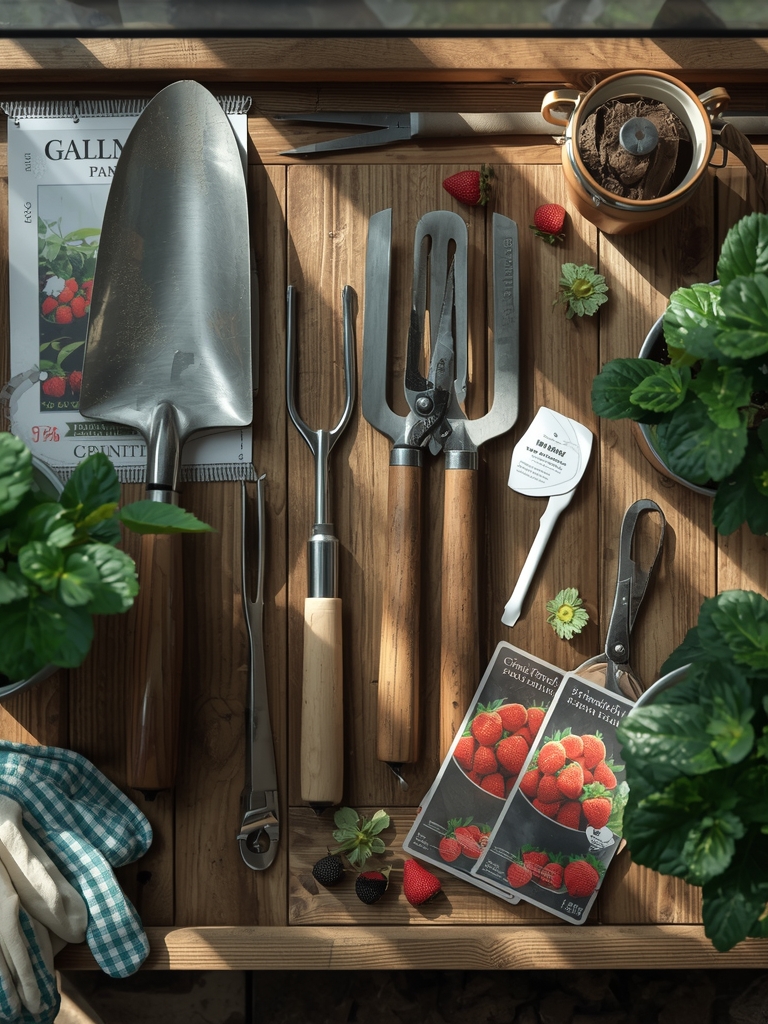
Container Selection:
- Terracotta or resin planter with 12-inch minimum depth
- Multiple drainage holes (at least 6 per square foot of base)
- Vertical pocket planters or tiered systems for space efficiency
Soil & Amendments:
- Premium potting mix (pH 5.5 to 6.5)
- Perlite or coarse sand (20% by volume for drainage)
- Aged compost or worm castings (15% by volume)
- Mycorrhizal fungi inoculant (1 tablespoon per planter)
- Slow-release fertilizer with 5-10-5 or 10-10-10 NPK ratio
Plant Materials:
- Bare-root or potted strawberry crowns (June-bearing or everbearing varieties)
- Disease-free certified stock from reputable nurseries
Tools & Accessories:
- Soil pH meter or test kit
- Moisture meter (optional but recommended)
- Drip irrigation system or soaker hose
- Mulch (straw, pine needles, or shredded leaves)
Timing & Growing Schedule
Hardiness Zones: Strawberries thrive in Zones 3 through 10, but container culture allows Zone 11 growers to simulate winter chill by refrigerating crowns for 4 to 6 weeks.
Planting Windows:
- Spring planting: 4 to 6 weeks before last frost date
- Fall planting: 6 to 8 weeks before first frost (Zones 7 and warmer)
- Bare-root crowns ship best when dormant (February through April)
Days to Maturity:
- June-bearing varieties: First harvest 60 to 90 days after planting, with peak production in year two
- Everbearing varieties: Initial berries in 90 days, continuous harvest for 5 months
- Day-neutral varieties: 12 to 14 weeks to first fruit, production until hard frost
Step-by-Step Instructions
Phase 1: Foundation Prep (Days 1 to 2)
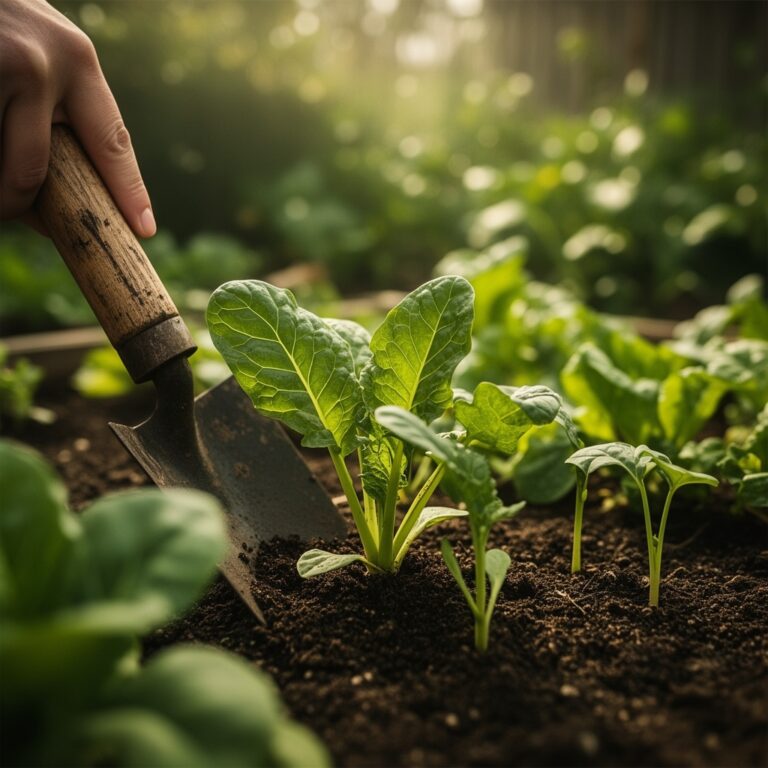
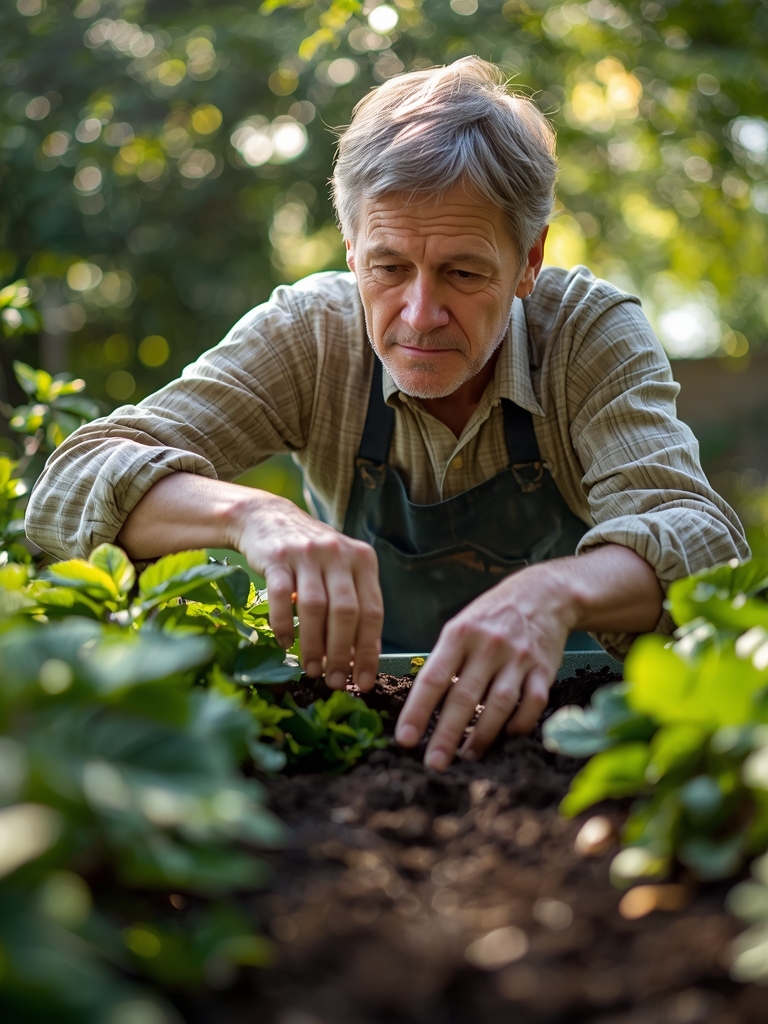
Fill the planter base with 2 inches of coarse gravel or broken terracotta shards. This drainage layer prevents waterlogged roots, the number one killer of container strawberries. Mix your potting medium in a wheelbarrow: combine base mix, perlite, compost, and mycorrhizal inoculant until uniform. Test pH with your meter. Adjust with sulfur (to lower) or lime (to raise) as needed.
Pro Tip: Wet the soil mix thoroughly before filling containers. Pre-moistened media settles evenly and eliminates air pockets that cause root desiccation.
Phase 2: Crown Placement (Day 2)
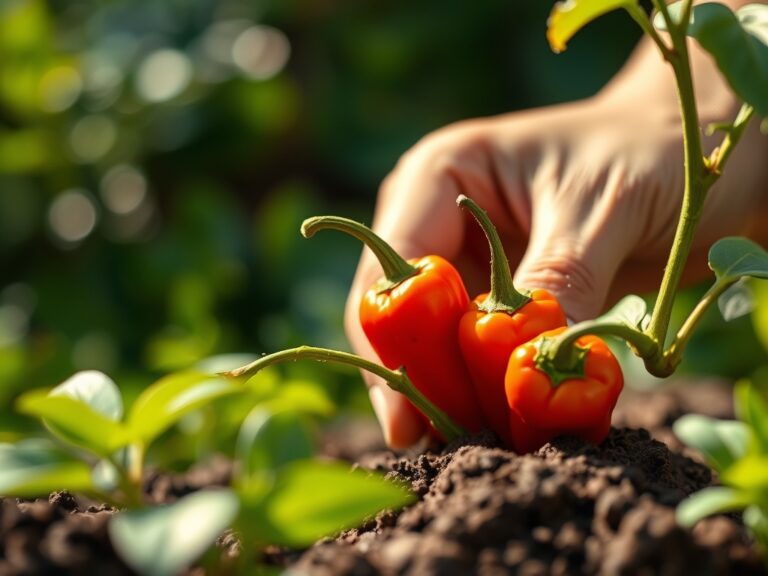
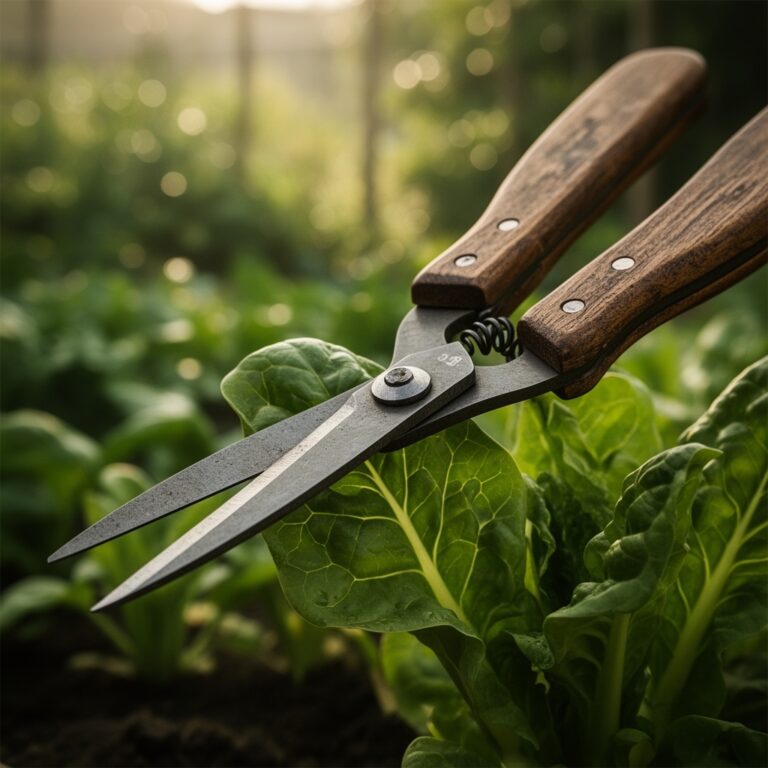
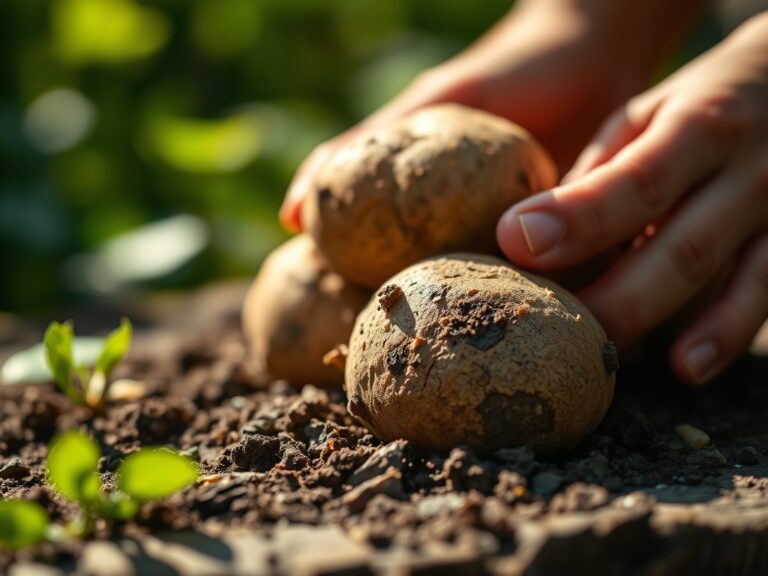
Trim any dead or damaged roots from bare-root crowns using sterile pruners. Soak roots in water for 30 minutes before planting. Create a cone-shaped mound of soil in the center of the planter. Spread roots evenly over the mound, positioning the crown (the point where roots meet stem) precisely at soil level. Burying the crown invites rot; exposing it causes dehydration.
Pro Tip: Space crowns 8 to 10 inches apart in standard planters, 6 inches apart in vertical pocket systems. Overcrowding reduces airflow and invites powdery mildew and botrytis infections.
Phase 3: Initial Watering and Mulching (Days 2 to 3)
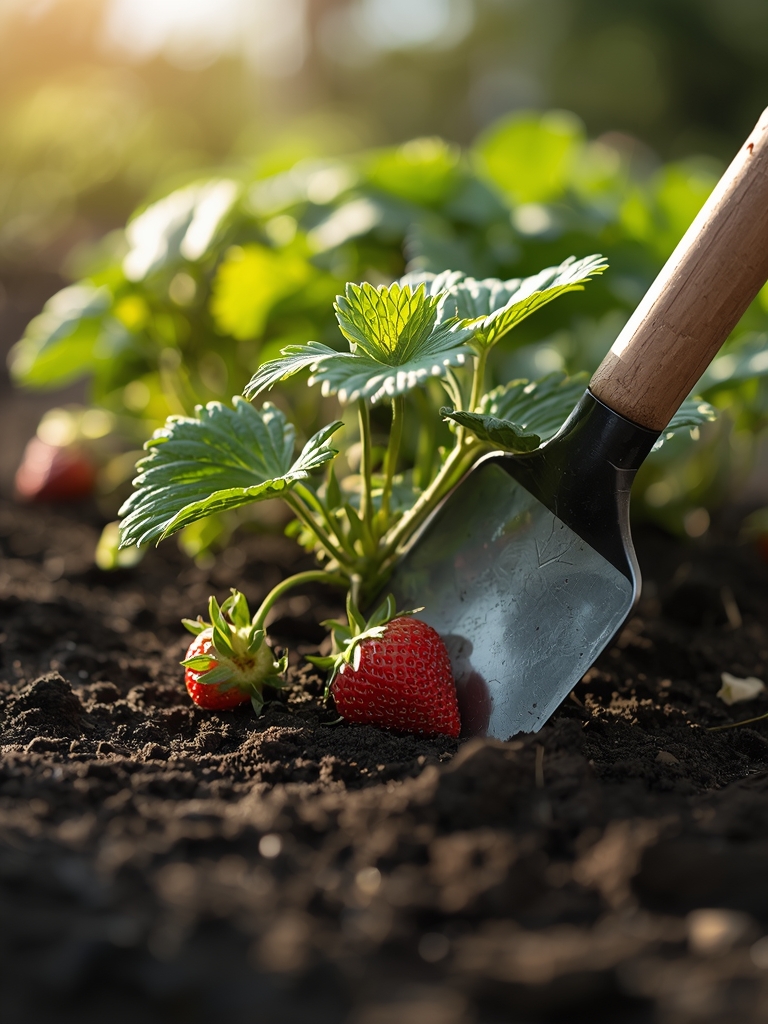
Water deeply until liquid drains from bottom holes. This settles soil and eliminates remaining air gaps. Apply 2 inches of straw or pine needle mulch around plants, keeping material 1 inch away from crowns. Mulch moderates soil temperature, conserves moisture, and keeps ripening berries off damp soil (reducing slug damage and fruit rot).
Pro Tip: Remove all flower buds for the first 6 weeks after planting. This practice redirects energy into root establishment and runner production, tripling next season's harvest potential.
Phase 4: Feeding Schedule Establishment (Weeks 2 to 4)
Begin liquid feeding 2 weeks after planting. Use half-strength balanced fertilizer (such as 10-10-10) every 10 days. Once flowering begins, switch to bloom-booster formulas with higher phosphorus (such as 5-10-5) to support fruit set. Avoid high-nitrogen feeds during flowering, as they produce lush leaves but minimal berries.
Pro Tip: Foliar feed with diluted fish emulsion (1 tablespoon per gallon) during early morning hours. Leaves absorb nutrients faster than roots, giving plants an immediate growth boost without salt buildup in containers.
Nutritional & Environmental Benefits
Fresh strawberries contain 149% of daily vitamin C requirements per cup, plus significant manganese, folate, and anthocyanins (powerful antioxidants linked to cardiovascular health). Container strawberries produce fruit with 15% higher Brix levels (sugar content) than commercial field berries picked underripe for shipping.
Strawberry flowers attract Mason bees and native pollinators at rates 40% higher than ornamental flowers. These solitary bees pollinate earlier in cool spring weather when honeybees remain inactive. A single patio with three strawberry planters can support a neighborhood pollinator population, increasing fruit set in nearby vegetable gardens by 25%.
The shallow root systems make strawberries ideal for teaching children about plant biology and seasonal cycles. Families that grow edibles together consume 37% more fresh produce than non-growing households, according to agricultural extension research.
Advanced Methods
Small Space Solutions:
Vertical pocket planters mounted on south-facing walls maximize production in urban settings. A 6-foot tower accommodates 18 to 24 plants in a 2-square-foot footprint. Install drip irrigation at the top; gravity distributes water to lower pockets. Rotate towers 180 degrees weekly for even sun exposure.
Organic & Permaculture Approaches:
Incorporate nitrogen fixation by interplanting with white clover in larger containers (24-inch diameter minimum). Clover feeds soil while suppressing weeds. Apply compost tea every 3 weeks instead of synthetic fertilizers. Brew for 24 hours with bubbler, strain, and dilute 1:4 before application.
Season Extension Techniques:
Move containers into unheated garages or cold frames when nighttime temperatures drop below 28°F. Strawberry crowns survive to 20°F but fruit production stops at 32°F. In spring, start containers 3 weeks early by placing against heat-absorbing brick walls with southern exposure.
Troubleshooting
Symptom: Leaves turn yellow with green veins (interveinal chlorosis).
Solution: Iron deficiency caused by alkaline pH. Apply chelated iron according to package rates. Amend soil with sulfur to lower pH to 6.0 to 6.5 range.
Symptom: Fruit remains small and tasteless despite regular watering.
Solution: Insufficient phosphorus during flowering. Apply bone meal (3 tablespoons per planter) or switch to 5-10-5 fertilizer. Ensure 6+ hours direct sun daily.
Symptom: Black spots on leaves, fuzzy gray mold on berries.
Solution: Botrytis cinerea (gray mold) from poor air circulation or overhead watering. Remove infected material. Water at soil level only. Space plants wider. Apply organic sulfur dust in humid conditions.
Symptom: Runners grow aggressively but few flowers appear.
Solution: Excessive nitrogen. Stop feeding for 3 weeks. Pinch off runners to redirect energy. Resume with low-nitrogen, high-phosphorus formula (2-10-5).
Symptom: Wilting plants despite moist soil.
Solution: Root rot from overwatering or poor drainage. Check for sour smell in root zone. Improve drainage with additional perlite. Reduce watering frequency. Discard severely affected plants to prevent spread.
Storage & Maintenance
Watering Protocol:
Container strawberries require 1 to 1.5 inches of water per week, delivered through deep soakings rather than frequent shallow sprinkles. Insert finger 2 inches into soil; water when top layer feels dry. Morning irrigation allows foliage to dry before nightfall, reducing disease pressure.
Feeding Schedule:
- Weeks 1 to 6: Half-strength balanced fertilizer every 10 days
- Flowering through harvest: Bloom-booster formula (5-10-5) every 7 to 10 days
- Post-harvest: Resume balanced feed monthly to strengthen plants for winter
Runner Management:
Pin 2 to 3 runners per mother plant into adjacent soil to create daughter plants. Sever connection once daughters establish (4 to 6 weeks). Excess runners drain energy; remove promptly.
Winterization:
In Zones 6 and colder, move containers to unheated spaces after first hard frost. Mulch heavily with straw (6 inches). Water monthly to prevent desiccation. Return outdoors after last spring frost.
Harvest & Storage:
Pick berries when fully red with no white shoulders. Morning harvest yields firmest fruit. Store unwashed in single layers for 5 to 7 days at 32°F to 36°F. Wash just before eating. Freeze extras on parchment-lined trays, then transfer to bags (maintains texture better than bag-freezing).
Conclusion
The success blueprint for container strawberries boils down to three fundamentals: proper crown positioning at soil level, consistent moisture without waterlogging, and strategic nutrient timing that prioritizes roots first and fruit second. These practices transform ordinary planters into production systems that rival commercial yields per square foot. Share your harvest photos with local gardening groups or donate surplus berries to food banks; fresh produce strengthens community bonds while inspiring others to grow their own.
Expert FAQs
How many strawberry plants fit in a 12-inch container?
Plant 3 to 4 crowns maximum in a standard 12-inch pot. Overcrowding reduces airflow, increases disease risk, and cuts individual plant yield by 40%. Use tiered planters for higher density without compromising health.
Do strawberries need full sun in containers?
Yes. Minimum 6 hours direct sunlight daily for adequate fruit production. Partial shade (4 to 5 hours) produces more leaves, fewer berries, and lower sugar content. South-facing locations yield 30% more fruit than east-facing spots.
Can I reuse potting soil from last year's strawberry planter?
Reusing soil risks carrying over verticillium wilt and other pathogens. If plants showed no disease symptoms, refresh by removing top 3 inches, mixing in 20% fresh compost, and adding mycorrhizal inoculant. Replace entirely every 3 years.
When should I remove strawberry flowers?
Remove all flowers for 6 weeks after spring planting to establish strong root systems. For fall-planted crowns, remove flowers until the following spring. Established plants (second season onward) can fruit immediately.
How do I know if my strawberry variety is everbearing or June-bearing?
Check plant tags or catalog descriptions. June-bearing types produce one large crop in late spring. Everbearing varieties flower and fruit in 2 to 3 waves from late spring through fall. Day-neutral types fruit continuously once established, regardless of day length.