10 Best Outdoor Floor Tiles for Patios
The scent of petrichor rising from a sun-baked terrace signals the intersection of geology and horticulture. Choosing the best outdoor floor tiles for patios requires more than an aesthetic eye; it demands an understanding of thermal mass and slip resistance ratings. A patio functions as a literal extension of the rhizosphere, where the structural integrity of the ground must support both human traffic and the hydrostatic pressure of the surrounding soil. Selecting a material with a low absorption rate ensures that the substrate remains stable during freeze-thaw cycles, preventing the buckling that disrupts root zones.
Materials:
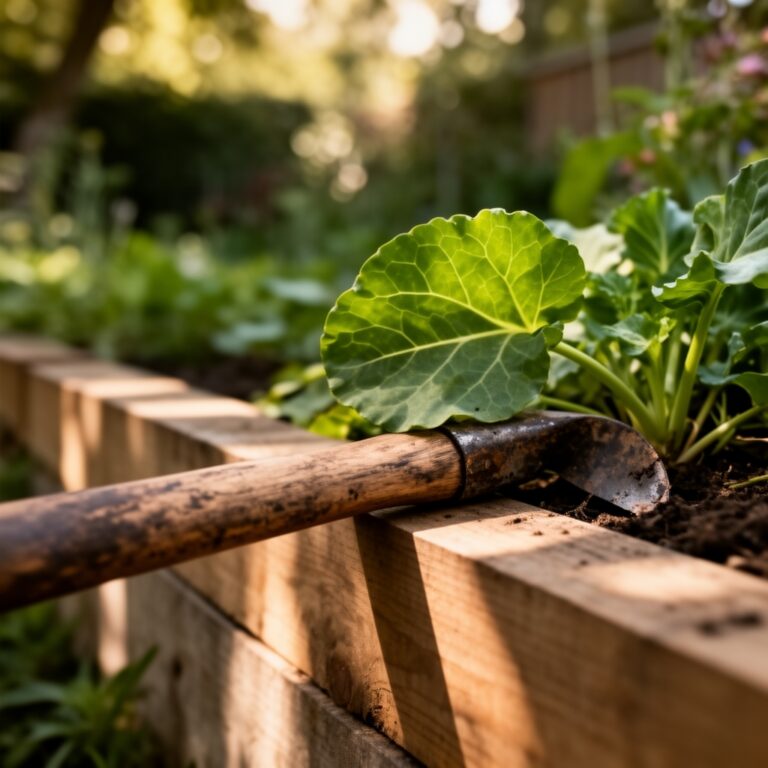
Installing the best outdoor floor tiles for patios begins with the substrate. You must achieve a **friable loam** consistency in the surrounding beds to ensure drainage away from the tile base. The soil pH should be calibrated to **6.2 to 6.8** for most temperate perennials flanking the stone. Before laying the base, incorporate a balanced **10-10-10 NPK ratio** into the transition zones to support immediate root establishment. High **Cation Exchange Capacity (CEC)** in the soil ensures that nutrients like potassium and magnesium remain available despite the alkaline runoff often associated with concrete pavers or mortar.
- Porcelain Pavers: These are fired at temperatures exceeding 2,200 degrees Fahrenheit, resulting in a water absorption rate of less than 0.5 percent.
- Natural Slate: High in metamorphic density, slate offers a natural cleft surface that provides superior traction.
- Travertine: A calcareous rock that remains cool under high solar radiation due to its low thermal conductivity.
- Granite: Boasts a high compressive strength, typically exceeding 19,000 psi, making it impervious to heavy planters.
- Limestone: Best for alkaline-loving plants; however, it requires sealing to prevent acid rain erosion.
- Sandstone: Highly porous; requires a well-compacted sub-base of crushed 21A gravel.
- Quarry Tile: Unglazed and dense; provides a classic terracotta profile with better frost resistance.
- Concrete Pavers: Versatile and cost-effective, with a high CO2 footprint but excellent dimensional stability.
- Soapstone: Naturally non-porous and resistant to chemical staining from organic fertilizers.
- Flagstone: Irregular shapes that allow for "steppable" groundcovers like Thymus serpyllum in the joints.
Timing:
Hardiness Zones 4 through 9 dictate the window for patio installation and the subsequent planting of the perimeter. The ideal window opens when the soil temperature consistently reaches 55 degrees Fahrenheit, typically two weeks after the last spring frost. This timing aligns with the "Biological Clock" of most temperate species, moving from winter dormancy into the vegetative stage. Avoid heavy construction during the peak of summer to prevent transpiration stress in nearby specimens. Fall installations are viable until the ground freezes, provided the mortar or polymeric sand has 48 hours to cure above 40 degrees Fahrenheit.
Phases:

Sowing the Perimeter
When establishing the green border around your tiles, sow seeds at a depth exactly three times their diameter. Ensure the soil is moist but not saturated to prevent damping-off.
Pro-Tip: Utilize mycorrhizal symbiosis by inoculating the soil with fungal spores. This increases the root surface area, allowing plants to scavenge phosphorus more efficiently from the edges of the patio.
Transplanting into the Hardscape
When moving container-grown plants into the pockets between tiles, maintain the same soil line to avoid stem rot. Dig the hole twice as wide as the root ball to encourage lateral expansion.
Pro-Tip: Suppress auxin production in the terminal buds by lightly pinching back the growth tips. This redirects energy to the root system, ensuring the plant anchors firmly against the hardscape.
Establishing the Microclimate
The best outdoor floor tiles for patios create a heat sink that alters the local photoperiod effect. Monitor the turgor pressure of leaves daily during the first three weeks of establishment.
Pro-Tip: Observe phototropism in your plantings. Plants near light-colored tiles may experience "bounce-back" light, requiring you to rotate them or prune to prevent lopsided growth toward the reflected energy.
The Clinic:
Physiological disorders often manifest at the intersection of stone and soil.
- Symptom: Interveinal chlorosis (yellow leaves with green veins). Solution: This indicates a high pH caused by lime leaching from the tile mortar. Apply elemental sulfur to lower the pH.
- Symptom: Leaf Scorch (browning of leaf margins). Solution: This is a result of high radiant heat from dark tiles. Increase irrigation frequency to maintain turgor pressure.
- Symptom: Stunted growth and purple undersides. Solution: This is a Phosphorus deficiency. Incorporate bone meal or a 0-20-0 NPK fertilizer into the rhizosphere.
- Symptom: Nitrogen chlorosis (uniform yellowing of old leaves). Fix-It: Apply a quick-release high-Nitrogen liquid fertilizer to restore chlorophyll production.
Maintenance:
Precision is the hallmark of a healthy patio ecosystem. Deliver 1.5 inches of water per week at the drip line of all perimeter plants. Use a soil moisture meter to verify that the moisture has penetrated 6 inches deep, past the gravel sub-base of the tiles. For pruning woody perennials near the stone, use bypass pruners to ensure clean cuts that heal without inviting pathogens. When weeds emerge in the tile joints, use a hori-hori knife to extract the entire taproot, preventing regrowth from residual rhizomes. Inspect the grout lines annually; any cracking can lead to water infiltration that disrupts the cation exchange in the soil below by causing localized anaerobic conditions.
The Yield:
If your patio includes edible containers or herb pockets, harvest during the early morning when turgor pressure is at its peak. Use sharp shears to avoid tearing the vascular tissue. For herbs like rosemary or thyme growing between tiles, never harvest more than one-third of the plant at once to prevent senescence. Post-harvest, submerge the cuttings in cold water immediately to maintain "day-one" freshness and slow the metabolic breakdown of essential oils.
FAQ:
Which patio tile is most durable for cold climates?
Porcelain tiles are the most durable for cold climates. Their water absorption rate is below 0.5 percent, which prevents the freeze-thaw expansion that cracks natural stone or ceramic. They withstand temperatures well below zero degrees Fahrenheit.
How do I prevent patio tiles from becoming slippery?
Select tiles with a Coefficient of Friction (COF) rating of 0.60 or higher. Textured surfaces like flamed granite, natural slate, or R11-rated porcelain provide the necessary mechanical grip to prevent slips when the surface is wet.
Can I lay patio tiles directly on soil?
No. Tiles require a compacted base of 4 to 6 inches of crushed stone followed by a 1-inch sand setting bed. Direct soil contact leads to uneven settling, poor drainage, and certain tile failure due to soil movement.
What is the best tile for a high-sun patio?
Travertine or light-colored porcelain are ideal. These materials have high solar reflectance and low thermal mass, meaning they do not absorb and radiate heat as intensely as dark slate or granite, protecting nearby plant roots.