8 Soil-Prep Steps for Repotting a Root-Bound Spider Plant
The scent of damp, anaerobic peat signals a root system in distress. When a spider plant (Chlorophytum comosum) becomes root-bound, its thick, tuberous roots press against the container walls, displacing the substrate and reducing the available oxygen in the rhizosphere. You will feel the loss of turgor pressure in the leaves; they turn pale and limp as the vascular system struggles to move water against the resistance of a compacted root ball. Following the correct steps for repotting a spider plant ensures the restoration of hydraulic conductivity and nutrient uptake. A healthy specimen should exhibit firm, arching foliage with a deep green or variegated luster, supported by a root system that occupies no more than 70 percent of the pot volume. Neglecting this transition leads to leaf tip necrosis and stunted growth as the plant exhausts its limited mineral reserves. Success depends on precision timing and the application of a substrate that balances moisture retention with high porosity to prevent the onset of root rot in the newly expanded space.
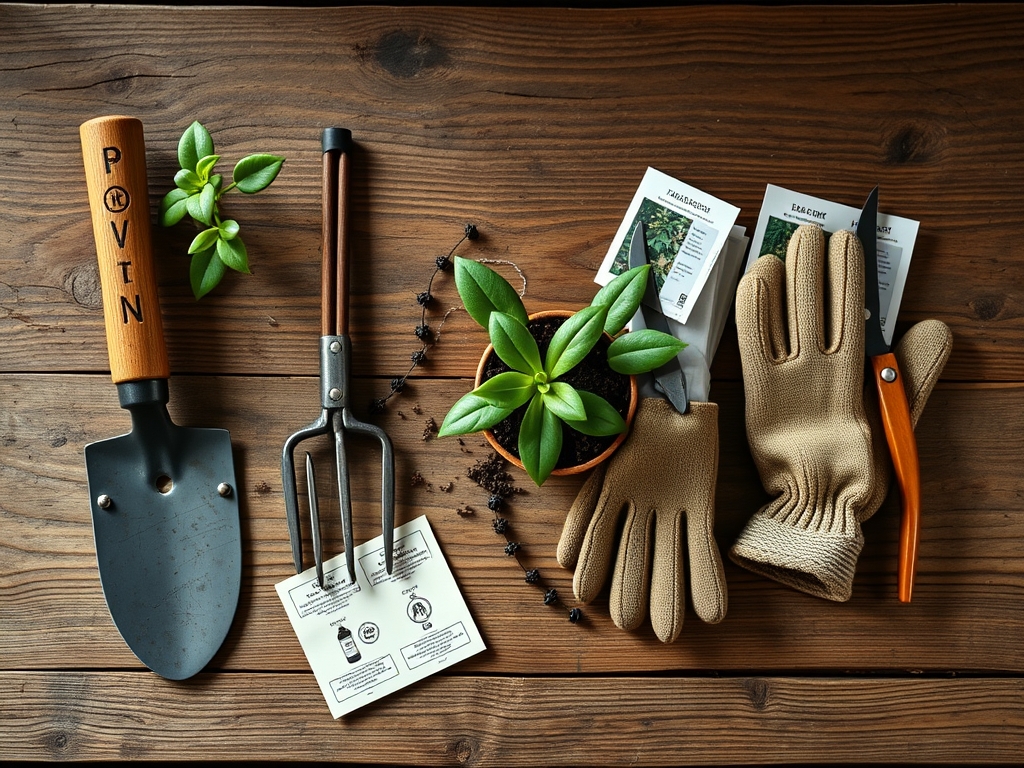
Materials:
The substrate must be a friable loam with high aggregate stability to prevent compaction over time. Aim for a soil pH between 6.0 and 7.2. The base mix should consist of two parts sterilized peat moss or coconut coir, one part perlite for aeration, and one part pine bark fines to increase the Cation Exchange Capacity (CEC).
For the initial potting phase, integrate a slow-release fertilizer with an NPK ratio of 3-1-2. This specific ratio provides sufficient nitrogen for vegetative expansion without inducing the salt toxicity that often causes brown leaf tips. Ensure the new container is only 1 to 2 inches wider in diameter than the previous vessel. Using a pot that is too large creates a "perched water table" where the excess soil remains saturated, leading to opportunistic fungal pathogens. The physical texture should be gritty to the touch; when squeezed, the damp soil should form a loose ball that shatters easily when poked.
Timing:
Spider plants are typically hardy in USDA Zones 9 through 11, but as indoor specimens, they are governed by the photoperiod and ambient temperature. The ideal window for repotting is during the early spring, specifically between March and May. This coincides with the transition from the winter semi-dormancy to the active vegetative stage.
During this "Biological Clock" shift, the plant increases its production of auxins, the hormones responsible for root initiation and elongation. Repotting during this window allows the root system to colonize the new substrate before the high-stress heat of mid-summer. Avoid repotting during the reproductive stage when the plant is actively producing "pups" or spiderettes on long stolons. Energy diverted to flowering and asexual reproduction reduces the plant's ability to recover from the mechanical stress of root manipulation.
Phases:

Sowing and Preparation
Before extraction, hydrate the plant 24 hours in advance to ensure maximum turgor in the root cells. This reduces the risk of brittle roots snapping during the transition. Use a hori-hori knife to slide along the inner perimeter of the pot, severing any root hairs bonded to the surface. Gently invert the plant, supporting the crown with your palm, and allow gravity to assist the removal.
Pro-Tip: Maintaining high cell turgor prevents "transplant shock" by ensuring the stomata remain functional, allowing for continuous gas exchange during the move.
Transplanting and Root Pruning
Once the plant is removed, inspect the root mass. If the roots are circling the base in a tight "bird's nest" pattern, use sterilized bypass pruners to make three to four vertical slices into the root ball. This mechanical disruption breaks apical dominance in the roots, stimulating lateral branching into the new soil. Center the plant in the new pot, ensuring the crown sits 0.5 inches below the rim to allow for localized watering.
Pro-Tip: Slicing the outer roots triggers a wound response that floods the area with cytokinins; these hormones promote cell division and rapid colonization of the new rhizosphere.
Establishing the Specimen
Fill the voids with your prepared substrate, tamping down lightly with your fingers to eliminate large air pockets. Do not pack the soil tightly; doing so collapses the macropores necessary for oxygen diffusion. Water the plant until the effluent runs clear from the drainage holes. This initial saturation settles the soil particles against the roots, establishing the necessary capillary action for future hydration.
Pro-Tip: Immediate watering after repotting creates a "hydraulic bridge" between the old root ball and the new substrate, preventing the roots from desiccating in air gaps.
The Clinic:
Symptom: Interveinal Chlorosis
Solution: This is often a sign of Magnesium deficiency or a pH imbalance blocking nutrient uptake. Test the soil pH. If it is above 7.5, the plant cannot access metallic ions. Lower the pH using a dilute solution of elemental sulfur or aluminum sulfate.
Symptom: Tip Burn (Necrosis)
Solution: This is caused by the accumulation of fluoride and boron salts commonly found in tap water. Flush the substrate with distilled or deionized water equivalent to three times the volume of the pot. Moving forward, use filtered water to prevent salt buildup in the leaf distal ends.
Symptom: Root Rot (Soft, Black Roots)
Solution: This indicates a lack of oxygen in the substrate. Remove the plant, prune away the necrotic tissue, and repot into a mix with 40 percent perlite or pumice to increase the air-filled porosity.
Fix-It: Nitrogen Chlorosis
If the older leaves are turning a uniform pale yellow, the plant is scavenging nitrogen to support new growth. Apply a water-soluble fertilizer at half-strength (150 ppm Nitrogen) every two weeks until the color returns to a deep green.
Maintenance:
Precision hydration is the cornerstone of post-repotting care. Use a soil moisture meter to monitor the internal environment. The plant requires a "dry-down" period where the top 1.5 inches of soil feel dry to the touch before the next irrigation cycle. In a standard 6 inch pot, this typically equates to 8 to 12 ounces of water per week.
Position the plant in a location receiving 200 to 400 foot-candles of indirect light. Use your bypass pruners to remove any yellowing or senescent leaves at the base to prevent botrytis or other fungal infections. Avoid placing the plant near HVAC vents, as the rapid air movement increases the transpiration rate beyond what the new root system can support.
The Yield:
While the spider plant is not an edible crop, its "yield" consists of the plantlets produced on stolons. To harvest these for propagation, wait until the plantlet has developed at least four to five visible root nodes at its base. Use a sharp blade to sever the stolon. To maintain "day-one" freshness and ensure a high strike rate, immediately place the plantlet into a high-CEC propagation medium or a vessel of dechlorinated water. The mother plant will continue to produce these clones as long as it receives consistent phosphorus levels and appropriate day-length triggers.
FAQ:
How do I know it is time to repot?
Visible roots protruding from drainage holes or the soil surface indicate the plant has reached maximum capacity. If water runs straight through the pot without soaking in, the root-to-soil ratio is too high, necessitating larger quarters.
Can I use standard potting soil?
Standard soil often lacks the necessary drainage for Chlorophytum. Amend any commercial mix with 25 percent perlite to ensure the oxygen diffusion rate remains high enough to prevent root senescence and opportunistic fungal infections in the rhizosphere.
Should I fertilize immediately after repotting?
Wait four to six weeks before applying liquid fertilizer. The fresh substrate contains a baseline of minerals, and the root system needs time to repair mechanical damage before it can safely process high concentrations of synthetic salts.
Why are the leaves turning brown after moving?
This is likely transplant shock or salt sensitivity. Ensure you are using distilled water and that the plant is not in direct, high-intensity sunlight. Maintain consistent humidity around the foliage to reduce the transpirational load on the roots.