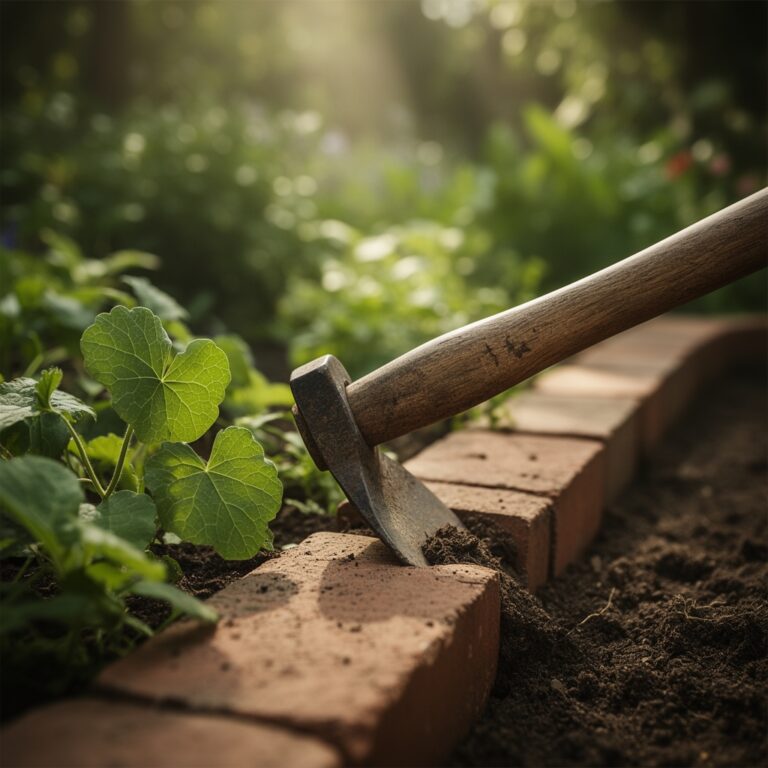
9 Tips to Use a Trenching Spade for Irrigation Lines
The blade sinks six inches into clay-loam before resistance tells you the subsoil has arrived. Using a trenching spade for irrigation lines transforms what would otherwise require a rented trencher or backbreaking hours with a standard shovel into a methodical, controlled excavation. The long, narrow profile of a trenching spade cuts clean walls, preserves root zones of adjacent plantings, and allows precise depth control essential for gravity-fed drip systems or pressurized PVC laterals.
Materials
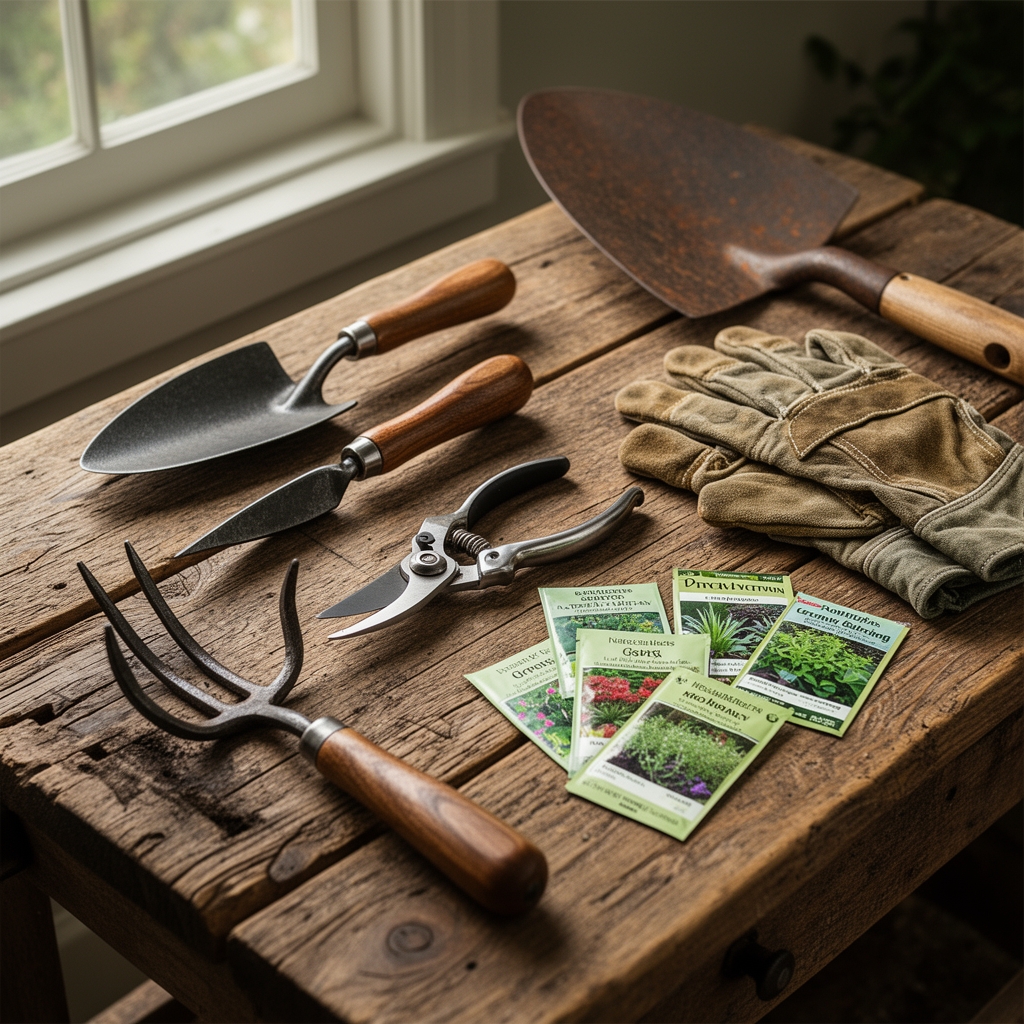
Select a trenching spade with a blade length of 14 to 18 inches and a width of 4 to 6 inches. High-carbon steel blades maintain edge geometry through rocky soils better than stamped sheet metal. A D-grip handle provides leverage when prying sidewalls.
Mark trench routes with mason's twine and landscape marking paint. For soils with pH below 6.0, incorporate dolomitic limestone at 5 pounds per 100 square feet to stabilize sidewall integrity. Sandy soils benefit from a 2-4-3 NPK slow-release granular blend applied six weeks prior to excavation, encouraging root mass that binds trench edges.
Pack a soil probe to verify depth without repeated manual measurement. A 36-inch fiberglass tape measure clips to belt loops for quick reference. Wheelbarrows with a 6-cubic-foot capacity transport spoil efficiently. Polyethylene sheeting (4 mil thickness) protects turf when stockpiling excavated material.
Timing
Plan trenching operations for USDA Hardiness Zones 3 through 10 during windows when soil moisture content sits between 15 and 25 percent by volume. Overly wet clay soils smear and collapse. Bone-dry ground demands excessive force and dulls blades rapidly.
In Zones 3 through 5, trench after the final spring frost date but before June, when perennial root growth peaks. Avoid disturbing established irrigation during the 90-day active growing window. Zones 6 through 8 offer flexibility from late March through October, excluding July and August when heat stress complicates replanting near trenches.
Zones 9 and 10 require scheduling around monsoon patterns. Trench during the dry season, typically November through April, when soil structure remains stable. Avoid December and January only if frost heave occurs in microclimates above 1,500 feet elevation.
Phases

Sowing the Trench
Drive the spade vertically to the target depth of 8 to 12 inches for drip lines, 12 to 18 inches for mainline PVC. Step fully onto the shoulder lugs to achieve maximum penetration per thrust. Extract soil by rocking the handle back 30 degrees, levering against the blade's fulcrum point. Place spoil on the downhill side to prevent backfill from washing into the open trench during rain events.
Pro-Tip: Score the trench path with a single blade-width pilot cut before full excavation. This pre-cut severs lateral roots cleanly, reducing auxin disruption in nearby ornamentals and minimizing dieback.
Transplanting Pipe
Unroll irrigation tubing along the trench, allowing 2 percent slack per 100 feet to accommodate thermal expansion. For rigid PVC, apply primer and solvent cement in sub-60-degree conditions only after warming fittings to 70 degrees with a heat gun. Cold joints fail at 40 psi within eighteen months.
Bed pipe on a 1-inch layer of washed concrete sand where soil contains coarse gravel or caliche fragments. Sand cushioning prevents abrasion punctures and distributes load. Backfill in 3-inch lifts, tamping each layer with the spade blade held flat. Avoid driving full body weight onto pipe until 6 inches of cover exists.
Pro-Tip: Inoculate backfill with mycorrhizal fungi spores at 1 ounce per 10 linear feet. Hyphal networks recolonize disturbed soil within 40 days, restoring cation exchange capacity and reducing subsidence by 15 percent.
Establishing Surface Integrity
Overfill the trench 1 inch above grade to compensate for settling over the first six months. Tamp the final lift with a hand tamper applying 25 pounds per square foot. Rake the surface to match existing grade, then water to field capacity at 1 inch per application.
Seed trench lines with a perennial ryegrass blend at 8 pounds per 1,000 square feet if installation occurs during the growing season. Ryegrass germinates in 7 days, binding soil ahead of winter freeze-thaw cycles. For dormant-season work, apply erosion-control netting with 0.5-inch openings staked every 4 feet.
Pro-Tip: Top-dress with compost screened to 0.25 inches, applied at 0.5 cubic feet per linear foot. Microbial activity accelerates aggregation, achieving 85 percent of original soil structure within 90 days.
Troubleshooting
Symptom: Trench walls collapse during excavation in sandy loam.
Solution: Insert temporary plywood shoring every 4 feet. Wet sand has insufficient cohesion below 8 inches. Excavate in 2-foot sections, installing pipe and backfilling immediately before advancing.
Symptom: Blade binds in clay at 10-inch depth.
Solution: Sharpen the blade to a 20-degree bevel using a 10-inch mill file. Spray cutting edge with silicone lubricant every 6 feet of trench. Clay adhesion drops 40 percent with proper edge treatment.
Symptom: Roots from mature trees block trench path.
Solution: Reroute trench to maintain a distance of 1.5 times the tree's drip-line radius. Severing structural roots larger than 2 inches in diameter triggers decay fungi and wind-throw risk. Use a root saw for clean cuts on unavoidable intersections.
Symptom: Backfilled trench settles 3 inches after irrigation activation.
Solution: Re-excavate and compact in 2-inch lifts at 90 percent Proctor density using a plate compactor. Subsidence indicates inadequate tamping. Water each lift to near-saturation before adding the next layer.
Symptom: Newly planted sod along trench yellows within two weeks.
Solution: Nitrogen lockup from decomposing organic matter in backfill. Apply ammonium nitrate at 0.5 pounds per 100 square feet, watered in immediately. Supplement with foliar iron chelate at 2 ounces per gallon if chlorosis persists.
Maintenance
Inspect trench lines every 90 days during the first year. Look for depressions indicating ongoing subsidence, then add soil and tamp. Water the trench zone at 1 inch per week during establishment, measured with rain gauges placed at 25-foot intervals.
Avoid vehicular traffic over trenches for twelve months. Soil bulk density requires four seasonal cycles to approach pre-disturbance levels. Mark trench routes on a property diagram with GPS coordinates for future reference.
Flush irrigation lines quarterly by opening end caps and running the system at full pressure for 10 minutes. Sediment from disturbed soil clogs emitters for up to eighteen months post-installation.
FAQ
How deep should trenches be for drip irrigation?
Install drip lines at 8 to 10 inches in Zones 3 through 6 to prevent freeze damage. Zones 7 through 10 require only 6 inches of cover.
Can I trench through existing landscape beds?
Yes, if you excavate during dormancy and sever roots cleanly. Avoid trenching within 5 feet of tree trunks or within the root flare zone.
What is the ideal trench width?
A 4-inch width accommodates 0.5-inch to 1-inch tubing with room for sand bedding. PVC mainlines up to 1.5 inches require 6-inch trenches.
How do I prevent trench collapse in wet soil?
Delay excavation until soil moisture drops below 20 percent by volume. Insert temporary bracing if collapse begins.
Should I use the spoil as backfill?
Yes, unless contaminated with construction debris or invasive rhizomes. Screen spoil through 0.5-inch hardware cloth to remove rocks that could puncture tubing.