9 Steps to Prepare an Outdoor Faucet for Winter
When the first hard freeze arrives, an unprotected outdoor faucet can rupture within hours, sending pressurized water into exterior walls and under foundation slabs. Knowing how to prepare an outdoor faucet for winter prevents catastrophic property damage and preserves irrigation infrastructure until spring. The expansion coefficient of frozen water exceeds the tensile strength of brass, copper, and PVC by significant margins, making winterization a non-negotiable task for northern gardeners and property managers.
Materials
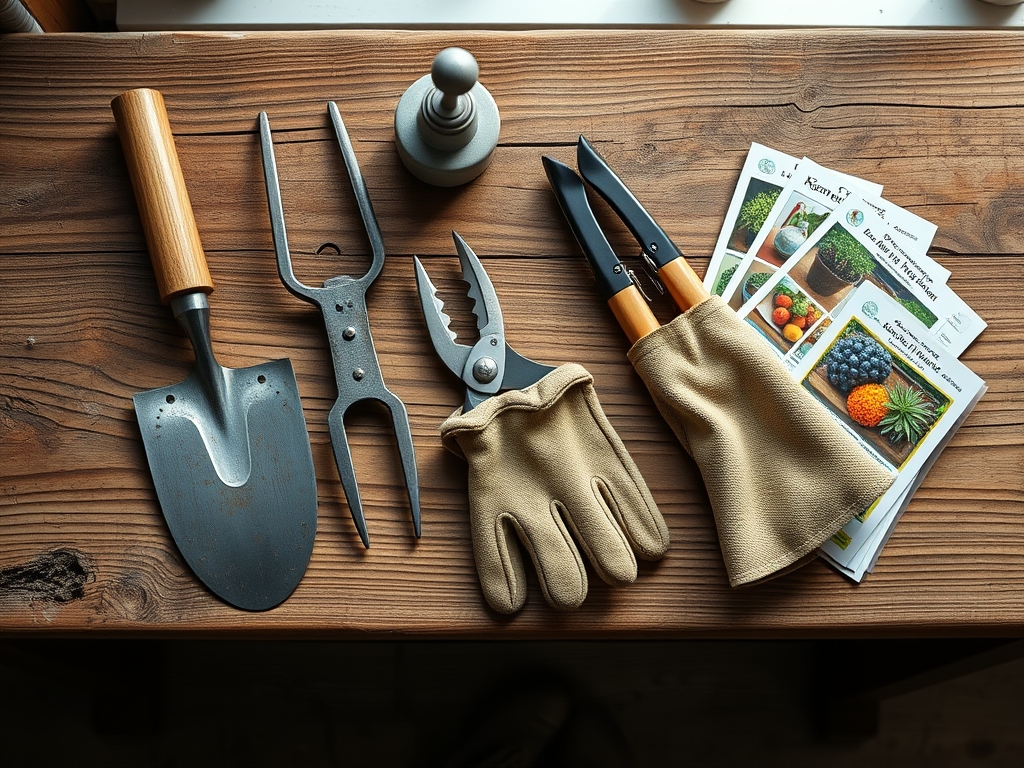
Gather these components before the first frost advisory:
Drainage Tools
- Adjustable wrench (8-inch minimum span)
- Bucket or basin (2-gallon capacity)
- Shop vacuum with hose attachment (2.5 HP or higher)
Insulation Materials
- Foam faucet cover (R-3.0 minimum rating)
- Pipe insulation tubes (closed-cell polyethylene, 1/2-inch wall thickness)
- Duct tape (aluminum-backed, 2-inch width)
Specialty Supplies
- Thread-seal tape (PTFE, 0.003-inch thickness)
- Shutoff valve lubricant (silicone-based, not petroleum)
- Weatherproof caulk (elastomeric acrylic with fungicide additive)
The pH of municipal water typically ranges from 6.5 to 8.5. This affects mineral deposition inside brass fittings. Hard water with high calcium carbonate leaves crystalline residue that complicates valve closure. In regions with acidic water (pH below 6.0), copper piping develops pinhole leaks faster under freeze-thaw cycles.
Timing
Hardiness zones dictate the winterization calendar. USDA Zone 3 gardeners must complete faucet preparation by late September. Zone 4 and 5 regions target mid-October. Zone 6 properties have until early November. Zone 7 and warmer areas may skip full winterization if overnight temperatures remain above 28 degrees Fahrenheit.
Monitor the soil temperature at 4-inch depth. Once it drops below 40 degrees, root systems enter dormancy and irrigation demand ceases. This signals the ideal window. Preparing too early wastes autumn watering opportunities. Waiting past the first freeze risks pipe damage before you act.
Phases

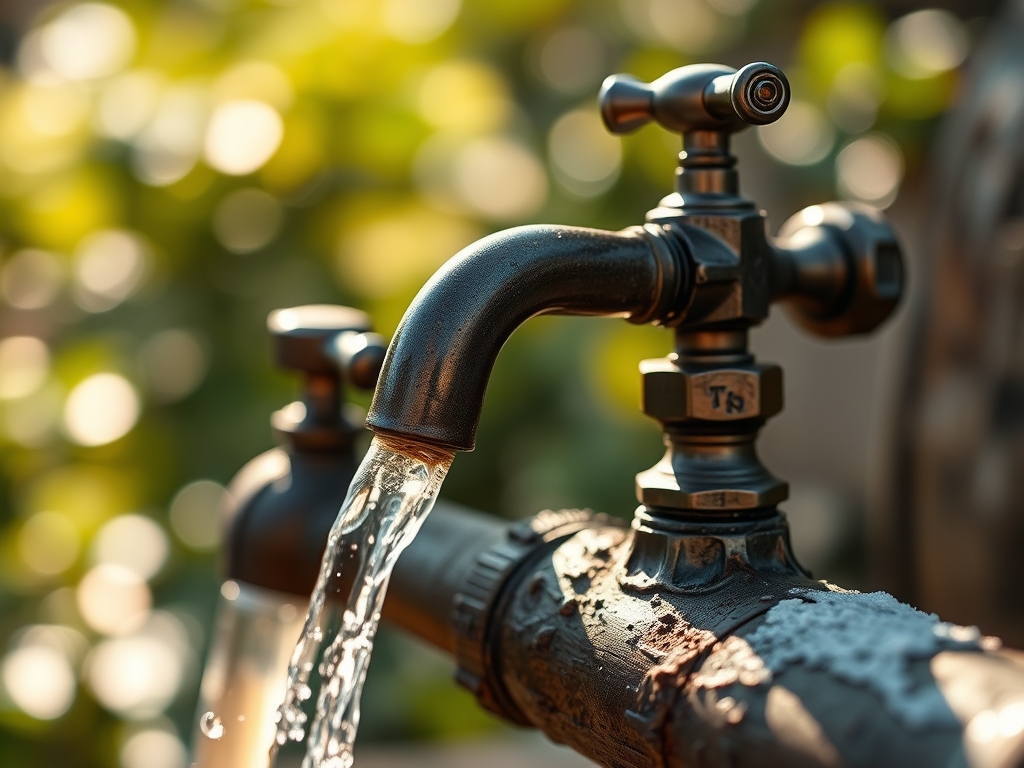
Shutoff and Drainage
Locate the interior shutoff valve that controls the outdoor faucet. Turn clockwise until fully closed. Open the exterior faucet to release residual pressure. Water will dribble, then stop. Leave the faucet in the open position throughout winter to allow expansion space.
Check for a bleeder cap on the shutoff valve. This small brass plug sits perpendicular to the pipe. Unscrew it counterclockwise over your bucket. Residual water drains from the horizontal pipe section. Replace the bleeder cap finger-tight only. Over-torquing cracks the valve body.
Pro-Tip: If no bleeder exists, disconnect the supply line at the shutoff valve union. This creates a drainage path and confirms zero water remains trapped.
Vacuum Extraction
Attach the shop vacuum hose to the outdoor faucet spout. Wrap duct tape around the connection to create an airtight seal. Run the vacuum for 60 seconds. This pulls moisture from the pipe interior that gravity drainage missed. Condensation in pipe threads can freeze and crack fittings even after apparent drainage.
For frost-free sillcocks (also called freeze-proof faucets), the vacuum step is critical. These units feature a long shaft that places the actual valve seat 12 to 18 inches inside the heated building envelope. Water trapped along this shaft expands during freezes. The vacuum removes it.
Pro-Tip: Add 2 tablespoons of propylene glycol (RV antifreeze, not automotive ethylene glycol) into the faucet before vacuuming. This non-toxic compound lowers the freezing point of residual moisture to minus 50 degrees Fahrenheit.
Insulation Installation
Slide foam faucet covers over the spigot. The dome shape deflects wind and traps a layer of still air. Secure with the attached drawstring or add a bungee cord. Verify no gaps exist where cold air can infiltrate.
Wrap exposed pipe sections with closed-cell foam tubes. Slit the tube lengthwise, press over the pipe, and seal the seam with aluminum tape. Pay special attention to unheated crawl spaces, exterior walls, and areas near foundation vents. Each linear foot of bare copper pipe loses 8 BTUs per hour at 20 degrees Fahrenheit.
Pro-Tip: Apply weatherproof caulk where the supply pipe penetrates the exterior wall. This prevents thermal bridging and blocks mice that seek warm voids during winter.
Troubleshooting
Symptom: Water continues to seep from the faucet after shutoff valve closure.
Solution: The valve washer has degraded. Disassemble the valve, inspect the rubber or neoprene washer for cracks, and replace with an exact-dimension match. Smear valve lubricant on the stem threads during reassembly.
Symptom: Ice forms on the faucet exterior despite insulation.
Solution: The shutoff valve is leaking past its seat. Even droplets create ice. Replace the entire valve or install a secondary ball valve upstream as redundancy.
Symptom: Spring reactivation yields no water flow.
Solution: Mineral scale or debris obstructed the valve or aerator. Remove the aerator screen, soak in white vinegar (5% acetic acid) for 30 minutes, scrub with a brass brush, and reinstall.
Symptom: Pipe hammer (loud banging) occurs when reopening the faucet in spring.
Solution: Air trapped in the line creates pressure shock. Open the faucet slowly over 10 seconds rather than instantly. Install a water hammer arrestor (expansion chamber) near the valve.
Maintenance
Inspect outdoor faucets monthly from November through March. Check insulation covers for displacement by wind or animals. Red squirrels and voles chew foam for nesting material. Replace damaged covers within 24 hours.
After each major thaw (sustained temperatures above 35 degrees for 48 hours), briefly open the exterior faucet to confirm the shutoff valve remains sealed. Close it immediately. This 5-second test prevents unnoticed leaks that waste water and create ice hazards.
In spring, remove insulation when soil temperature at 4-inch depth reaches 45 degrees. Gradually reopen the shutoff valve while monitoring for leaks at unions and fittings. Run the faucet for 3 minutes to flush sediment. Inspect the caulk seal annually and reapply if cracks appear.
Apply 1 cup of diatomaceous earth around the faucet base in April. This mineral powder deters carpenter ants and termites attracted to moisture-damaged wood near plumbing penetrations. Reapply after heavy rain.
FAQ
When should I winterize my outdoor faucet?
Complete winterization 2 to 3 weeks before the average first frost date for your hardiness zone. Soil temperature below 40 degrees at 4-inch depth signals readiness.
Do frost-free faucets need winterization?
Yes. While the valve seat sits inside the heated space, water in the long stem tube can freeze if the faucet slopes incorrectly or if a hose remains attached. Detach hoses and drain the stem.
Can I use my outdoor faucet during winter?
Only if you reopen the shutoff valve, use the faucet, then immediately drain and re-close the system. Each use introduces moisture that risks freezing. Limit to emergencies.
What temperature will crack my pipes?
Sustained temperatures below 20 degrees Fahrenheit for 6 hours threaten unprotected pipes. Wind chill accelerates the process. Pipes on north-facing walls freeze first.
How much does pipe burst damage cost?
The average claim for frozen pipe damage exceeds $10,000. Costs include plumbing repair, wall reconstruction, mold remediation, and lost water. Winterization requires 30 minutes and under $25 in materials.