9 Lush Steps for Repotting a Pothos for Full Vining
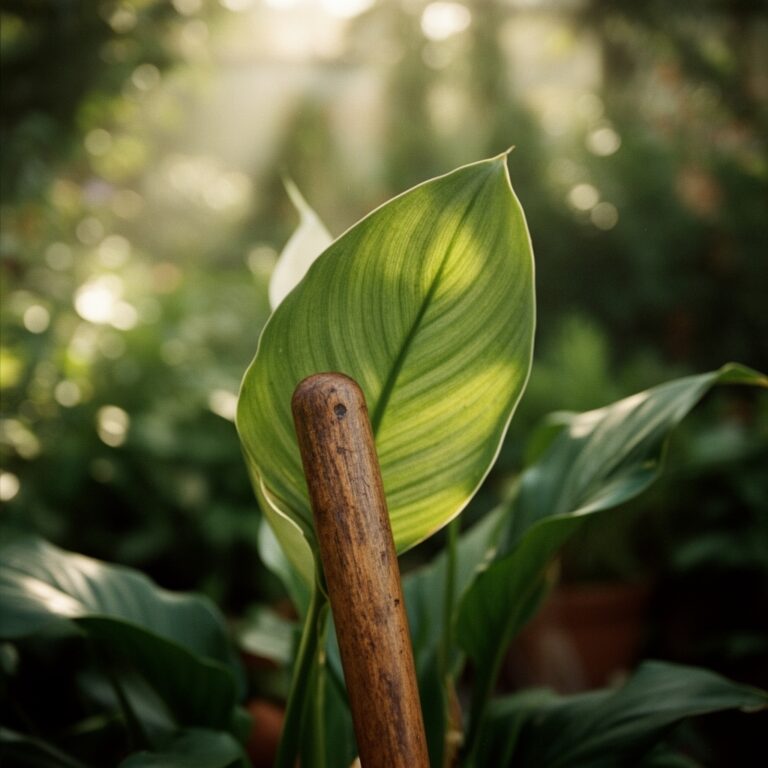
Damp earth carries a sharp, mineral scent that signals active microbial life within the rhizosphere. When a Pothos (Epipremnum aureum) reaches the limits of its container, leaf turgor pressure drops and the plant begins to prioritize survival over the elongation of its vines. Mastering the steps for repotting a pothos requires more than a simple container swap; it demands a precise recalibration of the soil environment to stimulate lateral bud activation and rapid stem extension.
Successful repotting hinges on maintaining the delicate balance between oxygen availability and moisture retention. A pothos that has become root-bound will exhibit stunted growth as the root mass consumes all available pore space, leading to anaerobic pockets and nutrient lockout. By transitioning the specimen to a larger vessel with a high Cation Exchange Capacity (CEC), you provide the chemical runway necessary for the plant to push out thick, lush foliage. This process is the foundation for achieving the cascading, floor-to-ceiling vines that define a healthy, mature specimen in a controlled indoor environment.
Materials:
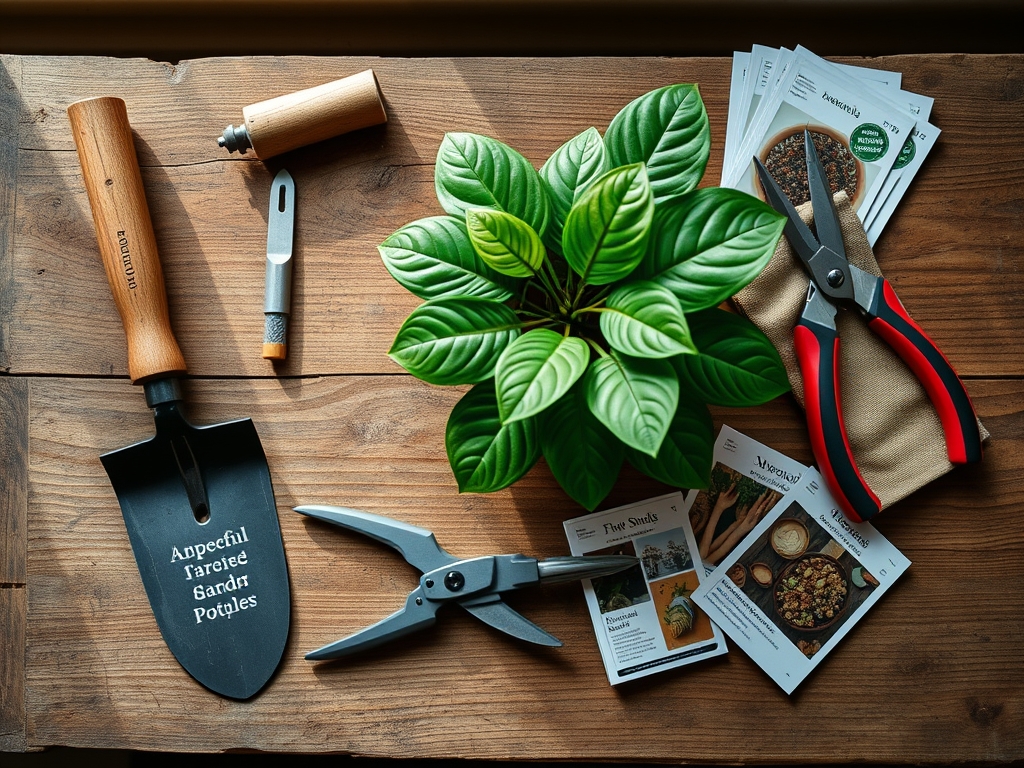
The substrate is the most critical component of the repotting process. You must create a friable loam that facilitates rapid drainage while holding sufficient ions for root uptake. Aim for a soil pH between 6.1 and 6.5 to ensure maximum bioavailability of micronutrients like iron and manganese.
The ideal potting mix consists of 40 percent coco coir or peat moss, 30 percent perlite, and 30 percent high-quality compost. For the initial repotting phase, utilize a fertilizer with an NPK ratio of 10-10-10 or a nitrogen-heavy 3-1-2 to support vegetative structural growth. Avoid heavy clay soils that collapse and suffocate the root system. Ensure your new container is only 2 inches wider in diameter than the previous one to prevent "over-potting," a condition where excess soil stays wet too long and induces root rot.
Timing:
In most temperate climates (Hardiness Zones 8 through 11), the optimal window for repotting is during the transition from late winter to early spring. This coincides with the plant's natural biological clock as it exits a period of semi-dormancy and enters a high-energy vegetative state. In colder zones, wait until the threat of frost has passed and indoor ambient temperatures consistently remain above 65 degrees Fahrenheit.
Repotting during the peak of the growing season allows the pothos to utilize increased photoperiods to repair any root damage sustained during the move. If you observe the plant entering a state of senescence, characterized by the yellowing of older leaves and a complete halt in new leaf production, it is likely that the Cation Exchange Capacity of the old soil has been exhausted. Perform the repotting immediately to reset the nutrient profile.
Phases:

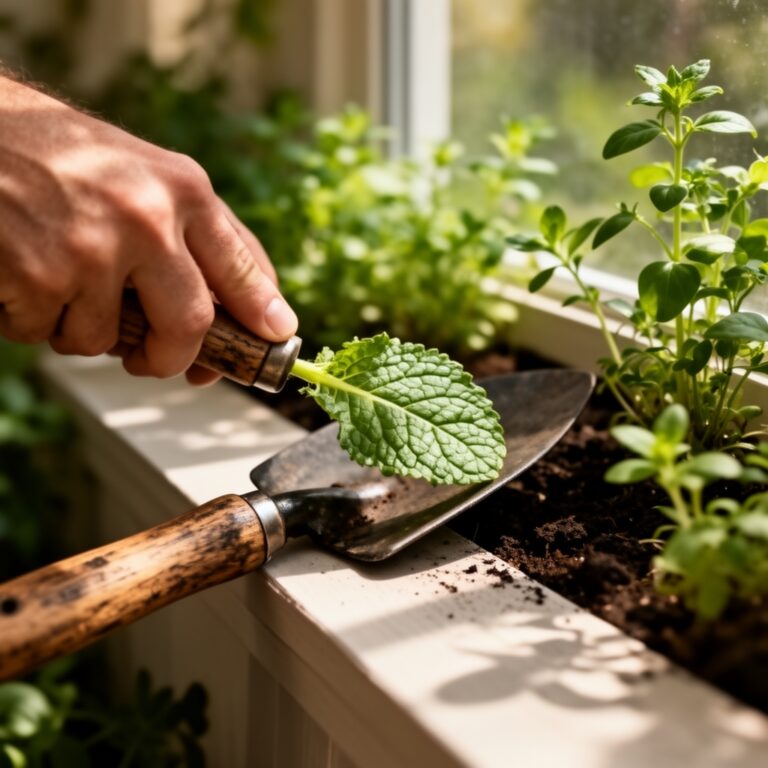
Sowing and Extraction
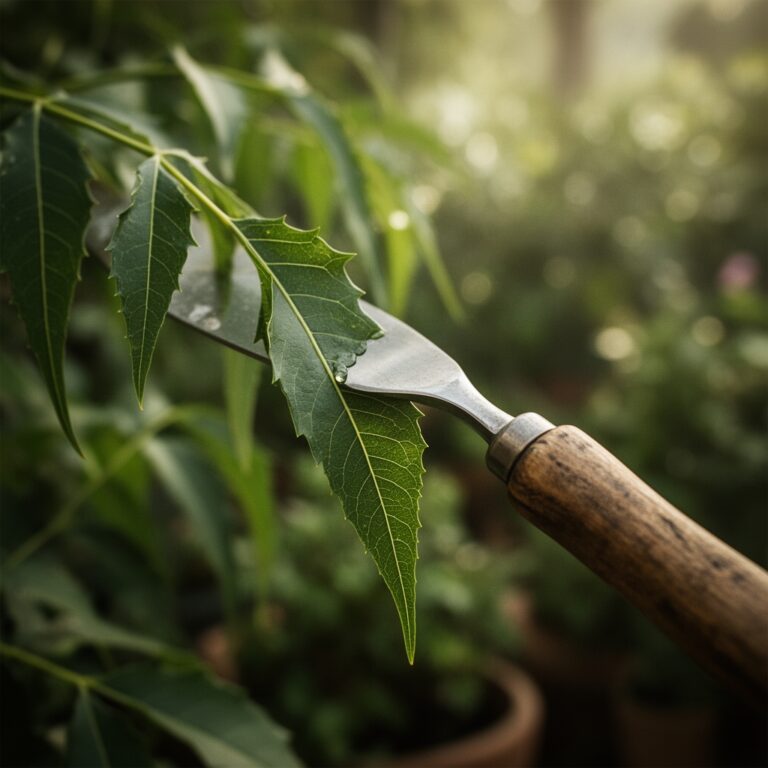
Begin by withholding water for 48 hours prior to the move. This allows the root ball to contract slightly, making it easier to slide the plant from its housing without tearing the fine root hairs. Use a hori-hori knife to circle the inner perimeter of the pot, severing any roots that have fused to the clay or plastic walls. Once the plant is free, gently tease the bottom third of the root mass to break the circular growth pattern.
Pro-Tip: Breaking the root-bound circle triggers a hormonal response. When root tips are pruned or redirected, the plant increases the production of auxins, which are transported to the apical meristems to stimulate new, vigorous vine growth.
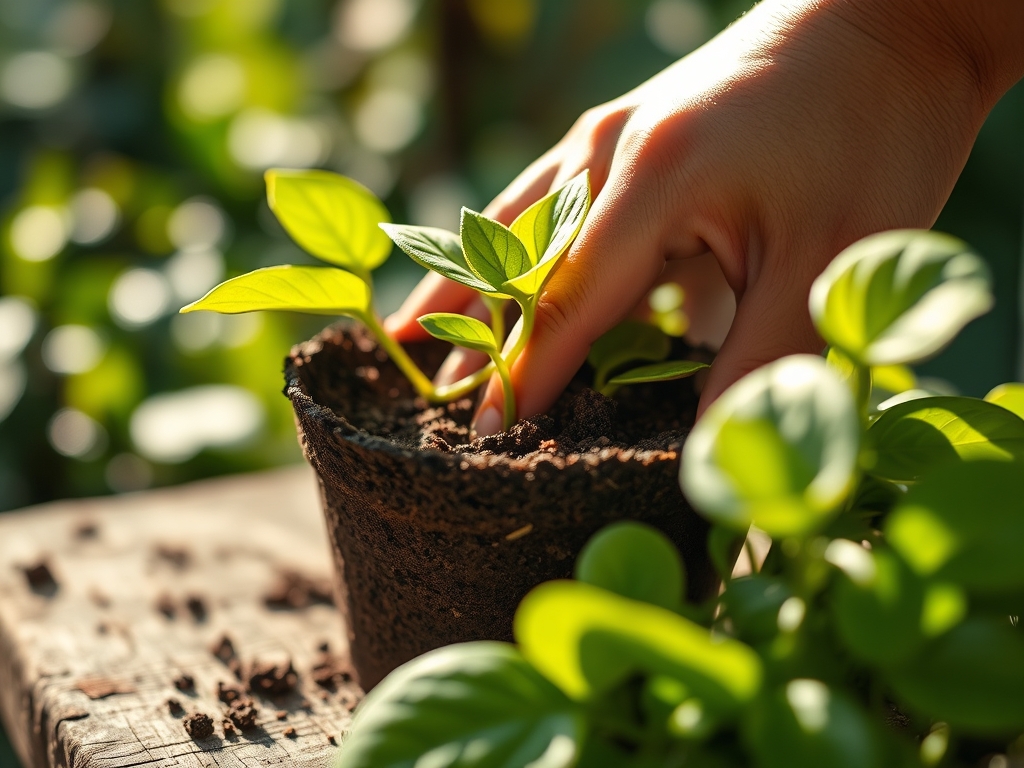
Transplanting
Place a layer of your prepared substrate in the bottom of the new pot. Position the pothos so that the top of the root ball sits 1 inch below the rim of the container. This gap, known as "headspace," is vital for efficient watering. Fill the lateral gaps with soil, tamping down lightly with your fingers to eliminate large air pockets while maintaining the "friable" nature of the mix.
Pro-Tip: Introducing a mycorrhizal inoculant during this phase creates a symbiotic relationship between the roots and beneficial fungi. This symbiosis effectively increases the root surface area by up to 100 times, allowing for superior phosphorus uptake.
Establishing
Immediately after transplanting, saturate the soil until water flows freely from the drainage holes. This "settling" water application ensures that the new soil makes direct contact with the existing root system, preventing desiccation. Place the plant in a location with bright, indirect light (approximately 150 to 250 foot-candles) to jumpstart photosynthesis without scorching the leaves.
Pro-Tip: High humidity levels (above 50 percent) during the first week post-repotting reduce the transpiration rate. This allows the plant to focus its energy on "rooting in" rather than maintaining leaf turgor against dry air.
The Clinic:
Symptom: Interveinal Chlorosis
- Cause: Nitrogen or Iron deficiency due to high pH or exhausted substrate.
- Solution: Apply a chelated iron supplement and ensure the water pH is adjusted to 6.3.
Symptom: Leaf Epinasty (Downward Curling)
- Cause: Over-saturation of the root zone leading to a lack of oxygen.
- Solution: Increase the perlite content in the mix and wait for the top 2 inches of soil to dry before the next irrigation.
Symptom: Small, Pale New Growth
- Cause: Insufficient light or Low Phosphorus.
- Solution: Move the plant closer to a light source and apply a 5-10-5 liquid fertilizer to support cellular development.
Fix-It: Nitrogen Chlorosis
If the entire leaf turns a uniform pale yellow, the plant is scavenging nitrogen from old growth to support new leaves. Apply a high-nitrogen liquid feed at half-strength every two weeks until the deep green color returns.
Maintenance:
Post-repotting care requires a disciplined approach to irrigation and pruning. Use a soil moisture meter to verify that the root zone is not sitting in stagnant water. Aim for a consistent moisture level where the plant receives approximately 1 cup of water per gallon of soil when the top third of the pot feels dry.
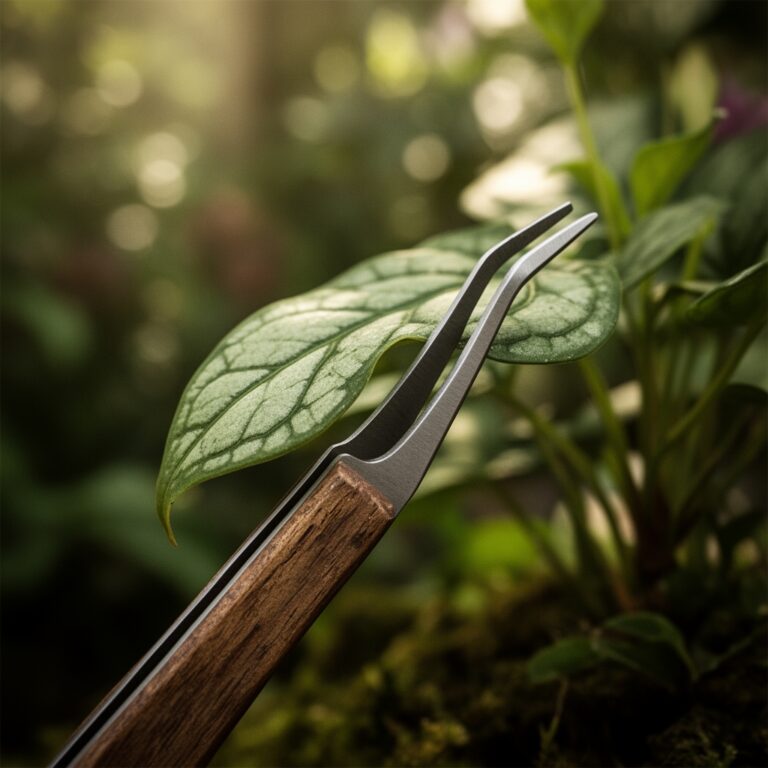
To encourage "full vining," use bypass pruners to clip the growing tips of the longest vines. This removes the "apical dominance" and forces the plant to push out new growth from the nodes closer to the soil line. If any vines become leggy, use the hori-hori knife to take cuttings, which can be rooted in water and replanted back into the mother pot to increase density.
The Yield:
While Pothos is not an edible crop, the "yield" is measured in the length and leaf size of the vines. For maximum leaf size, provide a moss pole for the plant to climb. As the aerial roots penetrate the moss, the plant receives a signal that it is "climbing" a tree in its natural habitat. This results in larger, more fenestrated leaves. Harvest cuttings for propagation by slicing just below a node; ensure each cutting has at least two nodes and one healthy leaf for the highest success rate.
FAQ:
How do I know when to repot my pothos?
Check the drainage holes. If roots are protruding or the plant requires water every 2 to 3 days, it has outgrown its current vessel. Lack of new growth during spring also indicates a need for fresh substrate.
What is the best soil for a pothos?
Use a well-draining, peat-based or coco-coir-based mix with a pH of 6.1 to 6.5. Incorporate 30 percent perlite to ensure high oxygen levels in the rhizosphere, which prevents root rot and supports vigorous vining.
Can I use a pot without drainage holes?
No. Pothos roots require oxygen. Without drainage, water displaces air in the soil pores, leading to anaerobic conditions and the eventual death of the root system through rot. Always use a container with at least one large drainage port.
Why are my pothos leaves turning yellow after repotting?
This is often "transplant shock." If the roots were disturbed significantly, the plant may drop a few older leaves to conserve energy. Ensure proper light and avoid overwatering during the first 14 days of recovery.