8 Orchid Steps to Prepare an Indoor Tropical Orchid Shelf
The scent of damp fir bark and the tactile snap of a leaf with high turgor pressure define a successful indoor orchid environment. To maintain these epiphytic specimens, you must move beyond simple aesthetics and master the physics of the microclimate. Learning how to prepare a plant shelf for orchids requires a rigorous focus on air circulation, light intensity, and humidity control. You are not just building a display; you are engineering a functional ecosystem that mimics the canopy of a tropical rainforest. Success depends on your ability to manipulate the rhizosphere within a confined vertical space while managing the precise photoperiod required for floral induction.
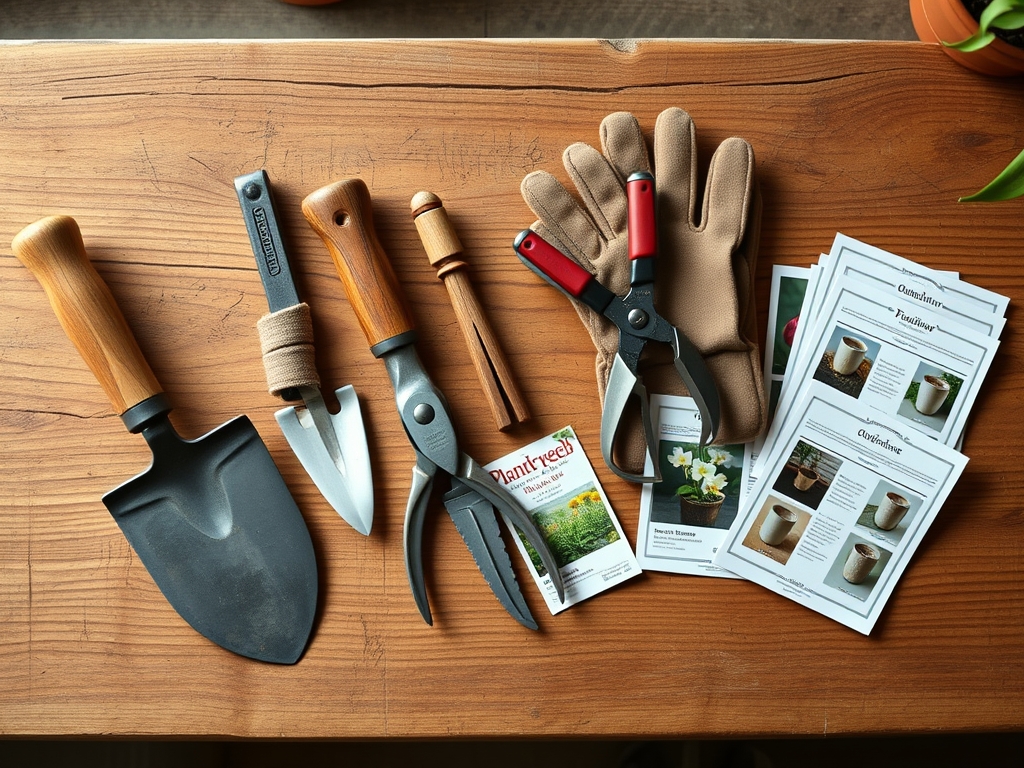
Materials:
Orchids do not grow in dirt. They require a substrate with high macroporosity to prevent root anoxia. The ideal medium is a friable mix of 80 percent Douglas fir bark and 20 percent horticultural grade perlite or charcoal. This structure ensures a high Cation Exchange Capacity (CEC) for nutrient retention while allowing rapid drainage.
For nutritional support, utilize a water soluble fertilizer with an NPK ratio of 20-20-20 for general growth or 10-30-20 to stimulate bloom cycles. The substrate pH must be maintained between 5.5 and 6.5 to ensure the bioavailability of micronutrients like manganese and iron. If the pH drifts above 7.0, the plant will suffer from nutrient lockout, regardless of how much fertilizer you apply. Ensure your shelf material is non-porous, such as powder-coated steel or sealed wire, to prevent the colonization of pathogenic fungi.
Timing:
While indoor shelves are sheltered from Hardiness Zone fluctuations, the biological clock of the orchid remains tethered to seasonal light shifts. Most tropical orchids, such as Phalaenopsis or Cattleya, transition from vegetative to reproductive stages based on a drop in nocturnal temperatures. To trigger a spike, you must provide a 10 to 15 degree Fahrenheit temperature differential between day and night for four consecutive weeks.
In North America, this usually aligns with the window between September and November. During this phase, the plant shifts its energy from leaf production to the development of the inflorescence. Monitoring the photoperiod is critical; most orchids require 12 to 14 hours of light during the peak growing season, tapering down to 10 hours during the winter dormancy or rest period.
Phases:
Sowing and Selection
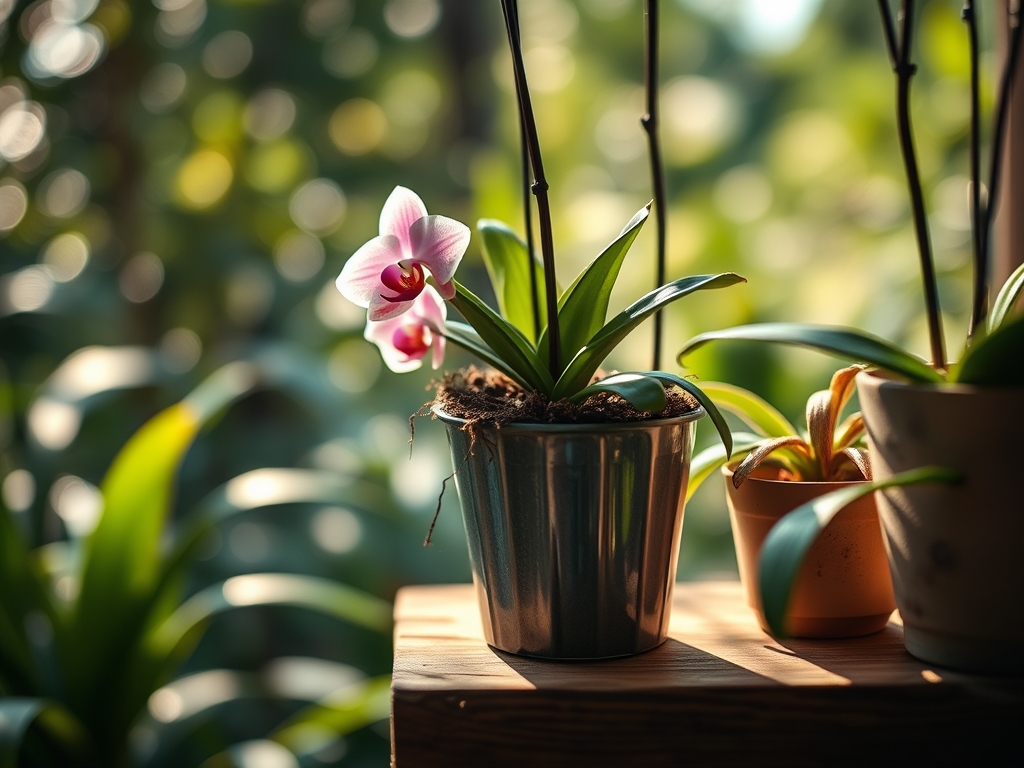
Orchids are rarely grown from seed by hobbyists due to their need for symbiotic mycorrhizal fungi in a sterile lab environment. Instead, start with "near-blooming size" (NBS) or "blooming size" (BS) mericlones. When placing these on your shelf, space them at least 6 inches apart. This prevents the stagnant air pockets that invite Botrytis cinerea.
Pro-Tip: Position the newest growth toward the light source to leverage phototropism. This ensures the plant maintains a compact habit and prevents the stretching of pseudobulbs, which weakens the cellular structure.
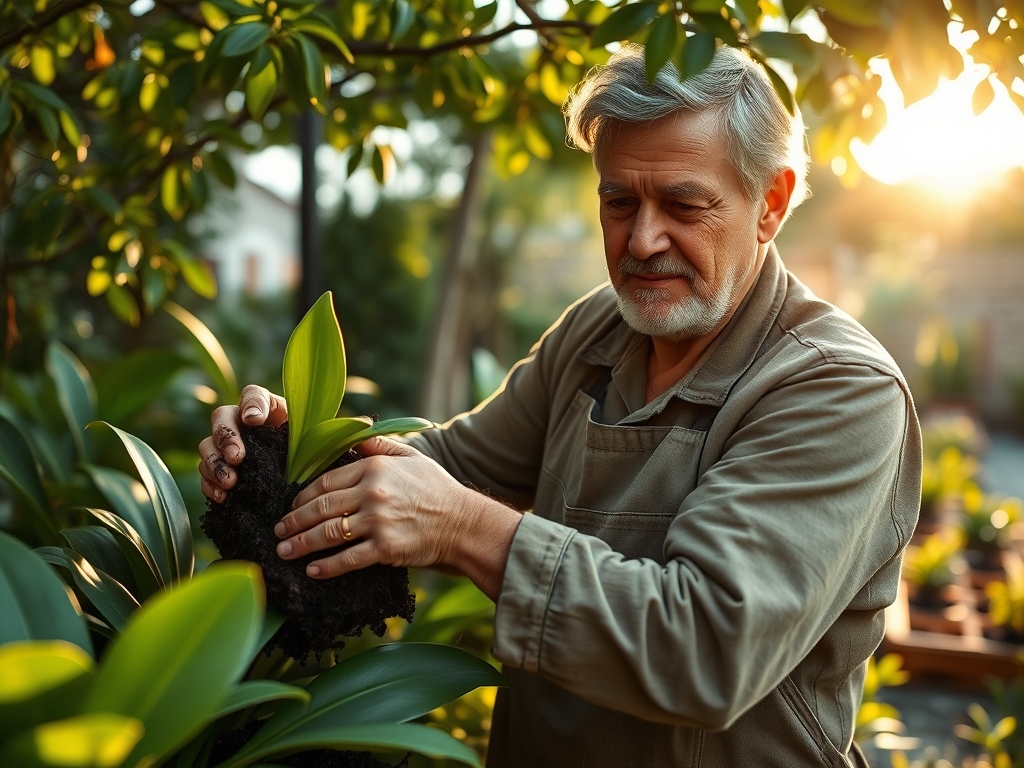
Transplanting and Repotting
Repotting should occur every 18 to 24 months or when the medium begins to decompose. Decomposed bark loses its structure and collapses, drastically reducing the oxygen available to the roots. Use a hori-hori knife to gently loosen the root mass from the old pot. Trim dead, mushy roots with sterilized bypass pruners.
Pro-Tip: Never over-pot. Orchids prefer a tight root environment. Excess substrate holds too much moisture, which leads to a localized drop in oxygen and triggers root rot through anaerobic respiration.
Establishing the Microclimate
Once the plants are situated, install a hygrometer and a digital light meter. Most indoor orchids thrive at 1,500 to 3,000 foot-candles. Use a waterproof tray filled with gravel and water beneath the shelf to maintain a relative humidity of 50 to 70 percent.
Pro-Tip: Use a small oscillating fan to provide constant, gentle air movement. This mimics the natural breezes of the canopy and facilitates gas exchange at the stomata, which prevents heat stress and fungal spore settlement.
The Clinic:
Physiological disorders often mimic infectious diseases. You must differentiate between biotic and abiotic stress.
- Symptom: Yellowing of lower leaves (Chlorosis).
Solution: This is often a Nitrogen deficiency. Increase the frequency of your 20-20-20 fertilizer applications at half-strength.
2. Symptom: Black, sunken spots on leaves.
Solution: This indicates cold damage or localized fungal infection. Increase the temperature to a minimum of 65 degrees Fahrenheit and improve air circulation.
3. Symptom: Shriveled pseudobulbs despite frequent watering.
Solution: This is a sign of root loss. The plant cannot take up water because the roots have rotted. Repot immediately into fresh, dry bark.
4. Symptom: Failure to bloom.
Solution: Insufficient light. Gradually move the plant closer to the LED array or increase the photoperiod by 2 hours.
Fix-It for Calcium Deficiency: If new growth appears distorted or blackened at the tips, supplement with a Cal-Mag additive. Calcium is immobile within the plant; it must be consistently available in the rhizosphere to support new cell wall development.
Maintenance:
A disciplined maintenance schedule is the difference between a surviving plant and a thriving one. Use a soil moisture meter to check the internal state of the bark. Water when the meter indicates the top 50 percent of the medium is dry.
When watering, drench the pot until water flows freely from the drainage holes. This flushes out accumulated mineral salts that can burn sensitive root tips. Aim for approximately 1 cup of water per gallon of substrate volume weekly, though this varies by humidity. Every fourth watering, use pure distilled water with no fertilizer to "leach" the system. Clean the leaves once a month with a damp microfiber cloth to remove dust, which can block up to 20 percent of available light and inhibit photosynthesis.
The Yield:
For orchids, the "yield" is the duration and quality of the floral display. To maximize the life of the blooms, move the plant to a slightly cooler, lower-light area of the shelf once the first bud opens. This slows down the plant's metabolic rate and delays senescence.
When the spike has finished blooming, use sterilized bypass pruners to cut the stalk. For Phalaenopsis, you can cut just above the second "node" from the base to encourage a secondary flush. For other genera, remove the spike entirely at the base to allow the plant to redirect its ATP (adenosine triphosphate) toward vegetative growth and the development of new pseudobulbs for the following season.
FAQ:
How much light do orchids need on a shelf?
Most orchids require 1,000 to 3,000 foot-candles. Use a light meter to ensure levels stay within this range. If leaves turn dark green, increase light; if they turn yellow or red, decrease it to avoid photo-inhibition.
What is the best temperature for an indoor orchid shelf?
Maintain daytime temperatures between 70 and 80 degrees Fahrenheit. Nocturnal temperatures should drop to 60 or 65 degrees. This diurnal temperature swing is essential for metabolic regulation and the triggering of reproductive cycles in most tropical species.
How often should I fertilize orchids on a shelf?
Use the "weakly, weekly" method. Apply a balanced water-soluble fertilizer at one-quarter strength every time you water. This consistent nutrient availability mimics the steady supply of organic matter found in the wild canopy environment.
Why are my orchid roots growing out of the pot?
These are aerial roots seeking atmospheric moisture and oxygen. Do not cut them. They are a sign of healthy gas exchange. If they become excessive, it may indicate the substrate inside the pot has compacted and lost its macroporosity.
Can I use tap water for my orchids?
Only if your tap water has a Total Dissolved Solids (TDS) count below 150 ppm. High mineral content or chlorine can damage sensitive root hairs. If your water is hard, use rainwater or reverse osmosis water supplemented with Cal-Mag.