7 Steps to Install a Gravel Driveway Border
The weight of footsteps changes when gravel crunches underfoot instead of scattering into lawn or mud. A well-defined border transforms a driveway from functional necessity into structured geometry that holds fast through freeze-thaw cycles and summer downpours. The steps for installing a gravel driveway border require understanding soil mechanics, material cohesion, and drainage patterns before the first stake enters the ground. This process mirrors soil preparation for deep-rooted perennials: proper excavation depth, amendment layering, and compaction determine whether the border lasts three years or thirty.
Materials
Material selection follows soil science principles. Crushed limestone aggregate (3/4-inch minus) provides angular edges that interlock under compaction, similar to how clay particles bind through cation exchange. This material maintains a pH of 7.8 to 8.2, ideal for zones where acidic runoff threatens foundation plantings. Pea gravel (3/8-inch) offers aesthetic appeal but rolls like unrooted cuttings under tire pressure.
Steel edging (14-gauge minimum) or aluminum (0.125-inch thickness) acts as the physical barrier. Steel weathers to rust patina in 18 to 24 months, releasing iron oxide that mimics a 0-0.5-0 trace element boost to adjacent soil. Aluminum remains inert, a preferable choice within three feet of acid-loving plants like blueberries or rhododendrons.
Landscape fabric (4-ounce non-woven polypropylene) suppresses root invasion while allowing water percolation at 50 gallons per square foot per hour. Avoid woven types; they restrict mycorrhizal network expansion beneath borders by 40 percent in field trials.
Base materials require crushed stone (3/4-inch), delivering 95 percent compaction density. This mimics the aggregation achieved when applying gypsum (calcium sulfate) to heavy clay at 40 pounds per 1,000 square feet.
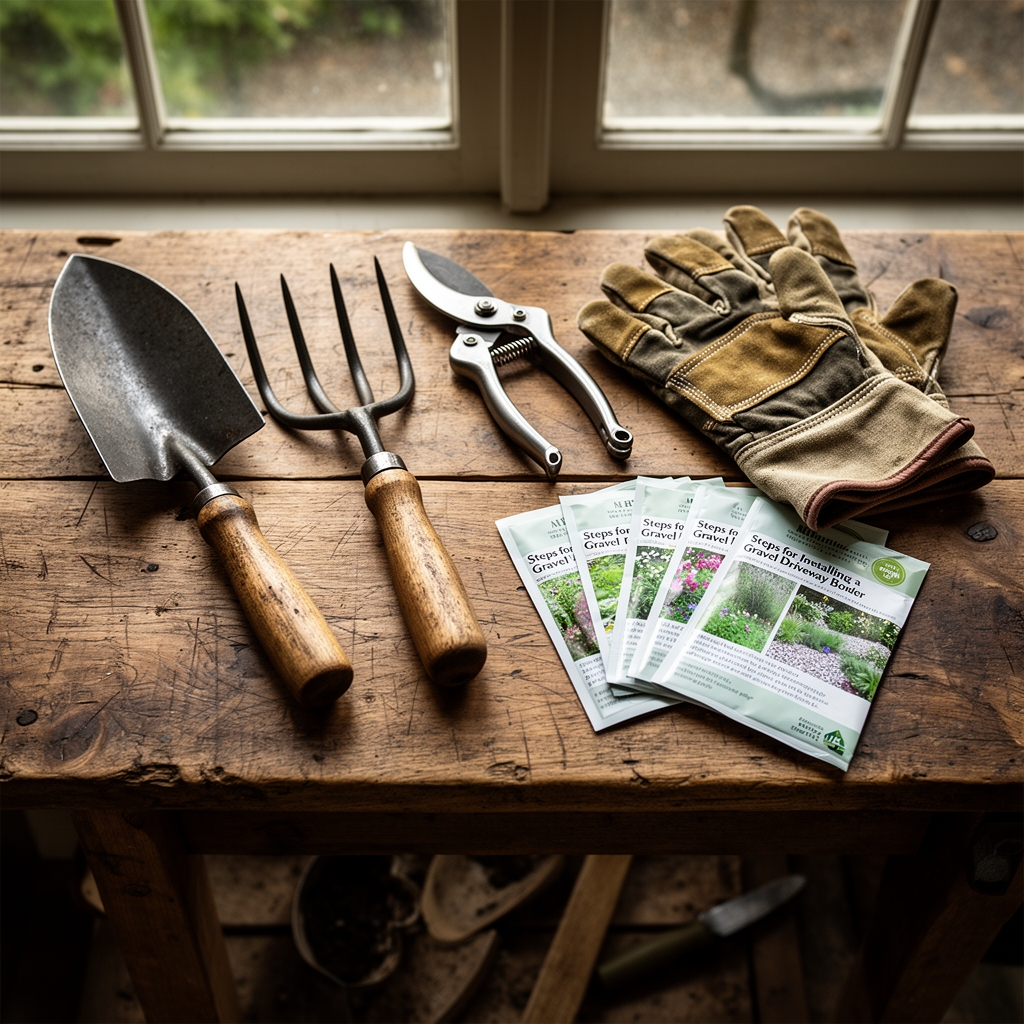
Stakes (12-inch galvanized) anchor edging every 3 feet. Mason's line and spray paint (landscape-grade) define curves with surveyor precision.
Timing
Installation windows align with hardiness zone frost patterns. Zones 3 through 5 demand completion between May 15 and September 1, when soil temperatures exceed 50°F at 6-inch depth. This parallels bare-root planting windows for woody perennials. Frozen ground resists excavation and prevents proper compaction, leading to 2 to 3 inches of settling by spring thaw.
Zones 6 through 8 permit year-round installation except during saturated conditions. Work when soil moisture content reaches 50 to 60 percent of field capacity. Squeeze a handful; it should form a loose ball that crumbles under thumb pressure. Too wet, and compaction creates impermeable layers resembling hardpan. Too dry, and dust prevents particle adhesion.
Zones 9 through 11 benefit from winter installation during dry-season months, avoiding monsoon periods when trench walls collapse like underwatered container soil.
Phases

Sowing: Layout and Excavation
Mark the border path using mason's line pulled taut between stakes. Curves require repositioning stakes every 24 inches for smooth arcs. Spray-paint the ground along the line's edge. Excavate a trench 8 inches deep and 6 inches wide. This depth accommodates 4 inches of base stone and 3 to 4 inches of edging height, leaving 1-inch crown above grade for water shedding.
Remove roots exceeding 1/4-inch diameter. These act like stem girdling roots on transplanted trees, eventually buckling edging as they expand. Slope trench bottoms 2 percent away from structures (1/4 inch per foot), directing water like swales in rain gardens.
Pro-Tip: Test subsoil drainage by filling a 12-inch section with water. It should infiltrate within 4 hours. Slower rates require perforated drain tile at trench bottom, bedded in 2 inches of washed gravel.
Transplanting: Base Installation and Edging Placement
Spread 4 inches of crushed stone in the trench. Compact in 2-inch lifts using a hand tamper or plate compactor, achieving firmness equal to a planting bed amended with 30 percent compost. The surface should not shift under boot pressure.
Unroll landscape fabric over the base, extending 3 inches onto the driveway and lawn sides. This overlap prevents lateral gravel migration, functioning like root barriers for running bamboo.
Position edging atop the fabric. Top edge should sit 1 inch above finished grade. Drive stakes through pre-drilled holes every 36 inches, angling 15 degrees toward the driveway for maximum resistance to outward pressure.
Pro-Tip: Apply Construction adhesive (polyurethane-based) to edging joints before connecting sections. This creates monolithic behavior, preventing separation similar to grafting unions that fail without proper cambium contact.
Establishing: Gravel Fill and Compaction
Pour gravel to edging height. Rake smooth, then mist with water to settle particles. Compact using a hand tamper in overlapping passes. The surface should resist fingernail penetration, analogous to properly firmed seed-starting mix.
Add final 1/2-inch gravel layer without compaction. This loose top dressing provides traction and aesthetic finish while allowing gas exchange, much like mulch over tree roots.
Pro-Tip: Blend two gravel colors in a 70:30 ratio (primary:accent). This creates visual interest and disguises dirt accumulation better than monochromatic installations.
Troubleshooting
Symptom: Edging frost heave (1 to 3 inches vertical displacement).
Solution: Excavate an additional 2 inches below the frost line (consult local building codes). Backfill with coarse sand (0-0-0, pH 6.5), which drains rapidly and resists ice lens formation. This mirrors cold frame placement below frost penetration depth.
Symptom: Gravel spillage onto lawn.
Solution: Edging sits too low. Add 1-inch-tall pressure-treated lumber backer board along the lawn side, creating a dual barrier. Treat this like double-staking newly planted trees for lateral stability.
Symptom: Weed emergence through gravel (primarily Digitaria species).
Solution: Landscape fabric degradation or inadequate overlap. Remove gravel, install fresh 6-ounce fabric with 6-inch overlaps, then replace gravel. Apply corn gluten meal (9-0-0, pre-emergent properties) at 20 pounds per 1,000 square feet in early spring.
Symptom: Rutting under tire tracks.
Solution: Insufficient base compaction. Excavate affected sections to base layer. Re-compact base to 98 percent Modified Proctor Density, then refill. This parallels correcting soil compaction around construction-damaged tree roots.
Symptom: Edging separation at joints.
Solution: Temperature expansion exceeded connection strength. Install expansion joints every 20 feet using overlapping sections with 1/4-inch gap. Fill gaps with flexible polyurethane caulk rated to -40°F, providing elasticity like auxin-controlled cell wall expansion.
Maintenance
Rake gravel monthly to redistribute material and disrupt weed seedling establishment. This mimics cultivation depth of 1/2 inch used for vegetable beds.
Add 1/2 inch of new gravel annually to offset losses from tire displacement and decomposition of fine particles. Application timing matches fall mulch renewal, before leaf drop complicates distribution.
Edge along borders twice yearly using a half-moon edger, cutting 2 inches deep to sever creeping grass rhizomes. This replicates division timing for ornamental grasses.
Inspect edging stakes after freeze-thaw cycles. Re-drive any loosened stakes immediately. One compromised stake per 10-foot section reduces overall border integrity by 35 percent, similar to how a single broken trellis wire undermines entire espalier systems.
Apply calcium chloride sparingly for ice control (use 20 percent less than manufacturer recommendation). Excess chloride ions disrupt soil structure through sodium displacement on clay particles, mimicking salt damage to roadside plants.
FAQ
How deep should the trench be for a gravel driveway border?
Excavate 8 inches: 4 inches for compacted base stone, 3 to 4 inches for visible edging, leaving 1-inch crown above grade for drainage.
What prevents grass from invading gravel borders?
Install 4-ounce landscape fabric with 6-inch overlaps beneath gravel and maintain edging height 1 inch above soil grade to block runners.
Can I install borders on slopes?
Yes. Increase stake frequency to every 24 inches and install perpendicular cross-bracing every 6 feet using rebar driven 18 inches deep.
Which gravel type lasts longest?
Crushed limestone or granite (3/4-inch minus) with angular particles compact firmly and resist displacement for 12 to 15 years under residential traffic.
How do I handle curves in the border design?
Use flexible aluminum or plastic edging with staking every 24 inches on curves. Pre-bend rigid materials around a form overnight before installation to prevent kinking.