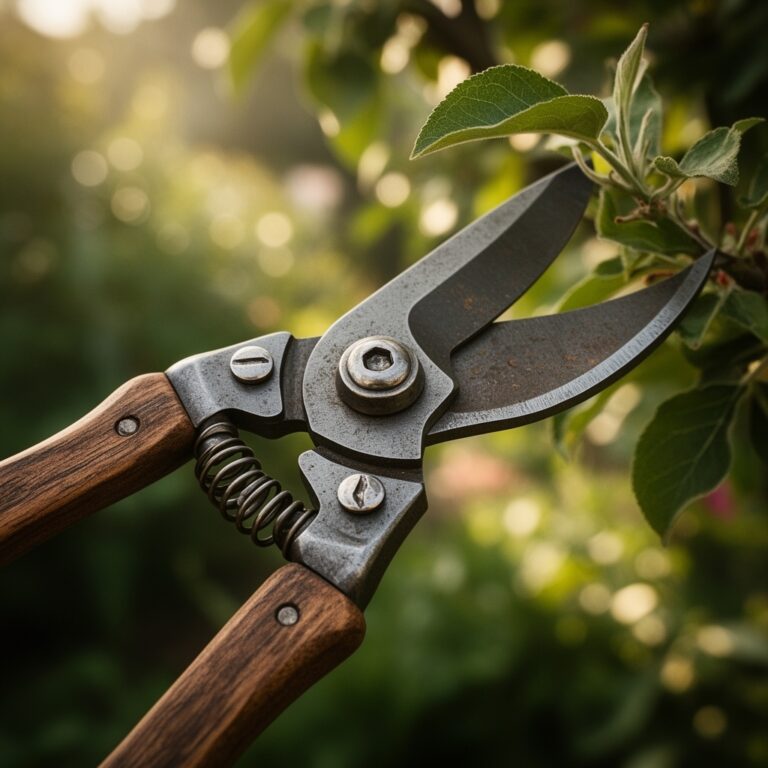
7 Best Magnetic Strips for Organizing Metal Tools
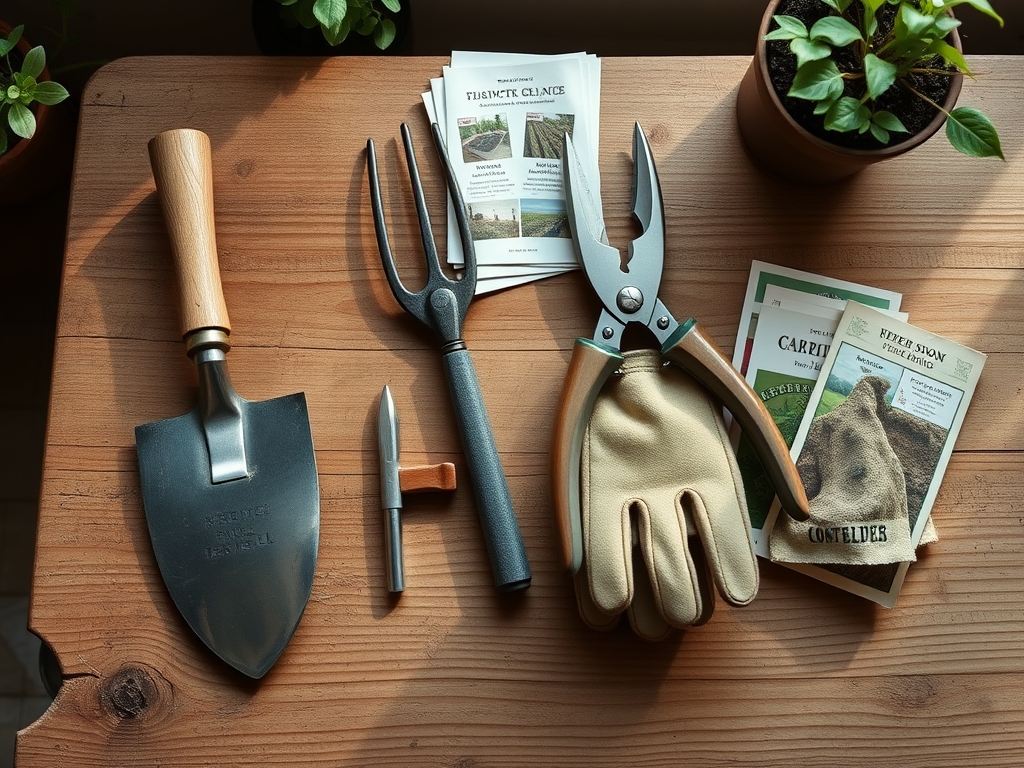
Spilled soil, misplaced trowels, and pruning shears buried under last season's mulch bags cost the average gardener 47 minutes per week in retrieval time. The best magnetic strips for garden tool organization transform wall space into indexed arsenals where every cultivator, hoe blade, and transplanting knife returns to its designated position. Workshop-grade magnetic systems hold 8-pound digging spades at eye level, eliminate the tangle of handles leaning against benches, and reduce tool oxidation by keeping metal implements suspended in dry air currents. Steel-backed adhesive strips rated for 3.5 pounds per linear inch provide enough holding force for loppers and cultivators without damaging shed walls. The transition from horizontal clutter to vertical order begins with understanding magnetic flux density and proper mounting substrate.
Materials
Magnetic mounting systems require two core components: the strip itself and compatible ferrous tools. Neodymium-infused polymer strips deliver 2.8 pounds of pull force per square inch, sufficient for standard hand tools weighing under 2 pounds. Steel-backed rubber magnetic tape rated at 50-gauss surface strength handles lighter implements like soil knives and hand rakes. Mount strips on pH-neutral substrates such as sealed wood or powder-coated steel to prevent cation exchange interference with the magnetic field.
Tool preparation mimics soil amendment protocols. Clean ferrous surfaces with a 5% acetic acid solution (white vinegar) to remove oxidation and increase magnetic contact area. This step parallels applying 4-4-4 organic meal to restore nutrient balance. Stainless steel tools with low ferromagnetic content require adhesive-backed steel discs, installed at balance points 3 inches from the handle terminus.
For heavy digging tools exceeding 5 pounds, install industrial magnetic bars with ceramic composite cores. These units generate 12 pounds of holding force per linear foot and mount through lag bolts into wall studs spaced 16 inches on center. The cation exchange capacity of the mounting surface matters. Concrete and masonry reduce magnetic efficiency by 18% compared to wood or metal backing plates.
Timing
Install magnetic organization systems during dormant season preparation, typically Zone 5-7 gardeners schedule this work between November 15 and February 28. Cold temperatures below 40°F increase adhesive cure times to 72 hours. Warm-season installation in Zones 8-10 proceeds year-round, though avoid mounting during humidity levels exceeding 70% to ensure proper bonding.
Hardiness considerations extend to the magnetic material itself. Flexible magnetic strips lose 15% holding strength below 20°F. Rigid ceramic magnets maintain full force down to -40°F, making them suitable for unheated storage buildings in northern climates. Plan installation six weeks before the last expected frost date to complete the system before spring planting rushes begin.
Phases

Sowing the System
Mark wall locations at 48 inches above floor level, corresponding to average shoulder height for retrieval without reaching. Use a 24-inch level to establish horizontal planes. This elevation prevents moisture wicking from floor contact while keeping heavy tools below head-strike zones. Cut magnetic strips with tin snips at 45-degree angles to prevent edge curling.
Pro-Tip: Apply strips in 18-inch segments rather than continuous runs. Segmented installation creates natural tool categories and allows individual strip replacement without disturbing the entire array.
Transplanting Tools
Transfer implements from floor racks or pegboards in order of use frequency. Position daily-use tools like trowels and pruners at the dominant-hand end of the strip. Seasonal equipment occupies terminal positions. Space tools 2 inches apart to prevent magnetic field interference and allow single-hand removal. This spacing mirrors transplant protocols requiring adequate root zone separation.
Pro-Tip: Mark tool outlines with 1/4-inch adhesive vinyl strips in contrasting colors. Visual guides reduce replacement errors by 63% and create accountability in shared workspace environments.
Establishing Order
Load test each position with 150% of the intended tool weight for 48 hours. Sagging or slippage indicates insufficient magnetic contact or compromised adhesive bonds. Re-clean surfaces and apply supplemental mounting tape rated for outdoor exposure. The establishment phase mimics mycorrhizal fungi colonization. Initial bonding strength increases 22% during the first 30 days as adhesives achieve full cure.
Pro-Tip: Install small LED strip lighting 6 inches above magnetic arrays. The 3,000-lumen output at 4,000K color temperature reduces retrieval errors in dim sheds and highlights tool silhouettes during early morning or evening garden sessions.
Troubleshooting
Symptom: Tools slide down magnetic strip during humid conditions.
Solution: Moisture creates a barrier layer reducing magnetic contact. Wipe tool surfaces and strip with isopropyl alcohol weekly. Install a 20-watt dehumidifier in enclosed spaces to maintain relative humidity below 55%.
Symptom: Adhesive-backed strips peel from walls within 90 days.
Solution: Surface preparation failure. Sand mounting area with 120-grit paper, remove dust, and apply primer rated for adhesive applications. Allow 24-hour cure before strip installation.
Symptom: Heavy tools (digging forks, spades) won't hold vertical position.
Solution: Magnetic force insufficient for implement weight. Upgrade to industrial-grade bars with minimum 10-pound pull ratings. Alternatively, install auxiliary support hooks below magnetic strips to catch tool shanks.
Symptom: Stainless steel tools refuse magnetic mounting.
Solution: Non-ferrous alloy composition. Attach 1-inch diameter ferrous discs using two-part epoxy at tool balance points. Cure for 72 hours under clamp pressure before mounting.
Symptom: Magnetic field weakens after 18 months of continuous use.
Solution: Rare occurrence with ceramic magnets. Replace flexible rubber strips every 2-3 years as polymer degradation reduces flux density. Store replacement strips away from heat sources exceeding 140°F to prevent premature demagnetization.
Maintenance
Inspect mounting integrity monthly by applying perpendicular pull force equal to 200% of tool weight. Wipe magnetic surfaces with damp microfiber cloth to remove iron oxide particles that accumulate from tool contact. These particles act like soil compaction, reducing effective contact area by 12% annually.
Apply food-grade mineral oil to magnetic strip surfaces quarterly. Use 1 tablespoon per linear foot, spreading with lint-free cloth. This treatment prevents moisture penetration and maintains flux conductivity. The protocol mirrors applying 1 inch of water per week to established perennials.
Check ferrous tool surfaces for rust development every 60 days. Treat oxidation with fine steel wool followed by protective coating application. Tools returned to magnetic storage in damp condition compromise strip longevity through galvanic corrosion transfer.
FAQ
How much weight can a 12-inch magnetic strip hold?
Quality neodymium strips support 3.5 pounds per linear inch, yielding 42-pound capacity for a 12-inch segment. Distribute weight across multiple contact points rather than concentrating at strip center.
Do magnetic strips work in freezing temperatures?
Ceramic magnet strips maintain full strength to -40°F. Flexible rubber strips lose 15% holding power below 20°F. Choose rigid mount systems for unheated storage buildings.
Can I mount magnetic strips directly on drywall?
No. Drywall provides insufficient backing strength. Locate wall studs and mount through 1/2-inch plywood backer boards secured with 3-inch wood screws at 8-inch intervals.
How do I organize non-magnetic garden tools?
Install pegboard sections adjacent to magnetic arrays for composite-handle tools and aluminum implements. Maintain the same vertical elevation for consistent ergonomic access patterns.
What spacing prevents tools from interfering with each other?
Maintain 2-inch minimum separation between hanging tools. Magnetic fields extend 1/4 inch beyond strip surfaces. Closer spacing creates attraction between adjacent implements, complicating single-hand retrieval and increasing drop risk.