6 Simple Steps to Prepare a DIY Small Apartment Plant Shelf
The smell of damp peat moss mixed with the sharp, metallic scent of perlite marks the beginning of a successful indoor cultivation project. Success depends on turgor pressure; the internal fluid force that keeps a leaf rigid and upright against gravity. To maintain this cellular integrity in a confined space, you must master how to prepare a DIY plant shelf using precise environmental controls. This process transforms a simple piece of furniture into a specialized microclimate capable of sustaining high photosynthetic rates.
Achieving a professional result requires moving beyond aesthetic placement. You are constructing an artificial ecosystem where light intensity, humidity, and substrate composition must be balanced to prevent physiological stress. Every square inch of the shelf must be optimized for gas exchange and nutrient uptake. By following a structured horticultural protocol, you ensure that your indoor specimens do not merely survive but thrive through active metabolic cycles. This guide provides the technical framework needed to establish a high performance vertical garden within the constraints of a small apartment.
Materials:
The foundation of any container system is the substrate. For most indoor tropicals, you require a **friable loam** texture that allows for rapid drainage while maintaining adequate moisture. The ideal mix consists of 40 percent coco coir, 30 percent perlite, and 30 percent composted organic matter. This ratio ensures a high **Cation Exchange Capacity (CEC)**, which allows the medium to hold and release essential nutrients like potassium and magnesium to the root hairs.
Target a soil pH between 5.8 and 6.5. This range is the "sweet spot" where most macronutrients and micronutrients remain chemically available for plant uptake. You will need a balanced NPK ratio of 10-10-10 for general maintenance, or a 5-10-5 ratio if you are encouraging bloom development in species like African Violets. Ensure your shelf material is non-porous or sealed with a waterproof membrane to prevent fungal pathogens from colonizing the wood or metal surfaces.
Timing:
Indoor gardening bypasses traditional Hardiness Zones, yet your plants remain tethered to the "Biological Clock" dictated by the photoperiod. Most indoor species require 12 to 16 hours of light to remain in the vegetative stage. If light duration drops below 10 hours, many plants will enter a state of senescence or dormancy, slowing their metabolic rate significantly.
When calculating your setup time, align your initial planting with the local spring equinox if possible. Even indoors, plants sense the subtle shift in atmospheric pressure and ambient light quality. This timing facilitates a smoother transition from the nursery to your DIY shelf. Avoid major transplanting tasks when outdoor temperatures are below 50 degrees Fahrenheit, as the transport of plants through cold corridors can cause permanent cellular collapse in tropical foliage.
Phases:
Sowing and Propagation
Start seeds in a sterile, soil-less medium to prevent damping off, a fungal condition caused by Pythium species. Maintain a consistent substrate temperature of 70 to 75 degrees Fahrenheit using a waterproof heat mat. Once the first set of true leaves appears, the plant has transitioned from relying on seed energy to active photosynthesis.
Pro-Tip: Monitor for phototropism, the tendency of plants to grow toward a light source. This occurs because auxins, the hormones responsible for cell elongation, concentrate on the shaded side of the stem. Rotate your pots 90 degrees every three days to ensure even structural development.
Transplanting
When roots begin to circle the bottom of the starter pot, move the specimen to its permanent home on the shelf. Gently tease the root ball to break the "pot-bound" pattern. Ensure the new container is only 2 inches wider in diameter than the previous one to prevent "over-potting," which leads to anaerobic soil conditions and root rot.
Pro-Tip: Inoculate the root zone with mycorrhizal fungi. This creates a mycorrhizal symbiosis where the fungi extend the reach of the root system, increasing the surface area for phosphorus absorption by up to 10 times.
Establishing
The first 14 days on the shelf are critical for the establishment of the rhizosphere. During this phase, minimize fertilization to avoid burning new, tender root hairs. Focus on maintaining high humidity, approximately 50 to 60 percent, to reduce the transpiration rate while the roots recover from the move.
Pro-Tip: Avoid pruning the terminal bud during this stage. Maintaining apical dominance ensures the plant directs its energy toward vertical growth and root expansion rather than lateral branching, which is essential for maximizing space on a narrow shelf.
The Clinic:
Physiological disorders often mimic infectious diseases. Accurate diagnosis is the first step to recovery.
- Symptom: Interveinal Chlorosis. The leaf remains green near the veins but turns yellow elsewhere.
- Solution: This indicates a Magnesium deficiency. Apply a solution of 1 tablespoon of Epsom salts per gallon of water to restore chlorophyll production.
- Symptom: Leaf Tip Burn. Brown, crispy edges on new and old growth.
- Solution: This is often caused by salt accumulation from tap water or over-fertilization. Flush the substrate with distilled water until the runoff is clear.
- Symptom: Epinasty. Downward curling or twisting of leaves.
- Solution: Check for ethylene gas exposure or extreme over-watering which restricts oxygen to the roots. Ensure the shelf has adequate airflow via a small oscillating fan.
Fix-It for Nitrogen Chlorosis: If the oldest leaves are turning a uniform pale yellow, the plant is scavenging nitrogen for new growth. Apply a high-nitrogen liquid fertilizer (NPK 20-10-10) at half strength to rapidly restore protein synthesis.
Maintenance:
Precision is the hallmark of a master horticulturist. Use a soil moisture meter to verify that the top 2 inches of substrate are dry before adding water. Most shelf-bound plants require approximately 1.5 inches of water per week, delivered directly to the soil at the drip line to avoid wetting the foliage, which can invite fungal spores.
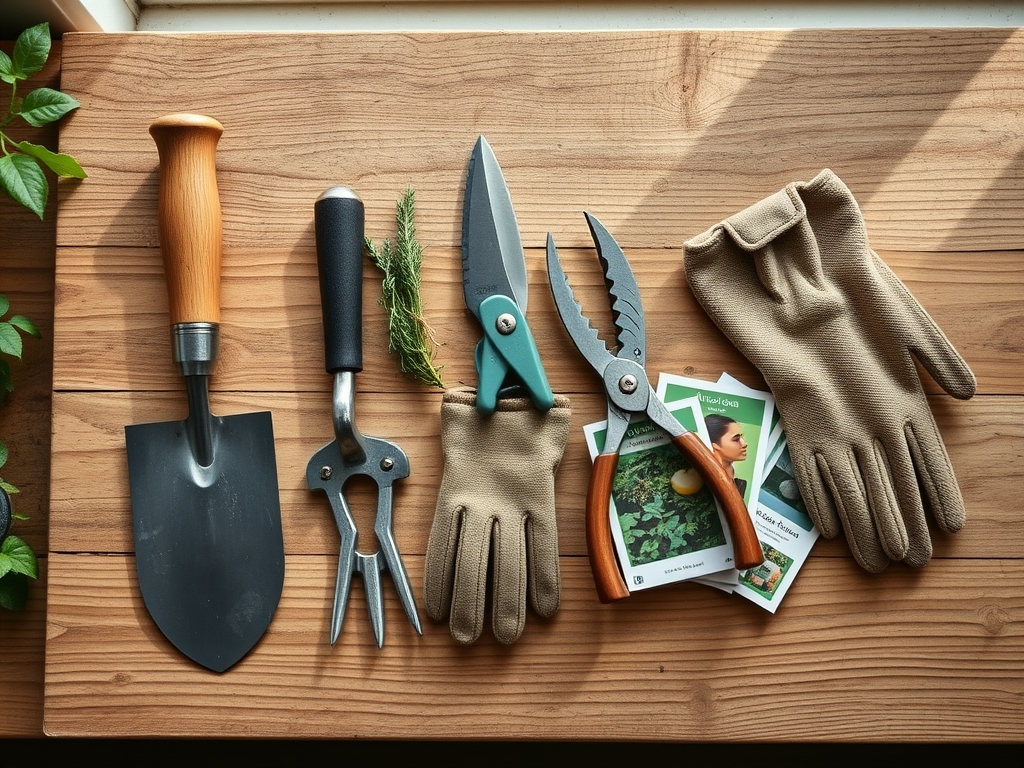
Keep a hori-hori knife for precise soil aeration and a pair of bypass pruners for clean cuts. Unlike anvil pruners, bypass blades act like scissors, preventing the crushing of vascular tissues (xylem and phloem). Sanitize your tools with 70 percent isopropyl alcohol between every plant to prevent the cross-contamination of pathogens.
The Yield:
If your shelf includes herbs or edible greens, harvest timing is essential for peak volatile oil concentration. Harvest leafy greens in the early morning when turgor pressure is at its highest. Use sharp shears to remove no more than one-third of the plant's total biomass at a time.
For "day-one" freshness, immediately submerge the cut ends in cool, filtered water. This maintains the hydraulic connection within the stems and prevents wilting. For woody herbs like rosemary, wrap them in a damp paper towel and refrigerate at 40 degrees Fahrenheit to slow the rate of cellular respiration and preserve flavor profiles.
FAQ:
How do I prevent my shelf from becoming a breeding ground for gnats?
Maintain a dry top layer of substrate. Fungus gnats require moist organic matter to lay eggs. Use a thin layer of sand or decorative pebbles to create a physical barrier that disrupts their life cycle and prevents larval development.
What is the best light for a small apartment shelf?
Use full-spectrum LED strips with a Color Rendering Index (CRI) of 90 or higher. Position the lights 6 to 12 inches above the canopy to provide a Photosynthetic Photon Flux Density (PPFD) sufficient for active growth.
How often should I repot plants on my shelf?
Most indoor plants require repotting every 12 to 18 months. Monitor for roots emerging from drainage holes or a significant decrease in water infiltration, which indicates the substrate has become compacted or the plant is root-bound.
Can I use tap water for all my shelf plants?
Chlorine and fluoride in municipal water can cause leaf toxicity in sensitive species. Allow tap water to sit in an open container for 24 hours to let chlorine dissipate, or use filtered water to maintain a lower Total Dissolved Solids (TDS) count.