6 Recovery Tips and Steps to Revive a Wilted Peace Lily
The drooping leaves of a peace lily (Spathiphyllum spp.) signal distress through every limp blade, yet this tropical understory plant possesses remarkable recuperative abilities when given proper intervention. Steps for reviving a wilted peace lily begin with accurate diagnosis of the stressor, whether from drought, overwatering, or environmental shock, followed by systematic correction of growing conditions that restore turgor pressure to leaf tissues and reactivate root function.
Materials
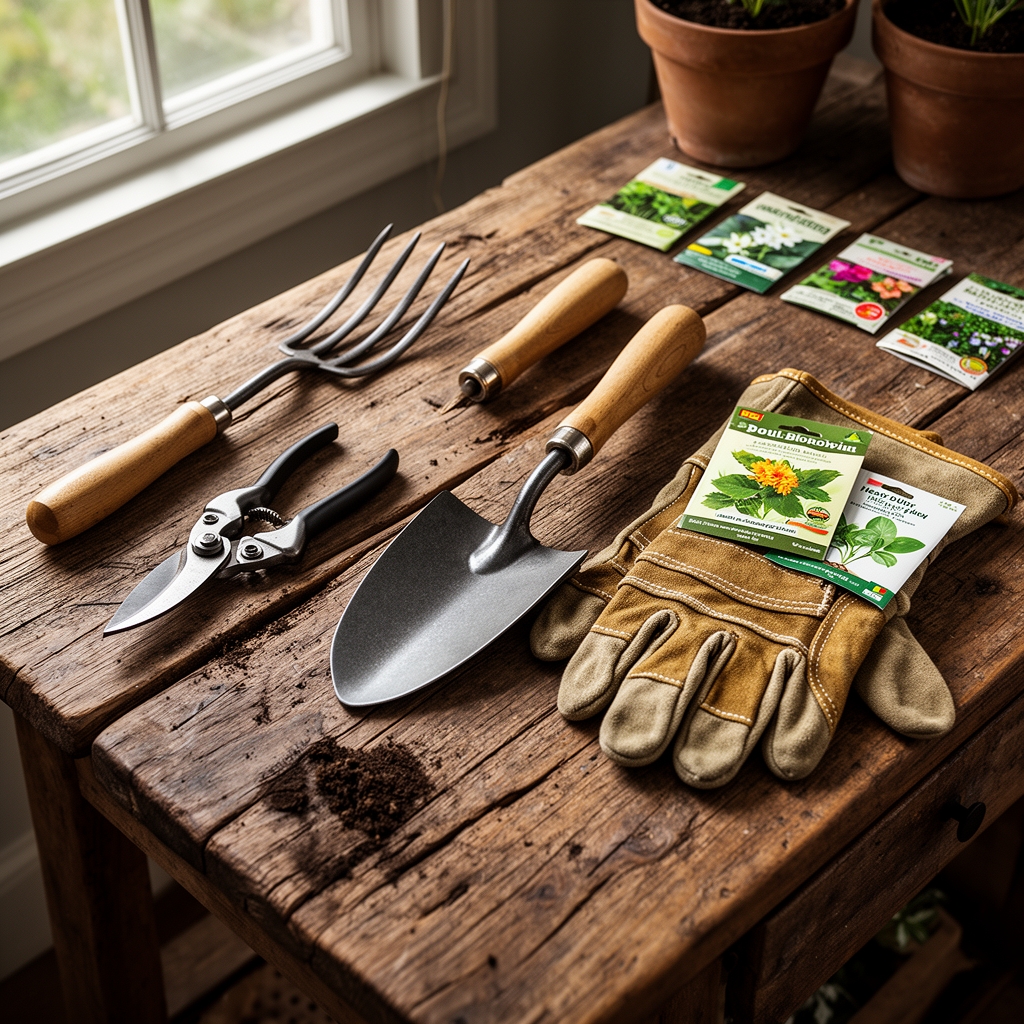
Soil amendments must accommodate the peace lily's preference for pH 5.8-6.5. Use a peat-based potting mix with perlite at a 2:1 ratio to maintain moisture while preventing waterlogging. For nutritional support, apply a balanced 10-10-10 water-soluble fertilizer diluted to quarter strength, or opt for organic alternatives like 4-4-4 feather meal blends that release nitrogen gradually without burning compromised roots.
Gather pH testing strips or a digital meter to verify substrate acidity. Chlorine-free water is essential, as peace lilies exhibit sensitivity to fluoride and chloramine compounds that accumulate in leaf margins. Allow tap water to stand for 24 hours or use distilled water during recovery. A spray bottle facilitates foliar misting to raise ambient humidity. Pruning shears sterilized with 70% isopropyl alcohol prevent pathogen transmission when removing necrotic tissue.
Timing
Peace lilies thrive year-round as houseplants in USDA Hardiness Zones 11-12, where outdoor cultivation is possible. In zones 3-10, they remain strictly indoor specimens. Recovery interventions work most effectively during active growth periods from March through September when cells divide rapidly and auxin distribution drives new leaf emergence. Dormancy slowdown from November through February reduces the plant's ability to repair damaged vascular tissue.
Begin revival protocols immediately upon noticing wilt symptoms. Delayed intervention allows secondary infections or irreversible xylem collapse. Temperature stability between 65-80°F accelerates recovery, while exposure below 55°F causes additional cellular damage through chilling injury.
Phases

Assessment and Immediate Care
Remove the plant from its container and examine root structure. Healthy roots appear white to tan with firm texture. Brown, mushy roots indicate pythium or phytophthora rot requiring immediate excision. Use sterilized shears to cut damaged roots at 45-degree angles, which maximizes surface area for callus formation. Rinse remaining roots under tepid water to remove degraded organic matter.
For drought-wilted specimens with intact roots, submerge the root ball in room-temperature water for 15 minutes. This bottom-watering technique rehydrates the entire soil mass without shocking foliage. Drain thoroughly before repotting.
Pro-Tip: Inoculate cleaned roots with Trichoderma harzianum or endomycorrhizal fungi spores. These beneficial organisms colonize root surfaces, enhancing nutrient uptake through expanded surface area via fungal hyphae and producing enzymes that suppress pathogenic fungi.
Replanting and Environment Correction
Select a container 1-2 inches larger than the root mass with drainage holes. Fill the bottom third with fresh potting mix, position the plant at its original depth, and backfill while gently tamping to eliminate air pockets. Air gaps disrupt capillary action necessary for water movement through the cation exchange sites in organic matter.
Place the recovering plant in indirect light providing 10,000-20,000 lux. Direct sun causes photoinhibition in shade-adapted chloroplasts, worsening stress. East or north-facing windows work well. Maintain relative humidity above 50% through pebble trays filled with water beneath the pot or by grouping plants to create a microclimate where transpired moisture accumulates.
Pro-Tip: Prune any leaves showing more than 40% tissue damage. Cut the petiole 0.25 inches from the base at a 60-degree angle. This technique prevents water accumulation in the cut surface that invites bacterial soft rot.
Establishing New Growth
Once turgor returns to existing foliage, typically within 5-7 days, begin fertilization. Apply quarter-strength balanced fertilizer every 14 days. Peace lilies have low nutrient demands, and excess salts accumulate in growing media, raising electrical conductivity and causing marginal necrosis through plasmolysis.
Monitor new leaf emergence from the central crown. Fresh growth signals restored metabolic function and active transport of carbohydrates from photosynthesis. Full recovery manifests in 4-6 weeks as the plant produces replacement leaves.
Pro-Tip: Leach the soil monthly by running water through the pot until it drains freely for two minutes. This flushes accumulated salts that inhibit root hair development.
Troubleshooting
Symptom: Continued wilting despite moist soil. Solution: Root rot has compromised vascular tissue. Repot immediately after removing all diseased roots. Reduce watering frequency to once weekly.
Symptom: Yellow lower leaves with brown tips. Solution: Fluoride toxicity from tap water or over-fertilization. Switch to distilled water and flush soil with three pot-volumes of clean water.
Symptom: Sticky residue on leaves with stippling. Solution: Spider mites (Tetranychus urticae) extract cell contents. Spray all leaf surfaces with insecticidal soap at 2% concentration every 3 days for two weeks.
Symptom: White cottony masses in leaf axils. Solution: Mealybugs feeding on phloem sap. Dab individual insects with 70% isopropyl alcohol on cotton swabs.
Symptom: Stunted growth with pale new leaves. Solution: Nitrogen deficiency. Apply 20-20-20 fertilizer at half strength immediately, then resume quarter-strength biweekly feeding.
Maintenance
Water when the top 1 inch of soil feels dry to touch, typically every 7-10 days. Pour water until it drains from bottom holes, then discard saucer runoff to prevent root suffocation from standing water. Peace lilies tolerate brief drying better than waterlogged conditions.
Wipe leaves monthly with damp cloth to remove dust that blocks stomata and reduces photosynthetic efficiency. Apply 1 teaspoon of compost as topdressing each spring to maintain soil structure and provide slow-release nutrients through microbial mineralization.
Repot every 18-24 months before roots circle the container perimeter. Root-bound specimens show reduced water uptake capacity even with adequate irrigation.
FAQ
How long does peace lily revival take?
Initial turgor recovery occurs within 24-48 hours for drought stress. Complete revival with new growth requires 4-6 weeks as the plant rebuilds damaged tissues.
Can I save a peace lily with all brown roots?
If even 20% of roots remain white and firm, recovery is possible. Remove all diseased tissue and follow strict watering protocols.
Why does my peace lily wilt after watering?
Overwatering causes root asphyxiation. Oxygen-deprived roots cannot perform active transport. Reduce watering frequency and improve drainage.
Should I fertilize a wilted peace lily immediately?
No. Wait until turgor returns and new growth appears. Fertilizing stressed plants diverts energy to salt management rather than repair.
Do peace lilies need misting?
Misting raises humidity temporarily but does not replace proper watering. Focus on soil moisture and ambient humidity above 50% through environmental adjustments.