6 Fast Steps to Harvest Yukon Gold
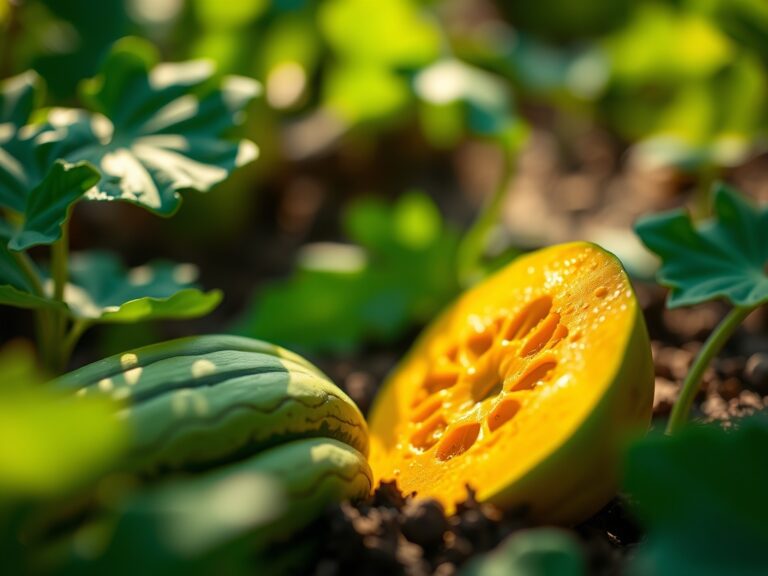
The smell of damp, disturbed earth signals the end of a long season of photosynthesis and starch accumulation. When the foliage of a Yukon Gold potato plant undergoes senescence, the yellowing leaves and brittle stems indicate that the plant has redirected its energy from the canopy to the underground tubers. Success depends on understanding the physiological cues of the plant. Mastering the steps to harvest yukon gold requires precision timing and a firm grasp of soil mechanics to ensure the thin, yellow skins remain intact and the internal starch density remains high.
Materials:
Yukon Gold potatoes thrive in a **friable loam** with a high sand content to allow for tuber expansion without resistance. The substrate must maintain a **soil pH between 5.0 and 6.0** to suppress the development of *Streptomyces scabies*. A low Cation Exchange Capacity (CEC) in sandy soils requires careful nutrient management. During the initial vegetative stage, an **NPK ratio of 10-10-10** is standard. However, as the plant transitions to tuber bulking, phosphorus and potassium become the priority. A **5-10-15 ratio** supports root development and carbohydrate storage. High nitrogen late in the season will result in excessive foliage at the expense of tuber size.
Timing:
Yukon Gold is a medium-early cultivar with a typical maturity window of 80 to 95 days. In Hardiness Zones 3 through 9, planting occurs as soon as soil temperatures consistently reach 45 degrees Fahrenheit. The biological clock of the potato is governed by the photoperiod and temperature. Once the plant completes its flowering stage, it enters a period of rapid tuber bulking. You must monitor the cumulative heat units; excessive heat above 85 degrees Fahrenheit can stall tuber development. The final harvest window opens when the vines have died back by at least 50 to 75 percent, signaling that the skins have begun the "setting" process.
Phases:
Sowing and Sprouting
Start with certified disease-free seed potatoes. Cut them into 2-ounce segments, ensuring each piece has at least two "eyes" or axillary buds. Allow the cut surfaces to suberize (callus over) for 48 hours at room temperature before planting. This prevents opportunistic fungal pathogens from entering the rhizosphere.
Pro-Tip: Suberization is a critical biological defense; the plant produces a layer of suberin, a waxy polyester, to create a physical barrier against moisture loss and soil-borne microbes.
Transplanting and Hilling
Space seed pieces 12 inches apart in trenches 4 inches deep. As the stems reach 6 to 8 inches in height, pull surrounding soil around the base, leaving only the top few inches of foliage exposed. This "hilling" prevents stolons from being exposed to UV light, which triggers the production of chlorophyll and solanine, a toxic alkaloid.
Pro-Tip: Hilling encourages the growth of adventitious roots. By increasing the soil volume around the stem, you provide more sites for stolon initiation, directly increasing potential yield.
Establishing and Tuber Initiation
During the flowering stage, the plant requires consistent moisture to maintain turgor pressure. This is the phase where the number of tubers is determined. Maintain a soil moisture level of 60 to 80 percent of field capacity. Use a soil moisture meter to avoid over-saturation, which can lead to lenticel enlargement and rot.
Pro-Tip: Tuber initiation is regulated by the hormone auxin. As the plant reaches a specific biomass, auxin suppression allows the tips of the underground stolons to swell into tubers.
The Clinic:
Symptom: Hollow Heart
Solution: This physiological disorder manifests as a cavity in the center of the tuber. It is caused by erratic growth spurts, often due to inconsistent watering or excessive nitrogen. Ensure a steady supply of 1.5 inches of water per week and avoid heavy fertilization after the tubers have reached the size of a golf ball.
Symptom: Common Scab
Solution: Rough, corky patches on the skin indicate a high soil pH. Use elemental sulfur to lower the pH to the 5.2 to 5.5 range. Avoid using fresh manure, which can harbor the bacteria responsible for this condition.
Symptom: Nitrogen Chlorosis
Fix-It: If lower leaves turn pale yellow while veins remain green, the plant lacks mobile nitrogen. Apply a water-soluble fertilizer with a high nitrogen concentration early in the season, but cease application once flowering begins to prevent delayed tuber maturity.
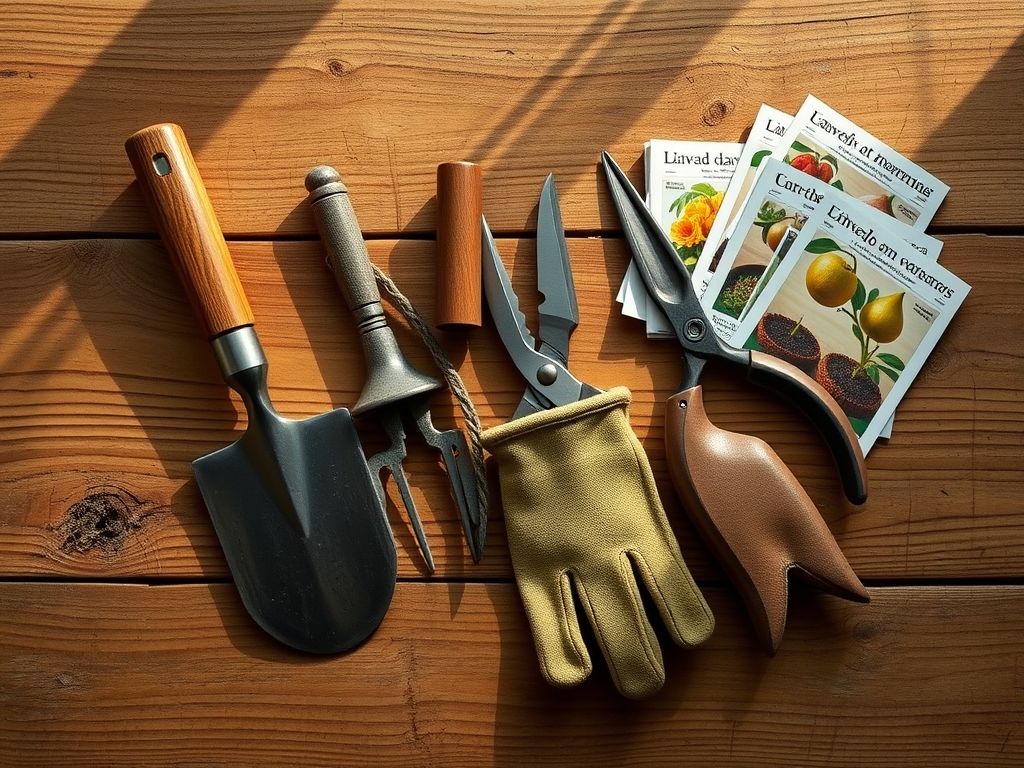
Maintenance:
Precision maintenance is the difference between a mediocre harvest and a high-yield crop. Use a hori-hori knife to check soil moisture at a depth of 6 inches. The goal is to provide 1.5 inches of water per week at the drip line. Overhead irrigation should be avoided to prevent foliar diseases like late blight; drip irrigation is the professional standard. Use bypass pruners to remove any diseased or yellowing foliage throughout the season to improve airflow. If the soil becomes compacted, use a broadfork to gently aerate the rows without disturbing the delicate rhizosphere where the tubers are forming.
The Yield:
Harvesting Yukon Gold is a two-stage process. First, perform a "green harvest" for "new potatoes" about two to three weeks after the plant finishes flowering. These have thin, delicate skins and must be eaten immediately. For the main harvest, wait until the vines have turned brown and brittle. Cut the vines at the soil line and wait 10 to 14 days before digging. This period allows the skins to toughen, a process known as curing.
Use a garden fork to lift the soil starting 12 inches away from the center of the plant to avoid mechanical damage. Gently lift the entire root mass. Handle the tubers like eggs; even minor bruising can lead to storage rot. Do not wash the potatoes if they are intended for long-term storage. Brush off excess soil and store them in a dark, cool environment at 45 to 50 degrees Fahrenheit with 90 percent humidity. Exposure to light will cause greening and the development of bitter glycoalkaloids.
FAQ:
How do I know when Yukon Golds are ready?
Wait for the foliage to turn yellow and die back. For storage potatoes, wait two weeks after the vines die to allow the skins to set. This ensures the tubers can withstand handling without scuffing or bruising.
Can I harvest Yukon Gold potatoes early?
Yes, you can harvest "new potatoes" approximately 60 days after planting or three weeks after flowering. These tubers are small with very thin skins. They must be consumed within days as they do not store well.
Why are my Yukon Gold potatoes turning green?
Greening is caused by exposure to sunlight, which triggers chlorophyll production and the synthesis of solanine. To prevent this, keep tubers well-covered with soil or mulch (hilling) throughout the growing season and store them in total darkness.
What is the best way to store harvested potatoes?
Store unwashed tubers in a dark, well-ventilated area at temperatures between 45 and 50 degrees Fahrenheit. High humidity is necessary to prevent shriveling. Do not store potatoes near apples or onions, as ethylene gas will cause them to sprout.