5 Simple Steps to Plant Russet Potatoes
Damp earth carries the scent of geosmin and decomposing organic matter when you first break the crust of a spring garden bed. A healthy Russet potato leaf exhibits high turgor pressure; it is rigid and resists wilting under the midday sun. To achieve this level of plant health, you must master the fundamental steps to plant russet potatoes with clinical precision. This process begins with understanding the physiological requirements of the Solanum tuberosum species. Successful cultivation is not a matter of luck but a series of calculated adjustments to the rhizosphere. You are managing a biological factory that converts solar energy, water, and soil nutrients into dense carbohydrate stores. Every decision, from the depth of the furrow to the timing of the hilling, dictates the final starch content and skin set of the tuber. Neglecting the chemical balance of the soil or the thermal requirements of the root zone will result in stunted growth and hollow heart.
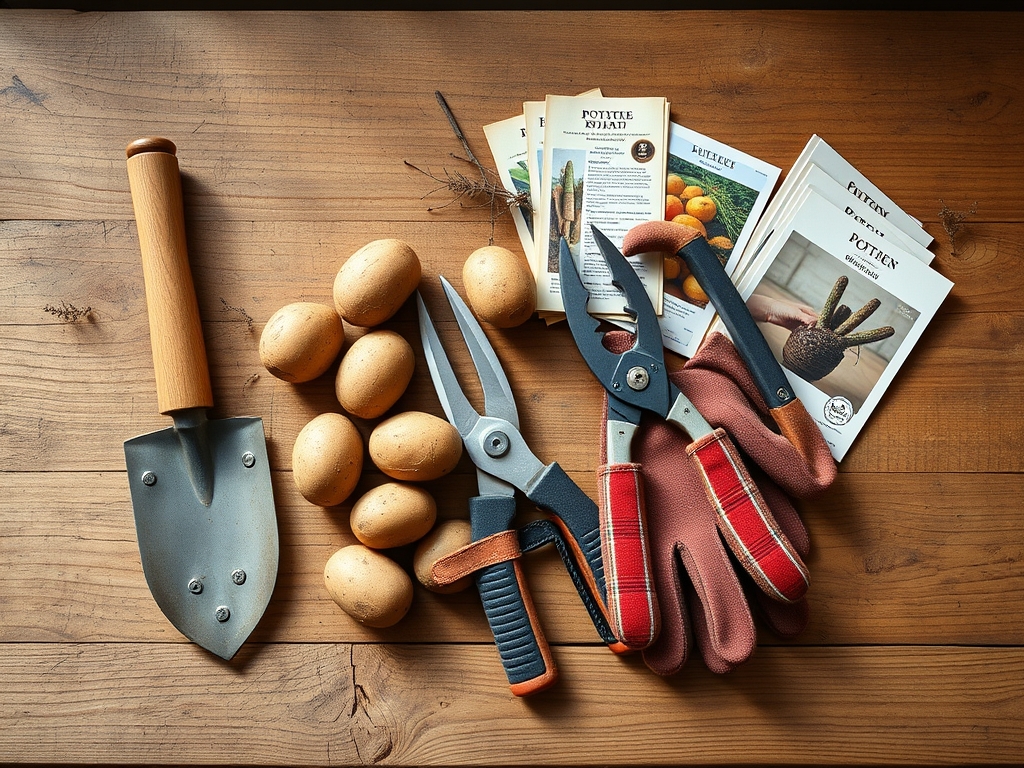
Materials:
The ideal substrate for Russet potatoes is a friable loam with a high sand content to allow for unobstructed tuber expansion. Soil compaction is the primary enemy of yield. You must target a soil pH between 4.8 and 5.5 to suppress the development of Streptomyces scabies, the pathogen responsible for common scab.
Nutrient management requires a specific NPK balance. At the time of planting, incorporate a 5-10-10 or 10-20-20 fertilizer into the trench. High phosphorus (P) levels are critical for early root development and tuber initiation. Avoid excessive nitrogen (N) during the early stages; over-application of nitrogen promotes lush vegetative canopy growth at the expense of tuberization. The soil must have a Cation Exchange Capacity (CEC) above 10 to ensure the plant can access potassium (K), which regulates the movement of water and carbohydrates within the plant tissues. Ensure your seed potatoes are certified disease-free and have at least two active "eyes" or axillary buds per piece.
Timing:
Russet potatoes are a long-season crop, typically requiring 100 to 120 days to reach full maturity. In Hardiness Zones 3 through 7, planting should occur as soon as the soil temperature reaches a consistent 45 degrees Fahrenheit (7 degrees Celsius). Planting in frozen or waterlogged soil will induce seed piece decay before the first sprout can emerge.
The biological clock of the potato is divided into five distinct phases: sprout development, vegetative growth, tuber initiation, tuber bulking, and senescence. Tuber initiation generally begins when the plant is 6 to 8 inches tall, roughly 30 to 50 days after planting. This transition from vegetative to reproductive stages is sensitive to photoperiod and temperature. Night temperatures exceeding 75 degrees Fahrenheit can stall tuber development, as the plant consumes its carbohydrate reserves through increased respiration rather than storing them in the tubers.
Phases:

Sowing and Chitting
Before the seed pieces hit the dirt, they should undergo "chitting" or pre-sprouting. Place the seed potatoes in a cool, bright area for two weeks until short, green sprouts emerge. When cutting larger tubers into seed pieces, ensure each piece weighs approximately 2 ounces (56 grams). Allow the cut surfaces to suberize; this means letting them sit for 48 hours to form a leathery callus that prevents pathogens from entering the tissue.
Pro-Tip: Suberization is a critical biological defense. The plant produces suberin, a waxy waterproof substance, to seal the wound. This prevents moisture loss and blocks fungal entry into the starch-rich interior.
Transplanting and Spacing
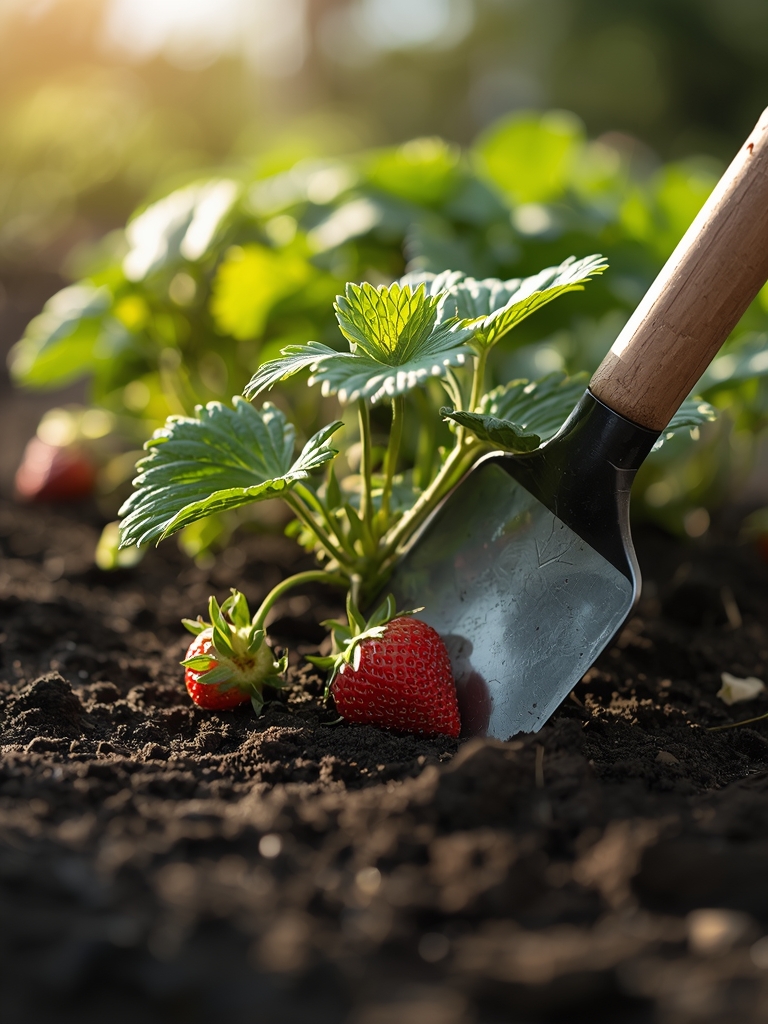
Dig a trench 6 to 8 inches deep. Place seed pieces with the eyes facing upward, spaced 12 inches apart. Rows should be spaced 30 to 36 inches to allow for mechanical hilling. Cover the seed pieces with only 3 to 4 inches of soil initially. As the stems grow, you will gradually fill the trench and build a mound.
Pro-Tip: This method utilizes auxin suppression. By burying the lower stems, you encourage the development of lateral stolons. These underground stems are the sites where tubers actually form.
Establishing and Hilling
Once the plants reach 8 inches in height, use a hori-hori knife or a garden hoe to pull soil from the aisles up against the stems. Only the top 4 to 6 inches of foliage should remain exposed. Repeat this process every two to three weeks until the plants bloom. This protects the developing tubers from sunlight exposure.
Pro-Tip: Hilling prevents solanine synthesis. When tubers are exposed to UV light, they produce chlorophyll and solanine, a toxic alkaloid. Physical shading via soil ensures the tubers remain edible and dormant.
The Clinic:
Monitoring the physiological health of the crop is a daily requirement.
-
Symptom: Interveinal chlorosis (yellowing between leaf veins) on older leaves.
-
Solution: This indicates Magnesium deficiency. Apply Epsom salts (magnesium sulfate) at a rate of 1 tablespoon per gallon of water as a foliar spray to restore photosynthetic efficiency.
-
Symptom: Small, distorted new leaves with necrotic edges.
-
Solution: This suggests Calcium deficiency, often caused by inconsistent watering rather than a lack of soil calcium. Calcium moves through the plant via transpiration. Ensure steady soil moisture to facilitate calcium transport.
-
Symptom: Dark, water-soaked lesions on leaves that turn brittle.
-
Solution: This is likely Early Blight (Alternaria solani). Increase airflow between plants and avoid overhead irrigation to reduce leaf wetness duration.
-
Fix-It for Nitrogen Chlorosis: If the entire plant turns a pale lime green, apply a side-dressing of high-nitrogen fertilizer. However, do not do this after the flowering stage, as it will delay the onset of senescence and reduce storage quality.
Maintenance:
Precision irrigation is the difference between a record harvest and a failure. Russet potatoes require 1.5 to 2 inches of water per week, delivered at the drip line. Use a soil moisture meter to ensure the root zone stays between 60% and 80% field capacity. Fluctuations in moisture levels cause the tubers to grow in "spurts," leading to growth cracks or secondary growths.
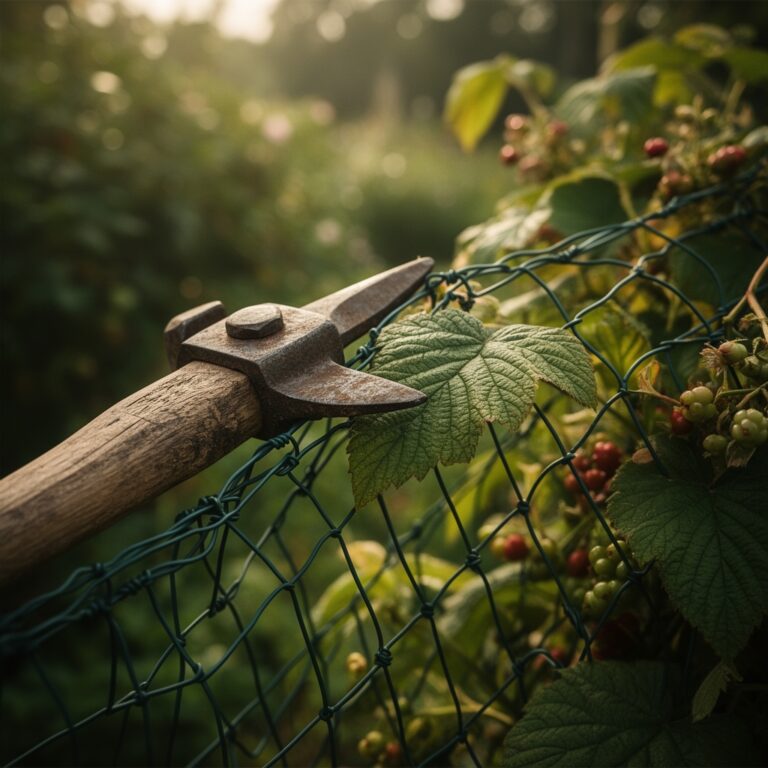
Keep the area free of weeds that compete for light and nutrients. Use bypass pruners to remove any diseased foliage immediately. Avoid deep cultivation near the base of the plant once tuber initiation has begun; the root system is shallow and easily damaged, which can lead to reduced nutrient uptake and lower turgor pressure.
The Yield:
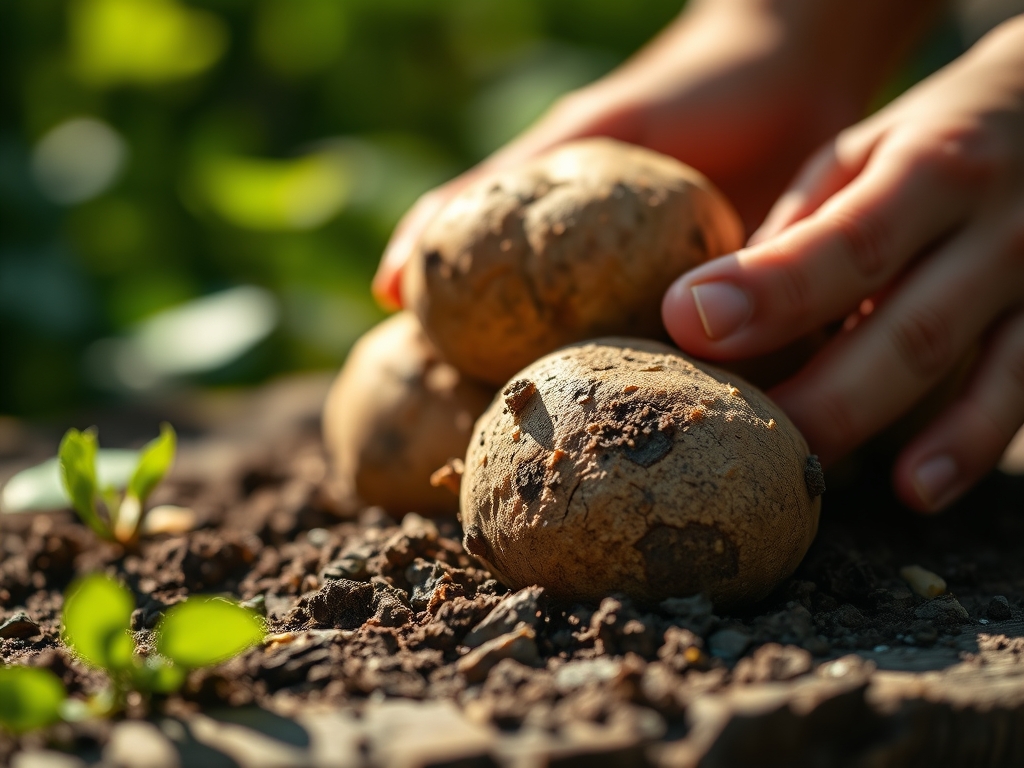
Harvesting begins after the vines have undergone senescence, which is the natural yellowing and dying back of the foliage. For "new" potatoes, you can harvest 2 to 3 weeks after flowering. For full-sized storage Russets, wait until the vines are completely dead. Use a garden fork to gently lift the soil from the outer edge of the hill toward the center.
Post-harvest handling is vital for "day-one" freshness. Do not wash the potatoes immediately. Allow them to "cure" in a dark, well-ventilated area at 55 to 60 degrees Fahrenheit with 85% humidity for two weeks. This process thickens the skin and heals any minor nicks sustained during harvest, significantly extending the shelf life of the crop.
FAQ:
How deep should I plant Russet potatoes?
Initially plant seed pieces 4 inches deep in a 6 to 8 inch trench. Gradually add soil through hilling as the plant grows to ensure tubers remain covered by at least 6 inches of substrate.
Why are my potato leaves turning yellow?
Yellowing, or chlorosis, typically indicates a Nitrogen deficiency or water stress. Check soil moisture with a meter. If moisture is adequate, apply a balanced liquid fertilizer to restore nitrogen levels in the rhizosphere.
Can I plant potatoes from the grocery store?
It is not recommended. Grocery potatoes are often treated with growth inhibitors to prevent sprouting. They also lack certification against soil-borne pathogens, which can contaminate your garden soil for years.
When is the best time to harvest Russets?
Harvest for storage two weeks after the vines have completely died back. This waiting period allows the potato skins to toughen, a process called "set," which is essential for long-term storage and bruise prevention.