5 Critical Steps to Install a French Drain
Damp earth smells of geosmin and anaerobic decay when drainage fails. Excessive soil moisture collapses the rhizosphere, the critical zone where roots interact with microbes. When water displaces oxygen, turgor pressure drops and leaves lose their structural integrity. To prevent root rot and soil compaction, you must master the steps to install a french drain. This system relies on gravity and high-permeability aggregates to move subsurface water away from the root zones of sensitive cultivars. Proper installation ensures that the Cation Exchange Capacity (CEC) of your soil remains functional by preventing the leaching of essential ions through stagnant saturation. A well-executed drain protects the structural foundation of the landscape and maintains the aerobic conditions necessary for beneficial fungal networks to thrive.
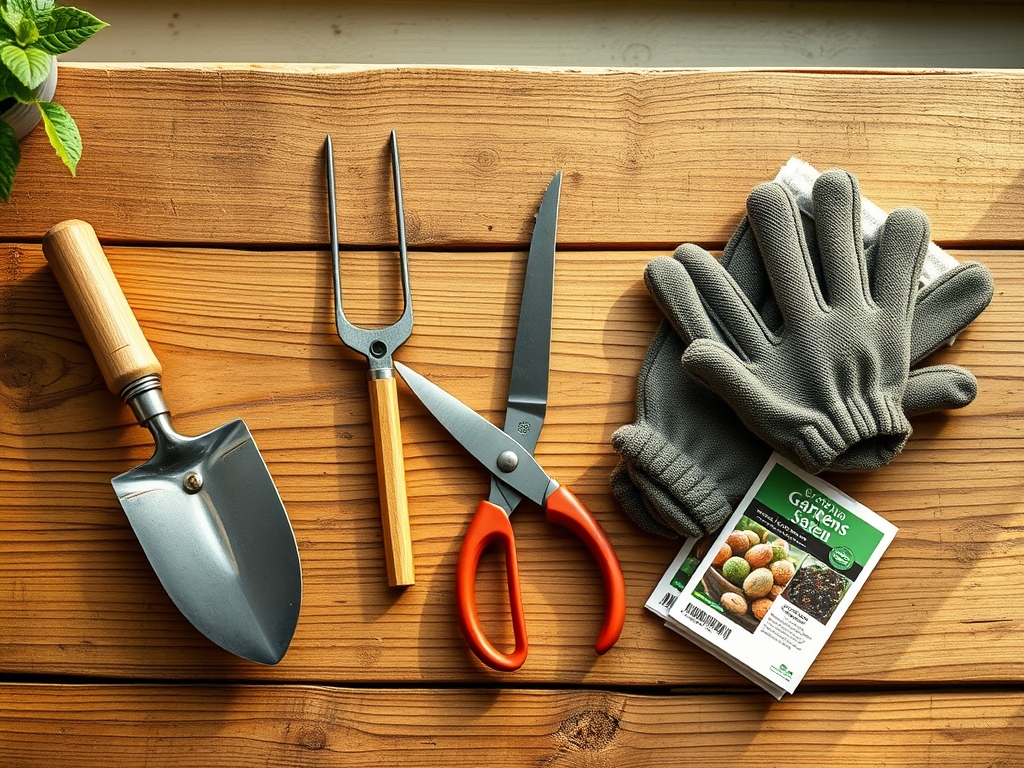
Materials:
The success of a drainage system depends on the interaction between the backfill and the native soil chemistry. For most ornamental and edible landscapes, maintain a soil pH between 6.0 and 7.0. High acidity can lead to aluminum toxicity, while alkalinity often precipitates micronutrients like iron. Use a friable loam for the top six inches of the trench to allow for gas exchange.
Select a 4-inch perforated PVC pipe rather than flexible corrugated tubing. PVC offers a smoother interior surface, reducing the accumulation of silt and biofilm. You will need washed 3/4-inch crushed stone. Avoid limestone if your plants require acidic conditions, as limestone can leach calcium carbonate and raise the pH. For the filter, use a non-woven geotextile fabric with a weight of at least 4 ounces per square yard. This prevents fine soil particles from clogging the aggregate. If you are planting over the drain, incorporate a slow-release fertilizer with an NPK ratio of 10-10-10 into the topsoil layer to support initial root establishment.
Timing:
Install drainage systems when the soil is below its field capacity but above the wilting point. In Hardiness Zones 4 through 7, the ideal window is late spring after the final frost date or early autumn before the ground freezes. Avoid excavation during the peak vegetative stage of nearby perennials, as root pruning during high transpiration periods induces severe water stress.
Monitor the Biological Clock of your landscape. The transition from vegetative growth to senescence in autumn is an excellent time for installation. During this phase, deciduous plants are moving carbohydrates to the root system and reducing their demand for active water uptake. This minimizes the physiological shock caused by heavy machinery or trenching near the drip line.
Phases:

Sowing the Path
The first phase is the excavation of the trench. The trench must maintain a minimum slope of 1 percent, which equates to a 1-inch drop for every 8 feet of length. Use a transit level to ensure accuracy. Dig the trench 12 inches wide and 18 to 24 inches deep. Line the entire cavity with the geotextile fabric, leaving enough excess on the sides to overlap the top later.
Pro-Tip: Proper slope prevents the stagnation of water which can lead to the buildup of anaerobic bacteria. This is vital because anaerobic conditions trigger denitrification, a process where microbes convert plant-available nitrates into nitrogen gas, stripping the soil of its primary growth element.
Transplanting the Infrastructure
Lay two inches of crushed stone at the bottom of the fabric-lined trench. Place the perforated pipe on top of this bedding with the holes facing downward. This allows the water table to rise into the pipe from below, which is the most efficient method for capturing subsurface flow. Fill the remaining space with stone to within six inches of the surface.
Pro-Tip: Facing the perforations downward utilizes the principle of capillary action in reverse. By providing a path of least resistance at the lowest point, you prevent the "bathtub effect" where water sits at the bottom of the trench and creates a localized zone of saturation that can kill deep-reaching taproots.
Establishing the Surface
Fold the excess geotextile fabric over the top of the stone. This creates a complete envelope. Cover the fabric with six inches of friable loam. If you are replacing turf, use a hori-hori knife to cut clean edges for the sod replacement. Ensure the final grade directs surface runoff toward the trench.
Pro-Tip: The fabric envelope is essential for maintaining mycorrhizal symbiosis. By preventing silt from filling the stone voids, you ensure the surrounding soil remains aerated. Aerobic conditions are mandatory for mycorrhizal fungi to extend their hyphae, which significantly increases the surface area for nutrient uptake.
The Clinic:
Physiological disorders often mimic disease but are usually rooted in poor drainage or nutrient imbalances.
- Symptom: Interveinal chlorosis (yellowing between leaf veins) on new growth.
- Solution: This indicates Iron (Fe) deficiency, often caused by high pH or waterlogged soils. Check the drain for clogs and apply chelated iron.
- Symptom: Marginal leaf burn or necrosis on older foliage.
- Solution: This suggests Potassium (K) deficiency. Excessive water can leach potassium ions from the soil. Apply a high-potash fertilizer (0-0-50) and ensure the drain is moving water effectively.
- Symptom: Sudden wilting of the plant despite wet soil.
- Solution: This is Phytophthora root rot. The roots have lost their ability to maintain turgor pressure due to fungal infection in anaerobic conditions. Improve drainage immediately and remove infected tissue with sterilized bypass pruners.
Fix-It: For general Nitrogen chlorosis (overall paling of the plant), apply a water-soluble 20-20-20 fertilizer. However, do not fertilize until the drainage issue is resolved, as the plant cannot process nutrients without oxygen in the root zone.
Maintenance:
A french drain is not a "set and forget" system. Inspect the discharge point after every rainfall exceeding 1 inch. Use a soil moisture meter to verify that the soil 12 inches away from the drain remains between 20% and 40% moisture content.
For the plants situated above or near the drain, provide 1.5 inches of water per week at the drip line during drought periods. Because the drain increases soil porosity, these areas may dry out faster than the rest of the garden. Use your hori-hori knife to periodically check for root intrusion into the pipe. If you notice a decrease in flow, you may need to flush the system with a high-pressure hose through an integrated clean-out port.
The Yield:
When harvesting flowers or herbs from a well-drained area, timing is critical for post-harvest longevity. Harvest in the early morning when turgor pressure is at its peak. Use sharp bypass pruners to make clean cuts at a 45-degree angle. This maximizes the surface area for water uptake once the stems are placed in a vase. For "day-one" freshness, immediately plunge the stems into 40-degree Fahrenheit water to slow the rate of respiration and prevent the breakdown of cellular structures.
FAQ:
How deep should a french drain be?
A standard french drain should be 18 to 24 inches deep. This depth ensures it sits below the primary root zone of most turfgrasses and perennials, effectively intercepting subsurface water before it reaches the rhizosphere.
Which way do the holes face?
The perforations must face downward. This allows water to enter the pipe as the water table rises from the bottom of the trench. Facing them upward allows silt and debris to fall into the pipe, causing premature failure.
Can I use gravel instead of crushed stone?
Washed crushed stone is superior to rounded pea gravel. The angular edges of crushed stone create more stable interstitial spaces, providing better structural support and higher flow rates for water moving through the aggregate.
Do I need a filter fabric?
Yes, a non-woven geotextile fabric is mandatory. It acts as a mechanical barrier that prevents fine clay and silt particles from migrating into the stone and clogging the system while still allowing water to pass through freely.